How to Put Text on Images in OpenCV

This tutorial will discuss putting text on images using the putText() function of OpenCV in Python.
Use the putText() Function of Opencv to Put Text on Images in Python
We can use the putText() function of OpenCV to put text on an image with our desired color, font size, font family, and location. The first argument of the putText() function is the image we want to put the text.
The second argument is the text (string) we want to put on the image. The third argument is the location on which we want to put the text, and by default, the location origin is the top-left of the image.
The location’s value should be set using two integers in which the first integer defines the x-axis position and the second integer defines the y-axis position.
For example, if we set the location to (10,20), it will place the text 10 pixels away on the x-axis and 20 pixels away on the y-axis from the origin, which is at the image’s top-left.
The fourth argument is the font family, which can be from the default font families of OpenCV like cv2.FONT_HERSHEY_SIMPLEX. The fifth argument is the font size or font scale, and its value should be of data type double.
The sixth argument is the text’s color, and its value should be an RGB triplet like (255,255,255) for white color.
All the above arguments are required, and if one or more arguments are missing, there will be an error. There are also three optional arguments that we can set, and if we don’t set the value of the optional argument, a default value will be used.
The first optional argument is the thickness of the line, and its value should be an integer by default. The second optional argument is the line type or style, set to cv2.LINE_8 by default.
The third optional argument is used to set the bottom left position as origin if it’s true, but by default, it is set to false, and it will flip the text.
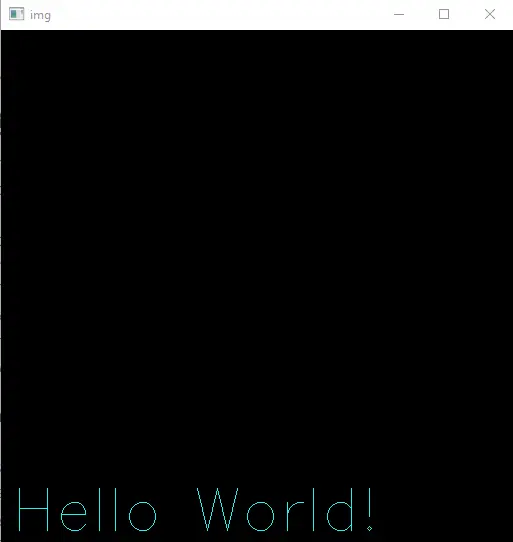
For example, let’s create a black colored 512-by-512 image using the zeros() function of the numpy library and then put some random text on it using the putText() function. See the code below.
import numpy as np
import cv2

img = np.zeros((512, 512, 3), np.uint8)

font = cv2.FONT_HERSHEY_SIMPLEX
position = (10, 500)
fontScale = 2
fontColor = (255, 255, 0)

cv2.putText(img, "Hello World!", position, font, fontScale, fontColor)

cv2.imshow("img", img)
cv2.waitKey(0)
Output:
We have used a black image in the example above, but we can also use any color image using the imread() function. We can also change the optional arguments’ value.
For example, let’s change the thickness of the line to 3. The line type to cv2.LINE_AA for antialiased line, and let’s flip the text using the last argument and setting it to true. See the code below.
import numpy as np
import cv2

img = np.zeros((512, 512, 3), np.uint8)

font = cv2.FONT_HERSHEY_SIMPLEX
position = (10, 450)
fontScale = 2
fontColor = (255, 255, 0)

cv2.putText(
    img, "Hello World!", position, font, fontScale, fontColor, 3, cv2.LINE_AA, True
)

cv2.imshow("img", img)
cv2.waitKey(0)
Output:
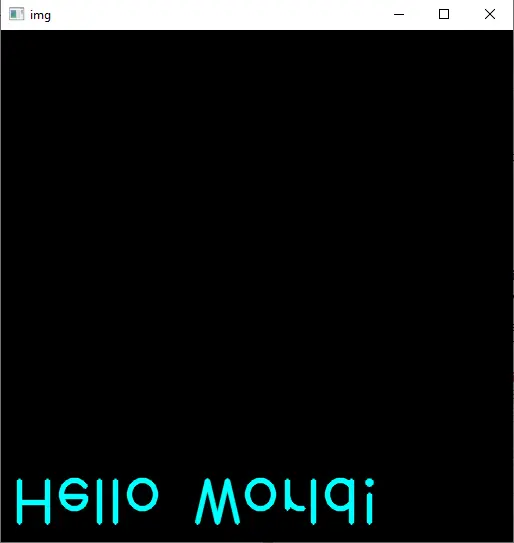
You can see in the code that we also have to set the location of the text again so that it should be visible. Check this link for more details about the font families supported by OpenCV.

Related Article - Python OpenCV
- How to Fix No Module Named CV2 in Mac in Python
- Image Masking in OpenCV
- How to Utilize Bitwise_AND on an Image Using OpenCV
- OpenCV Package Configuration
- OpenCV ArUco Markers
- How to SIFT Using OpenCV in Python