How to Add Onclick Event on HTML Image Tag in JavaScript

The onclick is added over an image tag inside HTML. The onclick event will make our image clickable. After a user clicks on the image, you can do whatever you want, like opening a new webpage, adding animations, changing an existing image with a new one, and so on. Inside the onclick, you can pass a function. Here, you can either create and call your function, which you have written in JavaScript or use existing functions available to us by the window object like window.open().
This article will show how to display an image in a new browser tab when a user clicks on it using the onclick event. We will achieve this by creating a function and calling it inside the oncreate attribute of the HTML image tag.
Adding onclick Event on an HTML img Tag Using JavaScript
To achieve onclick event functionality in JavaScript, we first have to create a function and then call that function inside the onclick, which is present on the image tag inside the HTML. Here, we have taken an image, and when a user clicks on this image, the image will be opened in a new browser tab. We will be implementing this in the below example.
Below we have a basic HTML document, inside which we only have an img tag with the src attribute set to an image fetched from the server. On the onclick attribute of an image, we pass the openImg() function, which will call that function. We have not created this function yet. At the end of the file, we have linked our JavaScript file to create our function. See the code below.
<!DOCTYPE html>
<html lang="en">
<head>
    <meta charset="UTF-8">
    <meta http-equiv="X-UA-Compatible" content="IE=edge">
    <meta name="viewport" content="width=device-width, initial-scale=1.0">
    <title>Document</title>
</head>
<body>

    <!-- Image taken from Unsplash -->
    <img id="image" src="https://bit.ly/3jFwe3d" onclick="openImg()">

    <script src="./script.js"></script>
</body>
</html>
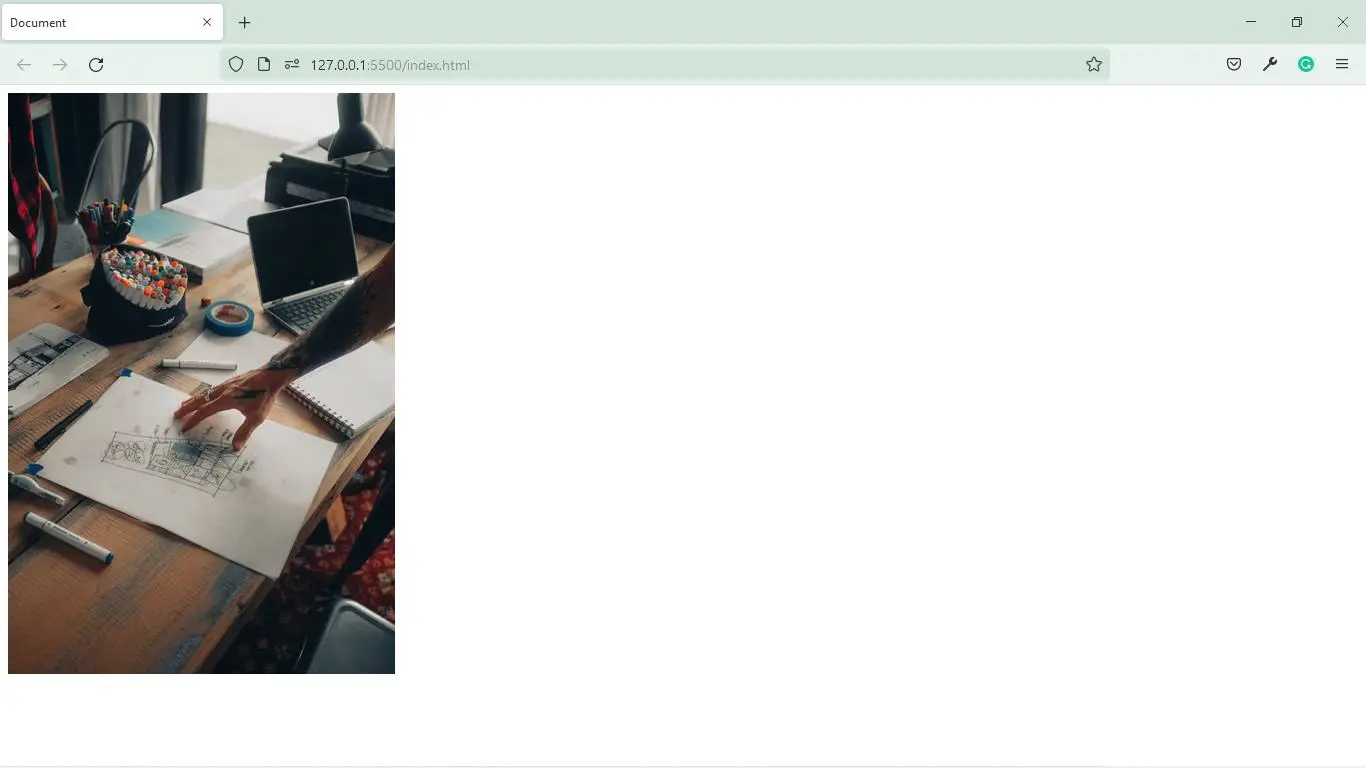
If you run the above code, this is how it will look like in the web browser.
Inside our JavaScript file, we have defined a function openImg(). Inside this function, we first have to get the reference to the img tag, which is present inside the DOM using its id attribute image. This can be done using document.getElementById() method. And then, we will store the image tag’s reference inside the image variable.
Since we want to show the same image inside a new browser tab, we also have to store the image source in a variable that we can get using the src attribute. In JavaScript, we just have to use image.src to access the source attribute, and then we will store it inside the source variable.
Finally, to display the image using its source, we can use the window.open() method. The window.open() method is used to open a new tab, and whatever we pass inside this function will be displayed inside the new tab. Here, we will pass the source variable, which contains the link of the image itself. This is how our JavaScript openImg() function looks like.
function openImg() {
  var image = document.getElementById('image');
  var source = image.src;
  window.open(source);
}
If you run the above code inside the web browser and click on the image, the image will be opened in a new browser tab, as shown below.

The HTML onclick image attribute helps make an image clickable in JavaScript. This can be used in various situations and depending on what kind of functionality you would like to implement for your website.

Sahil is a full-stack developer who loves to build software. He likes to share his knowledge by writing technical articles and helping clients by working with them as freelance software engineer and technical writer on Upwork.
LinkedInRelated Article - JavaScript Image
- How to Crop an Image in JavaScript Using HTML Canvas
- How to Fade-In Image Using JavaScript
- How to Change Image on Hover in JavaScript
- How to Load Image From URL in JavaScript
- How to Swap Images in JavaScript