How to Use React Native Navigation Bar
We will concentrate on header navigation in this section. We’ll add buttons to the header because that’s the greatest method to interact with it.
Use Navigation Bar in React Native
Let’s start by adding buttons to the title, and then we’ll go over the code piece by piece. First, we have to make two JavaScript files: FirstPage.js and SecondPage.js.
Example Code (FirstPage.js):
import React from 'react';
import {SafeAreaView, StyleSheet, Text, TouchableOpacity, View,} from 'react-native';

const FirstPage = ({navigation}) => {
  React.useLayoutEffect(() => {
    navigation.setOptions({
      headerTitle: (props) => (
        <Text
          {...props}
          style={{ color: 'black', fontWeight: 'bold', fontSize: 26 }}
        >
          React Native Navigation Bar
        </Text>
      ),
      headerStyle: {
        backgroundColor: "#71b5f5",
      },
    });
  }, [navigation]);

  return (
    <SafeAreaView style={{ flex: 1, backgroundColor: "#e6ffff" }}>
      <View style={styles.container}>
        <Text style={styles.header}>Welcome to first page</Text>
        <TouchableOpacity
          onPress={() => navigation.navigate('SecondPage')}
          style={styles.button_Style}
        >
          <Text style={styles.text_Style}>Click Here to see what's Next</Text>
        </TouchableOpacity>
      </View>
    </SafeAreaView>
  );
};

export default FirstPage;

const styles = StyleSheet.create({
  container: {
    flex: 1,
    padding: 30,
  },
  button_Style: {
    height: 40,
    padding: 10,
    backgroundColor: "#b3ffff",
    borderRadius: 2,
    marginTop: 12,
  },
  header: {
    fontSize: 30,
    textAlign: "center",
    fontWeight: "bold",
    marginVertical: 200,
  },
  text_Style: {
    color: "black",
  },
});
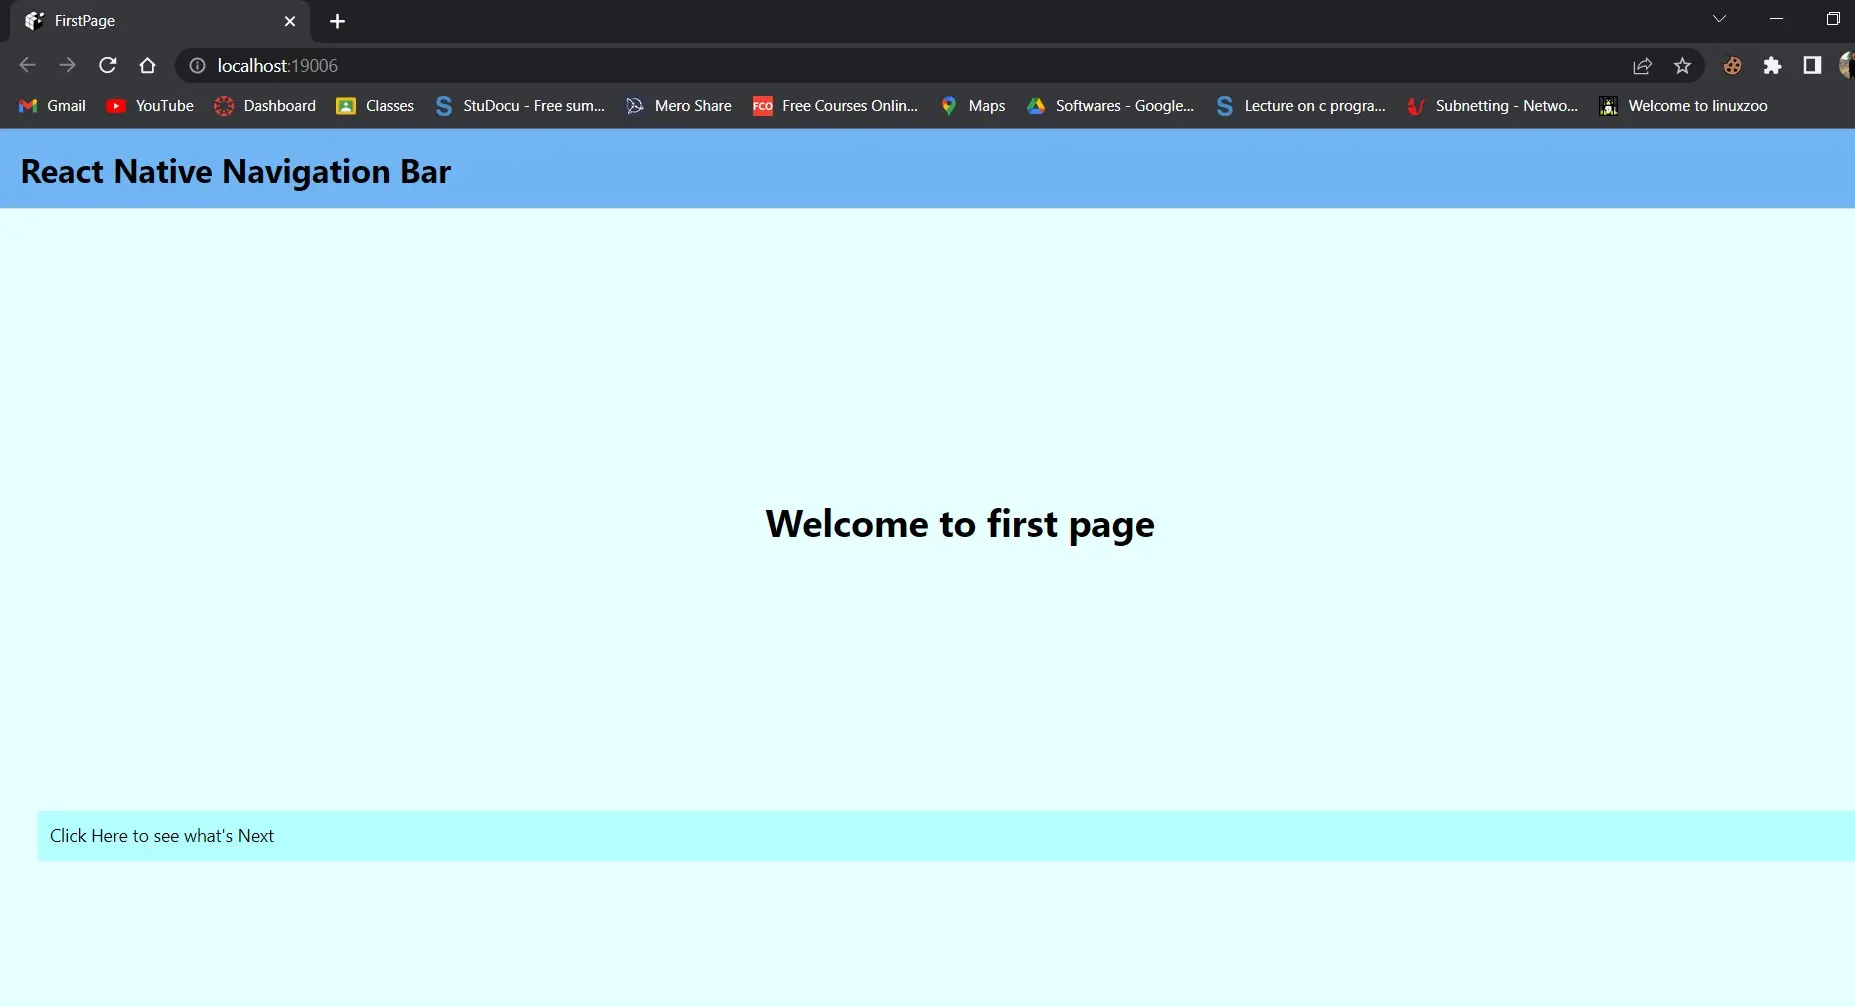
In this code section, we declared a header, named it React Native Navigation Bar, and stylized it.
We’ve created a button, and we know that the onPress prop determines what happens once we click it. So we’ve said that if the user touches the button, they will be sent to the second page.
You are free to go wherever you wish. Just remember to use appropriate syntax and structure.
Example Code (SecondPage.js):
import React from 'react';
import {SafeAreaView, StyleSheet, Text, TouchableOpacity, View,} from 'react-native';

const SecondPage = ({navigation}) => {
  React.useLayoutEffect(() => {
    navigation.setOptions({
      title: 'Second Page',
      headerStyle: {
        backgroundColor: '#99ffcc',
      },
      headerTitleStyle: {
        fontWeight: 'bold',
        fontSize: 20,
        padding: 15,
      },
      headerLeft: () => (
        <TouchableOpacity
          onPress={() => alert('hello from left Button')}
          style={{ marginLeft: 10 }}
        >
          <Text style={{ color: 'black' }}>Left Button</Text>
        </TouchableOpacity>
      ),
      headerRight: () => (
        <TouchableOpacity
          onPress={() => alert('hello from Right Button ')}
          style={{ marginRight: 25 }}
        >
          <Text style={{ color: 'black' }}>Right Button</Text>
        </TouchableOpacity>
      ),
    });
  }, [navigation]);

  return (
    <SafeAreaView style={{ flex: 1, backgroundColor: '#ccffe6' }}>
      <View style={styles.container}>
        <Text style={styles.header}>
          you can see right and left button around corner
        </Text>
      </View>
    </SafeAreaView>
  );
};

export default SecondPage;

const styles = StyleSheet.create({
  container: {
    padding: 20,
    flex: 1,
    justifyContent: "center",
    alignItems: "center",
  },
  header: {
    fontSize: 25,
    marginVertical: 25,
    textAlign: "center",
  },
  text_Style: {
    color: "#fff",
    textAlign: "center",
  },
});
The above explanation should have given you some thoughts regarding the basic header.
This file has the right and left titles. We will discuss them below.
headerLeft: () => (
<TouchableOpacity
  onPress={() => alert('hello from left Button')}
  style={{
  marginLeft: 10 }}
>
  <Text style={{
  color: 'black' }}>Left Button</Text>
</TouchableOpacity>
      ),
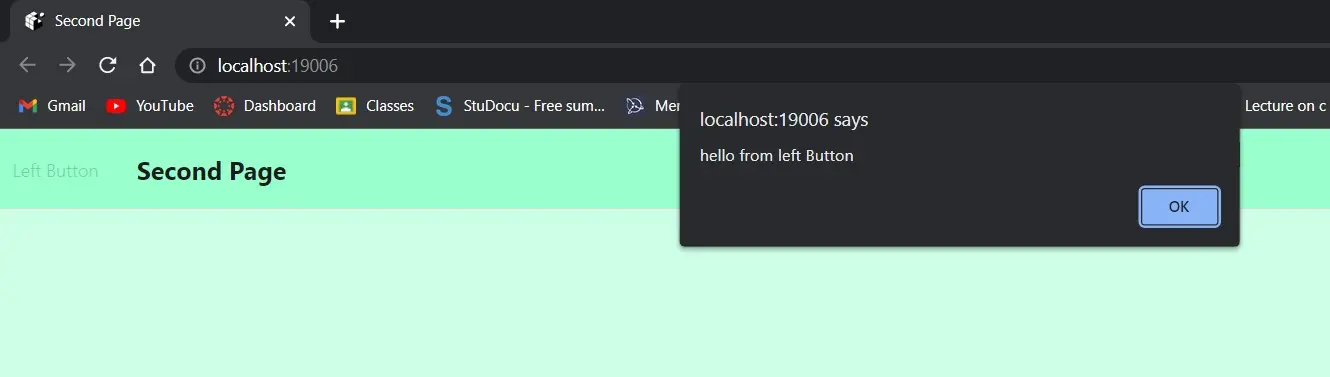
This is the heading on the left. We’ve designated it as a button, and pushing it will result in an alert.
So, put anything you want to add to the left header in headerLeft.
headerRight: () => (
    <TouchableOpacity
      onPress={() => alert('hello from Right Button ')}
      style={{
  marginRight: 25 }}
    >
      <Text style={{
  color: 'black' }}>Right Button</Text>
    </TouchableOpacity>
      ),
The right heading has received the same treatment. If you understand how the left header works, you can easily grasp how the right title works because the code is similar.
The only difference is the availability and display name.
Example Code (App.js):
import 'react-native-gesture-handler';

import {NavigationContainer} from '@react-navigation/native';
import {createStackNavigator} from '@react-navigation/stack';
import React from 'react';

import FirstPage from './pages/FirstPage';
import SecondPage from './pages/SecondPage';

const Stack = createStackNavigator();

const App = () => {
  return (
      <NavigationContainer><Stack.Navigator initialRouteName = 'FirstPage'>
      <Stack.Screen name = 'FirstPage' component =
       {
         FirstPage
       } />
        <Stack.Screen name="SecondPage" component={SecondPage} />
      </Stack.Navigator>
    </NavigationContainer>);
};
export default App;
We’ve already gone through how the First and Second Pages function.
Stack navigation is used in the App.js code. Understanding this code is straightforward if you have read the stack navigator documentation; otherwise, please read the stack navigation documentation.
Two stack screens are defined here, which take components from the First and Second Pages and render them in the output.
Output:
You will be led to the second page after clicking the button on the first page.
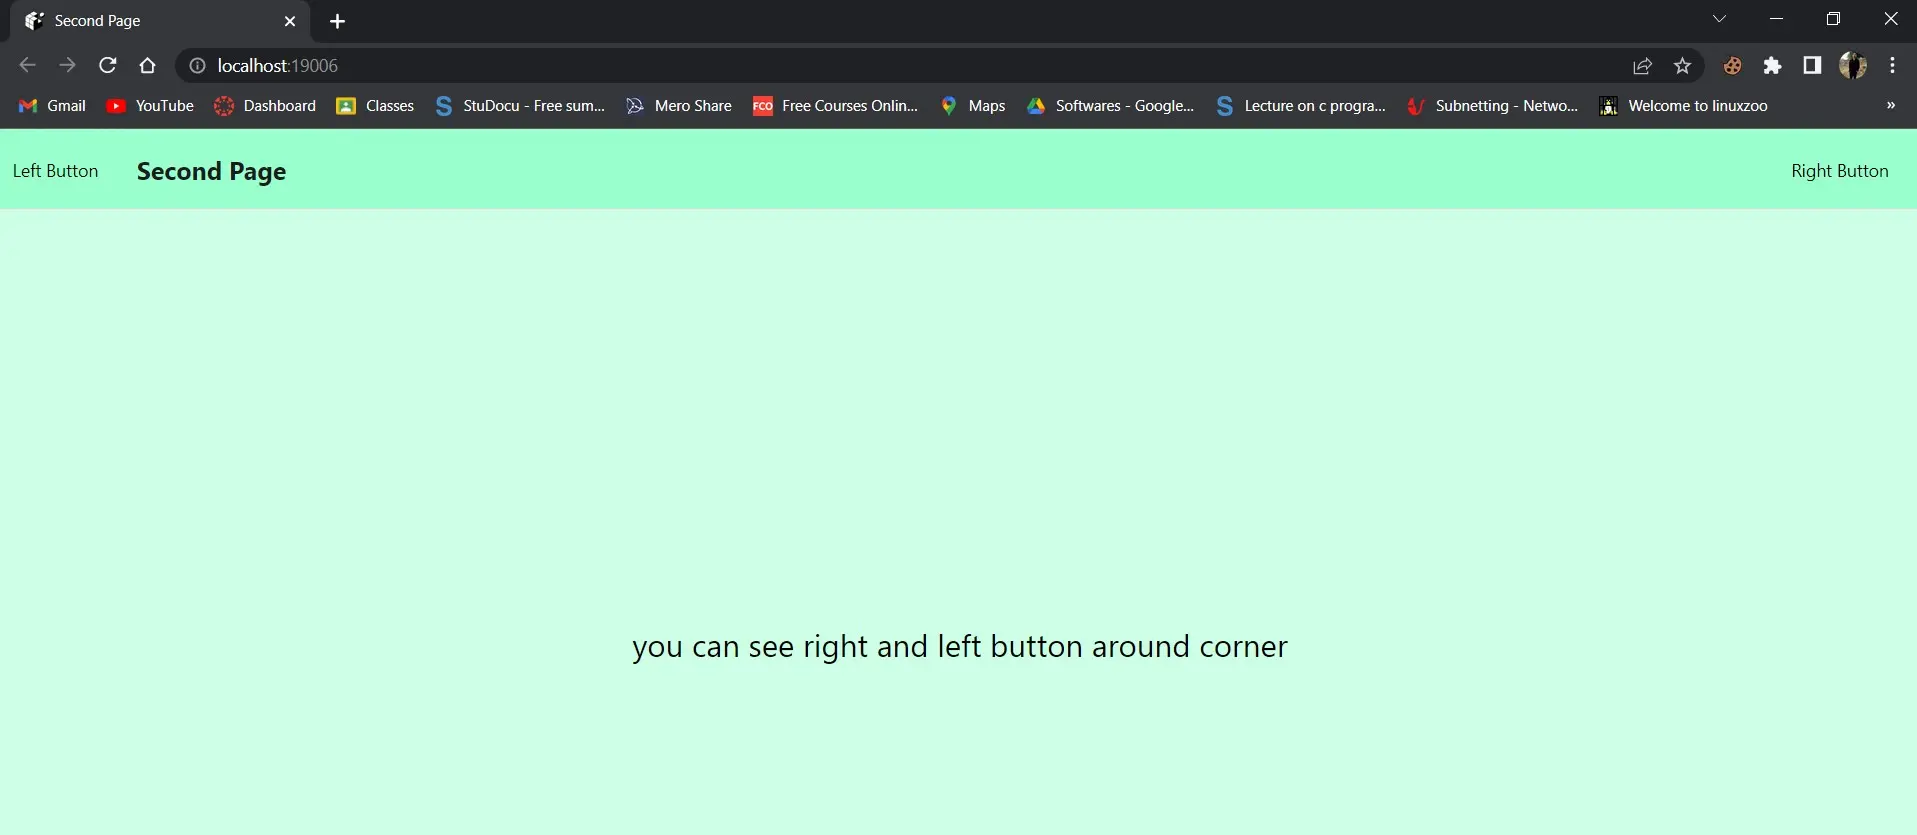
You will see two buttons in this screenshot: Left and Right.
Left Button:
Right Button:

After selecting the left menu, you will be prompted with the message hello from the left button. After clicking on it, you will receive an alert that says hello from the right button.
So this was about making a responsive and personalized header or Navigation bar.

Shiv is a self-driven and passionate Machine learning Learner who is innovative in application design, development, testing, and deployment and provides program requirements into sustainable advanced technical solutions through JavaScript, Python, and other programs for continuous improvement of AI technologies.
LinkedIn