How to Create Image in Python OpenCV
-
Create Images Using the
zeros()Function ofNumPyin OpenCV - Create Images with Drawing Functions in OpenCV

One of the tasks in image processing is creating images, either from scratch or by loading existing images and modifying them.
This tutorial will discuss the common ways to create an image in OpenCV.
Create Images Using the zeros() Function of NumPy in OpenCV
An image is composed of pixels that are placed in a matrix. Each pixel contains a color value as a BGR triplet.
A BGR triplet value contains three values that range from 0 to 255 in an 8-bit image. The first value corresponds to the intensity of the blue color, and the second and third BRG triplet values correspond to green and red colors.
We can set the value of these three colors to make any color.
In an 8-bit image, a single pixel can have 256 multiplied by 256 multiplied by 255 different colors. We can use the zeros() function of NumPy to create a black image.
The zeros() function makes a matrix containing only zeros given the matrix’s number of rows and columns.
Sample Code 1:
import cv2
import numpy as np

# Define the dimensions of the image
height = 512
width = 512

# Create a black image with the specified dimensions
img = np.zeros((height, width, 3), np.uint8)

# Display the image
cv2.imshow("Binary", img)

# Wait until a key is pressed and then close the image window
cv2.waitKey(0)
Output:

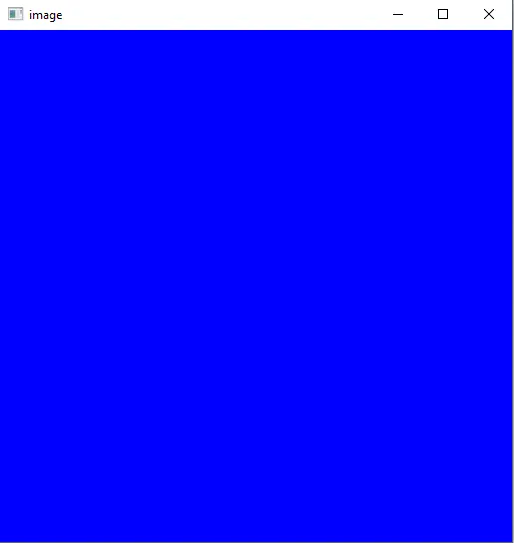
Each pixel in the above image will have the BGR triplet value of (0,0,0), which is black. We can also change the image’s color by setting each pixel value to a BGR triplet value.
Now, let’s change the color of the above image to blue.
Sample Code 2:
import cv2
import numpy as np

# Define the dimensions of the image
height = 512
width = 512

# Create a black image with the specified dimensions
img = np.zeros((height, width, 3), np.uint8)

# Fill the entire image with a blue color
img[:, :] = (255, 0, 0)

# Display the image
cv2.imshow("image", img)

# Wait until a key is pressed and then close the image window
cv2.waitKey(0)
Output:
The colon (:) symbol in the above code is used for all rows and columns. The first colon corresponds to the column, and the second colon corresponds to the rows in the img matrix.
The colon also defines ranges like 0 to 100 as 0:100. Instead of setting the color of all pixels, we can set the color of some pixels in the image.
For example, let’s set different colors to different portions of the above image.
Sample Code 3:
import cv2
import numpy as np

# Define the dimensions of the image
height = 512
width = 512

# Create a black image with the specified dimensions
img = np.zeros((height, width, 3), np.uint8)

# Fill the entire image with blue color (BGR format)
img[:, :] = (255, 0, 0)

# Fill a region in the top-left corner with yellow color
img[0:100, 0:100] = (255, 255, 0)

# Fill the right half of the image with red color
img[:, width // 2 : width] = (0, 0, 255)

# Display the resulting image
cv2.imshow("image", img)

# Wait for a key press and close the image window
cv2.waitKey(0)
Output:
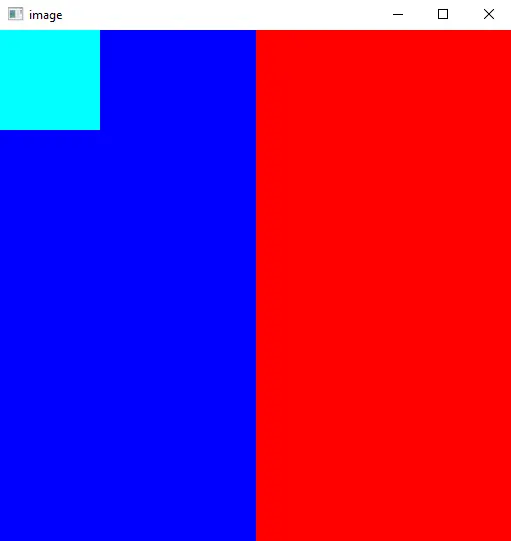
In the above code, we set the color of the first 100 columns and first 100 rows to cyan color and the color of the right side of the image to red color using the image width.
Create Images with Drawing Functions in OpenCV
OpenCV provides a range of drawing functions that allow you to add graphical elements to images. Using the following functions, you can create images with shapes, lines, and text.
-
cv2.line(): Draws a straight line between two points. -
cv2.rectangle(): Draws a rectangle with specified dimensions. -
cv2.circle(): Draws a circle with a given center and radius. -
cv2.ellipse(): Draws an ellipse with specified parameters. -
cv2.polylines(): Draws a polygon or a series of connected lines. -
cv2.putText(): Adds text to an image.
Sample Code:
import cv2
import numpy as np

# Create a blank image with a white background
width, height = 640, 480
blank_image = np.zeros((height, width, 3), dtype=np.uint8)
blank_image[:] = (255, 255, 255)  # White color in BGR format

# Draw a red rectangle
start_point_rect = (100, 100)
end_point_rect = (300, 300)
red_color = (0, 0, 255)  # Red color in BGR format
thickness_rect = 2
cv2.rectangle(blank_image, start_point_rect, end_point_rect, red_color, thickness_rect)

# Draw a green circle
center_circle = (400, 150)
radius_circle = 50
green_color = (0, 255, 0)  # Green color in BGR format
thickness_circle = -1  # Negative thickness fills the circle
cv2.circle(blank_image, center_circle, radius_circle, green_color, thickness_circle)

# Draw a blue line
start_point_line = (50, 400)
end_point_line = (600, 400)
blue_color = (255, 0, 0)  # Blue color in BGR format
thickness_line = 5
cv2.line(blank_image, start_point_line, end_point_line, blue_color, thickness_line)

# Add text to the image
text = "OpenCV Drawing"
font = cv2.FONT_HERSHEY_SIMPLEX
font_scale = 1
font_color = (0, 0, 0)  # Black color in BGR format
font_thickness = 2
text_position = (50, 50)
cv2.putText(
    blank_image, text, text_position, font, font_scale, font_color, font_thickness
)

# Display the image
cv2.imshow("Image with Drawing", blank_image)
cv2.waitKey(0)
cv2.destroyAllWindows()
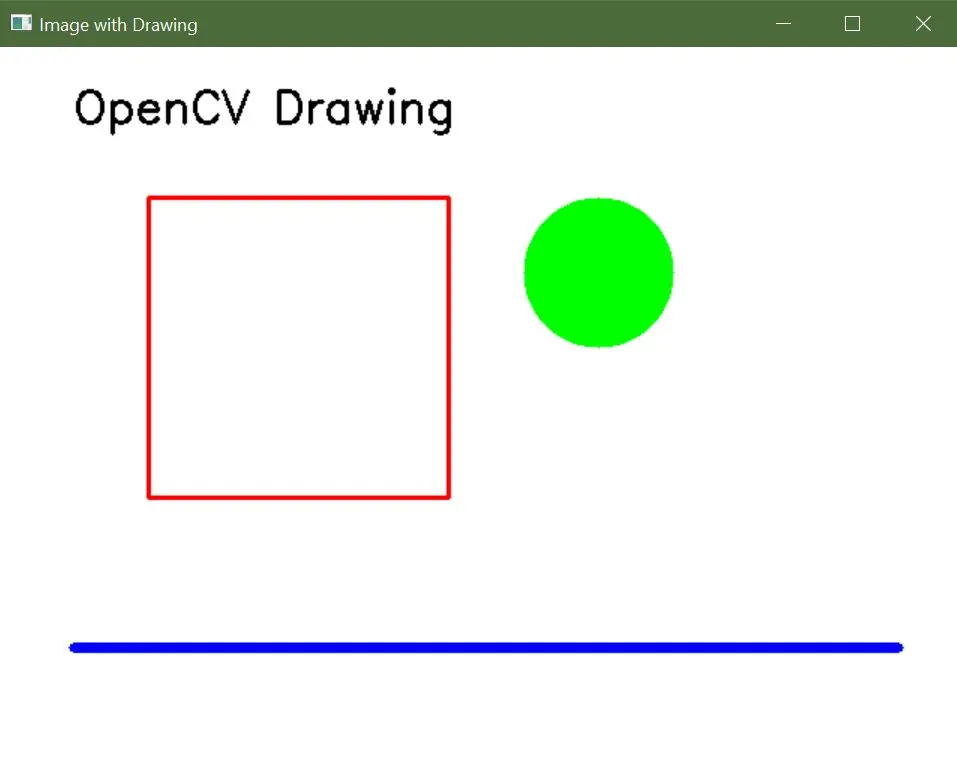
Output: