OpenCV 이미지 생성

이미지 처리에서의 작업 중 하나는 처음부터 이미지를 생성하거나 기존 이미지를 로드하고 수정하는 것입니다. 이 튜토리얼에서는 OpenCV에서 이미지를 생성하는 일반적인 방법에 대해 논의할 것입니다.
OpenCV에서 NumPy의 zeros() 함수를 사용하여 이미지 생성
이미지는 픽셀이 행렬에 배치된 것으로 구성됩니다. 각 픽셀은 BGR 색상 쌍으로 표시된 색상 값을 포함합니다.
BGR 색상 쌍 값은 8비트 이미지에서 0부터 255까지의 범위에 있는 세 가지 값을 포함합니다. 첫 번째 값은 파란색의 강도에 해당하며, 두 번째와 세 번째 BGR 색상 쌍 값은 녹색과 빨간색에 해당합니다.
우리는 이 세 가지 색상의 값을 설정하여 어떤 색상이든 만들 수 있습니다.
8비트 이미지에서 단일 픽셀은 256에 256에 255를 곱한 값과 다른 색상을 가질 수 있습니다. 우리는 zeros() 함수를 사용하여 검은색 이미지를 생성할 수 있습니다.
zeros() 함수는 행렬의 행과 열의 개수를 제공하여 행렬에 0만 포함하는 행렬을 생성합니다.
샘플 코드 1:
import cv2
import numpy as np

# Define the dimensions of the image
height = 512
width = 512

# Create a black image with the specified dimensions
img = np.zeros((height, width, 3), np.uint8)

# Display the image
cv2.imshow("Binary", img)

# Wait until a key is pressed and then close the image window
cv2.waitKey(0)
결과:

위의 이미지의 각 픽셀은 검은색인 BGR 색상 쌍 값을 (0,0,0)으로 가집니다. 또한 각 픽셀 값을 BGR 색상 쌍 값으로 설정하여 이미지의 색상을 변경할 수도 있습니다.
이제 위의 이미지의 색상을 파란색으로 변경해 봅시다.
샘플 코드 2:
import cv2
import numpy as np

# Define the dimensions of the image
height = 512
width = 512

# Create a black image with the specified dimensions
img = np.zeros((height, width, 3), np.uint8)

# Fill the entire image with a blue color
img[:, :] = (255, 0, 0)

# Display the image
cv2.imshow("image", img)

# Wait until a key is pressed and then close the image window
cv2.waitKey(0)
결과:
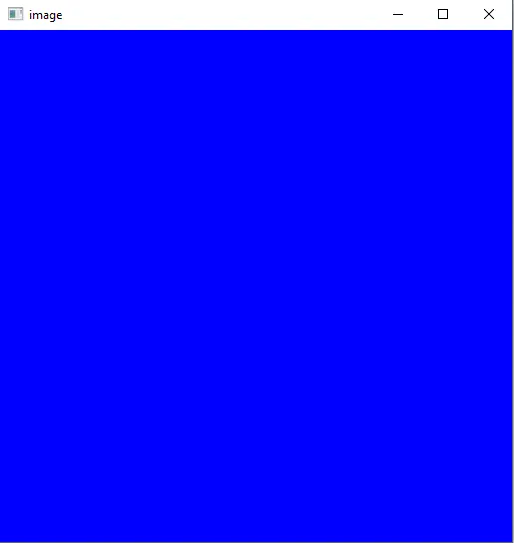
위의 코드에서 콜론 (:) 기호는 모든 행과 열에 대해 사용됩니다. 첫 번째 콜론은 열에 해당하며, 두 번째 콜론은 img 행렬에서 행에 해당합니다.
콜론은 또한 0 to 100과 같은 범위를 정의하는 데 사용됩니다. 모든 픽셀의 색상을 설정하는 대신 이미지의 일부 픽셀의 색상을 설정할 수도 있습니다.
예를 들어, 위의 이미지의 다른 부분에 다른 색상을 설정해 봅시다.
샘플 코드 3:
import cv2
import numpy as np

# Define the dimensions of the image
height = 512
width = 512

# Create a black image with the specified dimensions
img = np.zeros((height, width, 3), np.uint8)

# Fill the entire image with blue color (BGR format)
img[:, :] = (255, 0, 0)

# Fill a region in the top-left corner with yellow color
img[0:100, 0:100] = (255, 255, 0)

# Fill the right half of the image with red color
img[:, width // 2 : width] = (0, 0, 255)

# Display the resulting image
cv2.imshow("image", img)

# Wait for a key press and close the image window
cv2.waitKey(0)
결과:
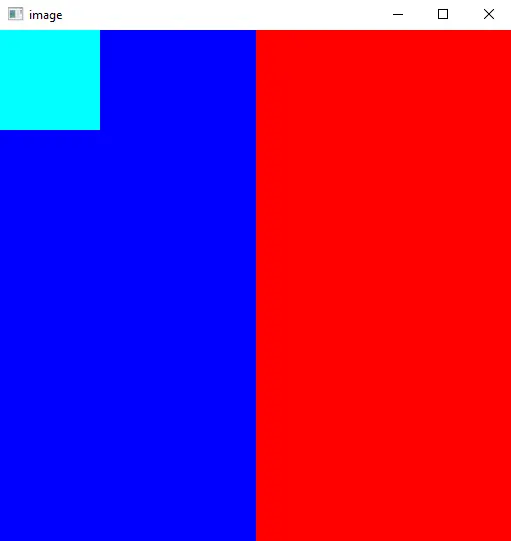
위의 코드에서, 우리는 첫 번째 100개의 열과 첫 번째 100개의 행의 색상을 청록색으로 설정하고, 이미지의 오른쪽 부분의 색상을 이미지의 너비를 사용하여 빨간색으로 설정했습니다.
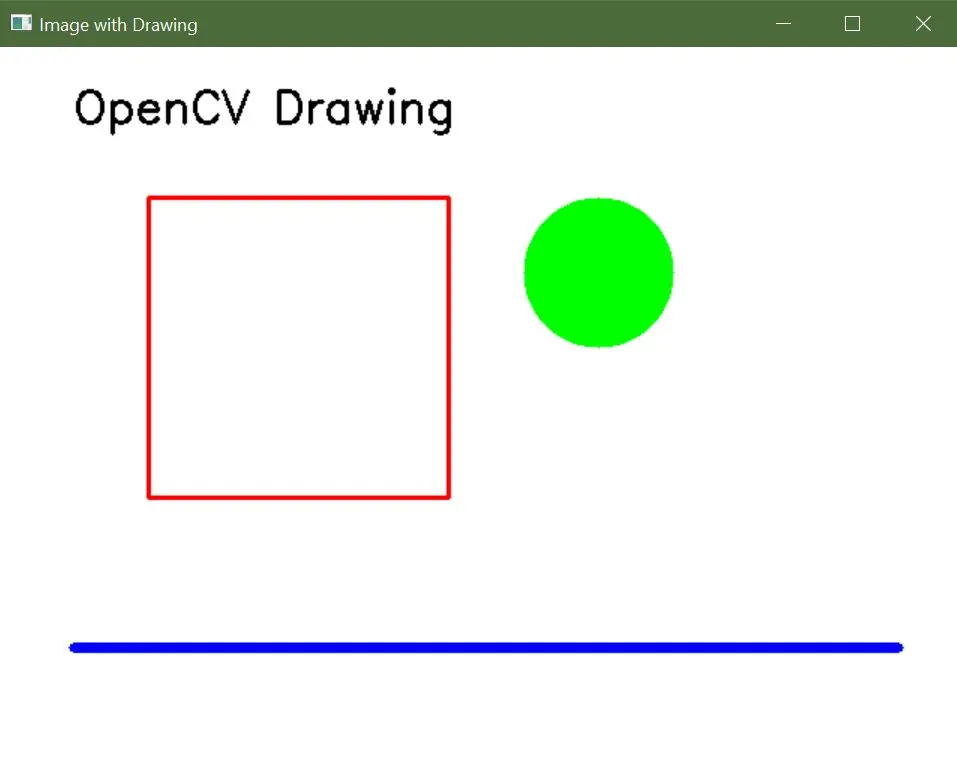
OpenCV에서 그리기 함수를 사용하여 이미지 생성
OpenCV는 이미지에 그래픽 요소를 추가할 수 있는 여러 그리기 함수를 제공합니다. 다음 함수를 사용하여 모양, 선 및 텍스트가 있는 이미지를 생성할 수 있습니다.
-
cv2.line(): 두 점 사이에 직선을 그립니다. -
cv2.rectangle(): 지정된 크기로 사각형을 그립니다. -
cv2.circle(): 주어진 중심과 반지름으로 원을 그립니다. -
cv2.ellipse(): 지정된 매개변수로 타원을 그립니다. -
cv2.polylines(): 다각형 또는 연결된 선들로 폴리곤을 그립니다. -
cv2.putText(): 이미지에 텍스트를 추가합니다.
샘플 코드:
import cv2
import numpy as np

# Create a blank image with a white background
width, height = 640, 480
blank_image = np.zeros((height, width, 3), dtype=np.uint8)
blank_image[:] = (255, 255, 255)  # White color in BGR format

# Draw a red rectangle
start_point_rect = (100, 100)
end_point_rect = (300, 300)
red_color = (0, 0, 255)  # Red color in BGR format
thickness_rect = 2
cv2.rectangle(blank_image, start_point_rect, end_point_rect, red_color, thickness_rect)

# Draw a green circle
center_circle = (400, 150)
radius_circle = 50
green_color = (0, 255, 0)  # Green color in BGR format
thickness_circle = -1  # Negative thickness fills the circle
cv2.circle(blank_image, center_circle, radius_circle, green_color, thickness_circle)

# Draw a blue line
start_point_line = (50, 400)
end_point_line = (600, 400)
blue_color = (255, 0, 0)  # Blue color in BGR format
thickness_line = 5
cv2.line(blank_image, start_point_line, end_point_line, blue_color, thickness_line)

# Add text to the image
text = "OpenCV Drawing"
font = cv2.FONT_HERSHEY_SIMPLEX
font_scale = 1
font_color = (0, 0, 0)  # Black color in BGR format
font_thickness = 2
text_position = (50, 50)
cv2.putText(
    blank_image, text, text_position, font, font_scale, font_color, font_thickness
)

# Display the image
cv2.imshow("Image with Drawing", blank_image)
cv2.waitKey(0)
cv2.destroyAllWindows()
결과: