How to Draw Circle in Python OpenCV

The OpenCV library provides you with various methods out of the box and makes our life much easier when it comes to dealing with recognizing, processing, managing, and editing images.
In this article, we will see how to draw a circle on an image with the help of the OpenCV library’s circle() method.
Use OpenCV Library’s circle() Method to Draw a Circle
There is a method called circle() to draw a circle using the OpenCV library.
This method takes various arguments (a total of 5 arguments). The syntax for the circle() method is given below.
Syntax:
cv.circle(image, circle_coordinates, radius, colour, thickness)
The following table describes the argument name and its description.
| Argument Name | Description |
|---|---|
image |
The image is being read by OpenCV. |
circle_coordinates |
This determines the center of the circle. |
radius |
The radius of the circle. |
colour |
Border colour of the circle. |
thickness |
This specifies the thickness of the border. |
To create a circle, you first import and read an image, then display or render a circle on that image. We can do it with the help of the imread() method of OpenCV.
To this method, we have to pass the absolute image path as an argument. This method will read the provided image and return the image data in array format.
Now, we have to store the data returned by the imread() inside a variable named image as this will be used in the circle() method.
Code Snippet:
image = cv2.imread("img.jpg")
circle_coordinates = (400, 250)
radius = 60
colour = (255, 255, 0)
thickness = 5

img_with_circle = cv2.circle(image, circle_coordinates, radius, colour, thickness)

cv2.imshow("image", img_with_circle)
cv2.waitKey(0)
After you have the image, you have to specify where you want to draw a circle on that image with the help of x and y coordinates as (400,250). The first value, 400, refers to the x-axis and the second value, 250, refers to the y-axis.
We can specify any value here depending on where we want to position our circle on the image. Then we will store the coordinates inside a variable circle_coordinates.
To define the circle size, you can specify the radius for it and store it inside the radius variable. The bigger the radius, the bigger the size of the circle.
To increase the circle’s border, you must increase its thickness as an integer value. You can also specify the colour for the circle border in RGB format, as shown in the above code.
And we can also store the thickness value and circle colour value inside the variables thickness and colour, respectively.
Finally, we will pass all these variables image, circle_coordinates, radius, colour, and thickness to the circle() method as shown above. It will return an image with a circle drawn on it.
We will store this edited image inside the img_with_circle variable. Now to show or display this image on a window, we will use imshow().
This method accepts two arguments. The first is the window’s name, and the second is the image itself. We can give any name to the window as a string, and then we will pass img_with_circle as the second argument.
The above code fence produces the following output:
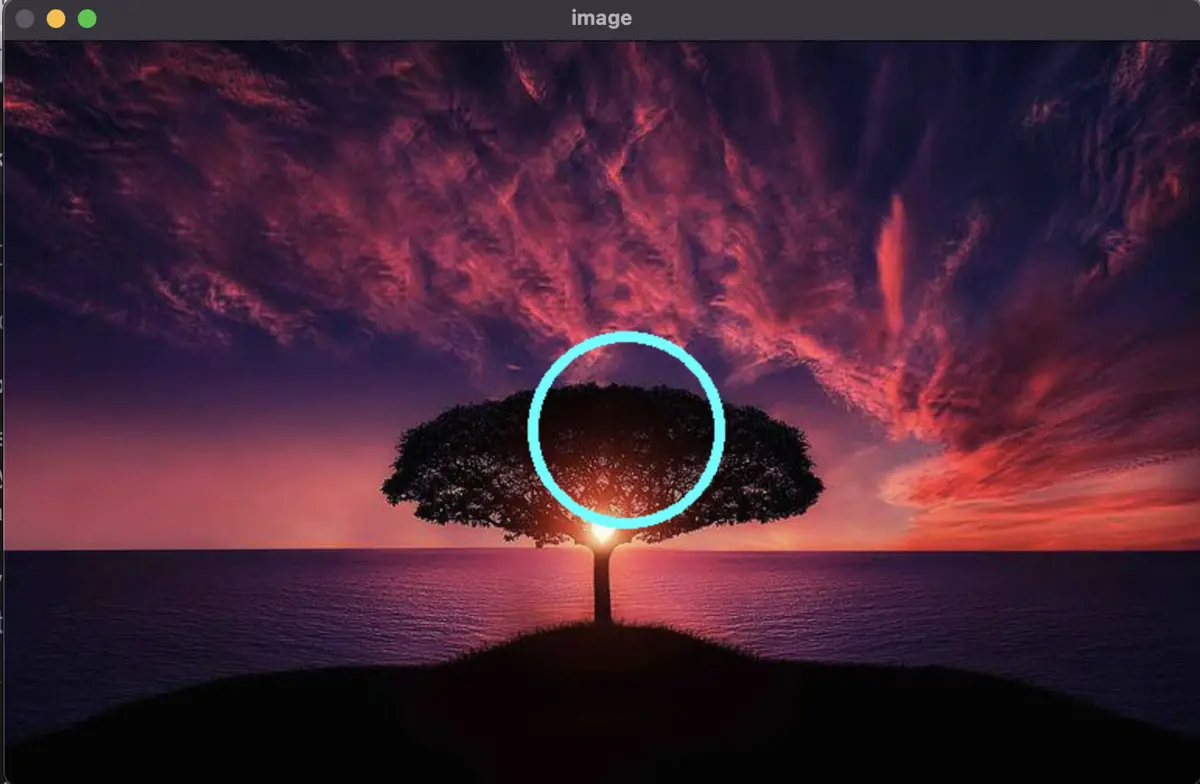
Lastly, the most important thing is that you also have to use the waitKey() method of the OpenCV and pass the value 0 to it.
If you don’t add this line of code, it will render the image with a circle on a separate tab, and that tab will vanish instantly. Here, you might feel the code is not working correctly, but that’s not the case.
It will ensure that the window on which the image is being displayed stays visible on the screen all the time and can only be manually closed by the user.

Sahil is a full-stack developer who loves to build software. He likes to share his knowledge by writing technical articles and helping clients by working with them as freelance software engineer and technical writer on Upwork.
LinkedIn