How to Implement Median Filter in OpenCV
In this demonstration, we will learn what a median filter is and discuss two types of median filters in OpenCV. Then we will also learn how to remove salt-and-pepper noise from an image with the help of these median filters.
Remove Salt-and-Pepper Noise From an Image With the Help of the Median Filter in OpenCV
Let’s look at the median filter, which is excellent for denoising, especially the salt-and-pepper type of noise. Before jumping in a quick lesson on the median, we all know the mean is nothing but the average of all numbers and the typical example that people use.
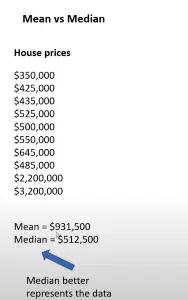
For example, you live in a neighborhood where your house ranges anywhere between 350 000, 425 000, etc. You probably have a couple of rich guys living in your neighborhood, somewhere up the hill, whose houses are worth 2.2 million, 3.2 million, etc.
Suppose you look at the mean of all of these and see 931 500, which surprised you. Probably, you’d think that 931 500 is the average house price; that is why you always look at the median of the house prices.
Look at the median of these values; it comes to 512 500, representing the spread better than the mean. These are the Statistics you probably learned in your fifth grade or sixth grade, and why we are mentioning this is because we will demonstrate them in this image.
The image below is artificially added with a lot of salt-and-pepper noise, and we can see many dark and bright pixels. If we zoom in, we can see this region which is supposed to be homogeneously gray.
Why are these salt-and-pepper noises showing up? For many reasons, the primary source of salt-and-pepper noise is there, especially in older electronics that you used to capture your images where analog to digital conversion has some issues.
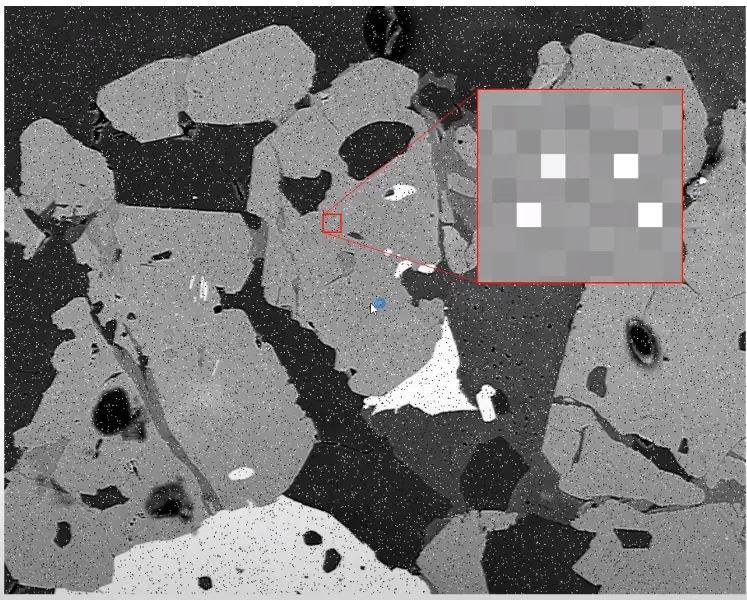
The Gaussian blur is OK but not great at cleaning this type of noise, and technically, the median filter should do a better job. If you look closely, all of these are about homogeneously gray except for this one pixel that shows up as a bright pixel.
If we apply a 3x3 kernel and look at the median value, we are looking at all the surrounding this central pixel. The median of all of these numbers inside this red box is 140.
If we replace the 255 with 140, we get a very nice uniform and homogeneous image.

This is a quick pictorial, graphical representation, so let’s jump into the Python code. We will start by importing cv2 and median from skimage.filters to demonstrate using the median in both packages.
We are importing two images, one image for salt-and-pepper and for resizing it. We need to use the medianBlur() method, pass it an image and set the kernel size to 3.
import cv2
from skimage.filters import median

SP_IMG = cv2.imread("inp.tif", 0)
IMG = cv2.resize(SP_IMG, (720, 600))

IMG = IMG

Opencv_Median = cv2.medianBlur(IMG, 3)
Now, we are using the same terminology. The skimage is very similar, except it defines your kernel and uses something we call disk.
We need to call the median() method from the skimage package and pass an image. Instead of the kernel size, we are creating a disk size.
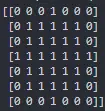
When we print a disk, it creates a matrix where zero pixels are multiplied by zero, and these one pixels are multiplied by one when it is moving on top of your image.
Now, we pass the mode argument. It is nothing, but how do you deal with the end pixels when this kernel gets to the end of the image?
Because there is nothing to its right, it will add some pixels with a constant value.
Example code:
from skimage.morphology import disk
import cv2
from skimage.filters import median
SP_IMG = cv2.imread("inp.tif", 0)
IMG = cv2.resize(SP_IMG, (720, 600))
IMG = IMG
Opencv_Median = cv2.medianBlur(IMG, 3)
print(disk(3))
SK_Median = median(IMG, disk(3), mode="constant", cval=0.0)
cv2.imshow("Original", IMG)
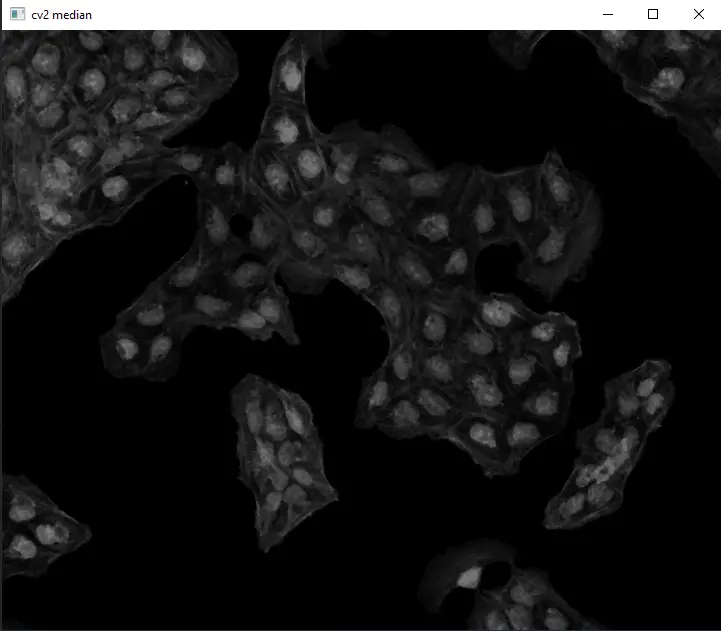
cv2.imshow("cv2 median", Opencv_Median)
cv2.imshow("Using skimage median", SK_Median)
cv2.waitKey(0)
cv2.destroyAllWindows()
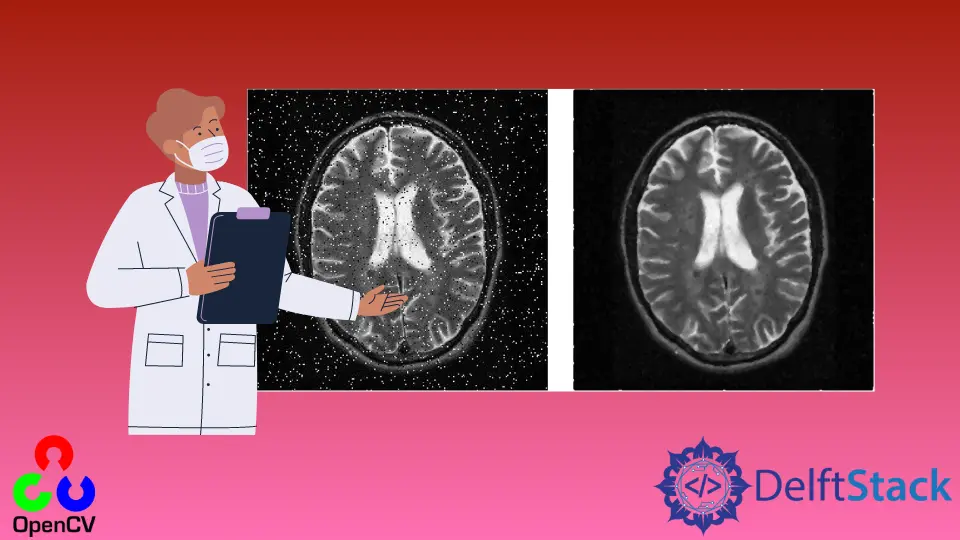
We have three outputs, and one is an original image with some Gaussian noise.

The second output is the median image using OpenCV. In this output, the result is better than the original image.
If we look at the next output using the skimage median, it looks very clean, with nothing in the background. You can read more about this technique in the article on How to Detect and Remove Outliers in Python.

We can observe that the skimage median looks even better than the OpenCV median because the kernel size is a bit smaller for this median and not very clean compared to the original image. Why don’t the skimage and OpenCV median output images look the same?
In the skimage median, we define a disk size, and in the OpenCV median, we define a kernel size.
The kernel sizes are different; hence, the outputs look slightly different. The math will be the same if you get the same kernel size.

Hello! I am Salman Bin Mehmood(Baum), a software developer and I help organizations, address complex problems. My expertise lies within back-end, data science and machine learning. I am a lifelong learner, currently working on metaverse, and enrolled in a course building an AI application with python. I love solving problems and developing bug-free software for people. I write content related to python and hot Technologies.
LinkedIn