GUI Features of OpenCV in Python
- Reading and Writing Images Using OpenCV in Python
- Draw on Images Using the OpenCV in Python
- Color Palette With Trackbar Using OpenCV in Python
- Conclusion

GUI stands for Graphical User Interface, which allows the user to interact with a program using hardware devices like a keyboard and mouse. GUI provides a visually appealing interface that is relatively easy to use.
The opencv library implements various functions and objects that can apply different techniques to process images. We can read and process images very efficiently using this library.
This tutorial will demonstrate different GUI techniques using Python’s opencv library.
Reading and Writing Images Using OpenCV in Python
The most basic of GUI techniques are associated with reading and displaying images. The opencv library creates a window for displaying an image using the imshow() function.
We can read the image beforehand using the imread() function and even save it on some specified path using the imwrite() method.
The Python interpreter tries to close the created window as soon as the program executes, and we can prevent this using the waitKey() function. This function waits for the user to press some key and then resume program execution.
We can use the destroyAllWindows() function to close the windows as per the user requirement. Let us see a working example.
Code Example:
import cv2

img = cv2.imread("obj.png")
cv2.imshow("Show image", img)

cv2.waitKey(0)
cv2.destroyAllWindows()

cv2.imwrite("Newimage.png", img)
Output:
True
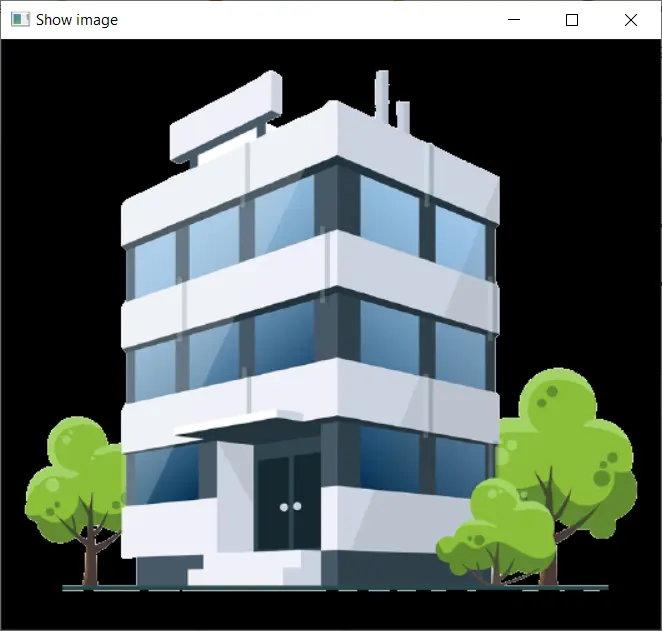
The code reads an image using the imread() function and displays it using the imshow() function. We then wait for the user to press some key before resuming execution.
After a key is pressed, the created window is closed. Then the imwrite() function proceeds to save the given image to the specified path.
Note that we also specify the filename and its format within the function. The function returns True, which specifies that the file was written successfully.
Draw on Images Using the OpenCV in Python
The opencv library also provides functions to draw on the images. We can draw different shapes on an image using functions like line(), rectangle(), circle(), and more.
We can draw these shapes on the image we read before.
Code Example:
import cv2

img = cv2.imread("obj.png")

cv2.line(img, (0, 0), (511, 511), (255, 0, 0), 5)
cv2.rectangle(img, (400, 0), (510, 128), (255, 255, 0), 3)
cv2.imshow("Show image", img)

cv2.waitKey(0)
cv2.destroyAllWindows()

cv2.imwrite("Newimage.png", img)
Output:
True
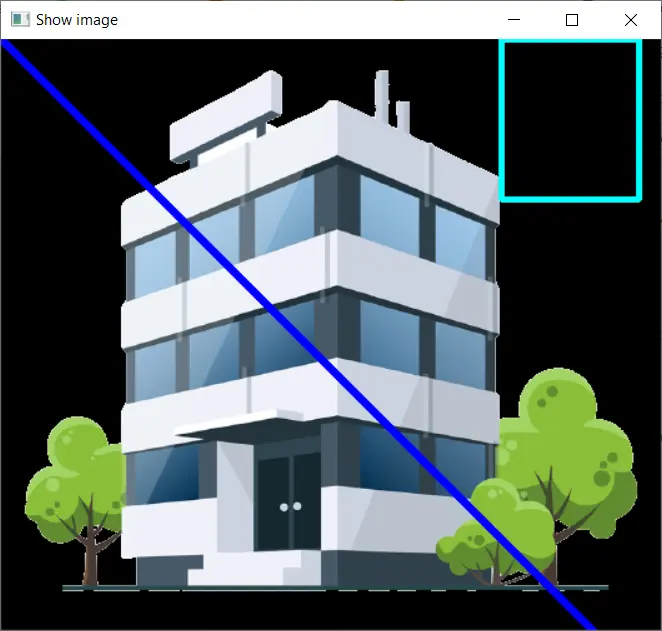
In the above example, we added a line and a rectangle to the input image and then saved it at some location.
The line() function adds the line to the image. We specify the starting and ending coordinates of the line along with the thickness and color code.
The rectangle() function creates a rectangle. This function specifies the bottom right and top left coordinates along with the color code and thickness.
After drawing the image, we export it to the device using the imwrite() function.
We can also use the mouse as a paintbrush and add shapes or lines where we desire on the given image. As discussed earlier, the opencv library has functions that can read and detect the user input, like the waitKey() function.
This library stores different events like left-button mouse click, right-button mouse click, and many more. We can wait for the user to perform some events and then call a function based on the event.
First, we need to create a window using the namedWindow() method and assign a title to this window. The setMouseCallback() handles the mouse events on some specified window.
We can specify the window title within the function. We also need to specify a function that needs to be executed.
Code Example:
import cv2


def add_circle(e, x, y, flags, param):
    if e == cv2.EVENT_LBUTTONDBLCLK:
        cv2.circle(img, (x, y), 25, (0, 0, 255), -1)


img = cv2.imread("obj.png")
cv2.namedWindow("Draw")
cv2.setMouseCallback("Draw", add_circle)

while True:
    cv2.imshow("Draw", img)
    if cv2.waitKey(20) & 0xFF == 27:
        break
cv2.destroyAllWindows()
Output:
-on-image-using-opencv-python.webp)
Let us understand the code in the above example. First, we read an image and create a window using the namedWindow() function.
We create a function add_circle() that accepts the event, coordinates, flags, and other parameters. We check if the event is the same with a double click of the mouse’s left button (cv2.EVENT_LBUTTONDBLCLK).
When the mouse is double-clicked on the window, the condition is True, and we pass the coordinates to the circle() function that creates a circle at the position of the mouse click. We create a loop that executes this on repeat.
The Escape key must be pressed to break out of the loop. The waitKey() function detects the key pressed.
Color Palette With Trackbar Using OpenCV in Python
Let us move on to more complicated GUI techniques using opencv in Python. This will be understood better using a black screen.
We will create a numpy array of three dimensions for this, and this array is filled with zeros and will serve as a black screen. We will then create a window for this image using the namedWindow() method as we did in the previous examples.
Now we need to create the trackbars. We will control the color palette of this black screen by changing its RGB values using the trackbars.
To create the trackbars, we use the createTrackbar() function. This method will create a trackbar, attach it to the provided window, and specify the image object and range of the trackbar within the function.
In our case, the range will be from 0 to 255. It also takes an OnChange parameter containing a function that needs to be called every time the slider’s position changes.
We do not need a function to perform any operation when the position is altered. So, we will create a function that performs no operation and contains just a pass statement.
We will create a loop that executes till a specific key is pressed. In this loop, we will get the slider’s current position using the getTrackbarPos() position, and we will set the RBG values of this image based on the tracker position.
Code Example:
import cv2
import numpy as np


def ignore(x):
    pass


img = np.zeros((512, 512, 3), np.uint8)
cv2.namedWindow("rgb_palette")

cv2.createTrackbar("R", "rgb_palette", 0, 255, ignore)
cv2.createTrackbar("G", "rgb_palette", 0, 255, ignore)
cv2.createTrackbar("B", "rgb_palette", 0, 255, ignore)

while True:
    cv2.imshow("rgb_palette", img)
    c = cv2.waitKey(1) & 0xFF
    if c == 27:
        break

    R = cv2.getTrackbarPos("R", "rgb_palette")
    G = cv2.getTrackbarPos("G", "rgb_palette")
    B = cv2.getTrackbarPos("B", "rgb_palette")

    img[:] = [B, G, R]

cv2.destroyAllWindows()
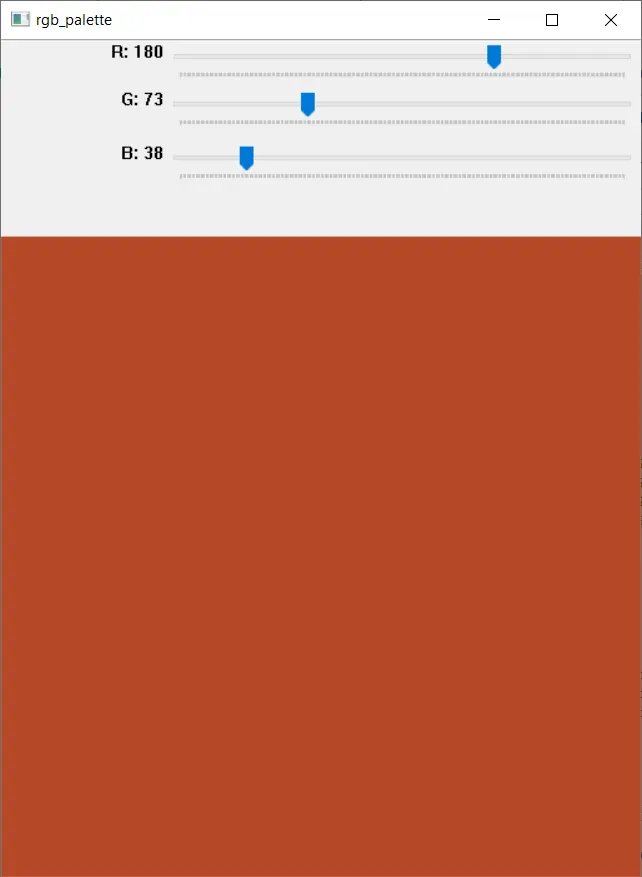
In the above example, we create an RGB color palette using opencv in Python. We create three trackbars for the Red, Green, and Blue values.
We change their values on the slider, which is reflected on the image (black screen). To break out of the loop, we can press the Escape> key using the waitKey() function to detect the pressed key.
Conclusion
This tutorial demonstrated the various GUI techniques and features associated with Python’s opencv library. We demonstrated these techniques in detail.
The reading and writing of images using the opencv library can be considered the most simple GUI feature as the image is displayed in a newly-created window. We can export this image as well and save it on the device.
Then, we discussed how to draw shapes and lines on an image using opencv. We discussed the functions that can be used to draw these shapes and added more GUI features by adding user interaction to this and drawing shapes using mouse clicks.
In the final GUI feature, we demonstrate the use of trackbars. These are sliders that the user can alter.
We create an RGB Color Palette trackbar. The values are changed, and we observe the changes on the screen.

Manav is a IT Professional who has a lot of experience as a core developer in many live projects. He is an avid learner who enjoys learning new things and sharing his findings whenever possible.
LinkedIn