How to Navigate with Router Link in Angular

We will introduce the routerLink method in Angular and use this method for navigation.
Router Link in Angular
Navigation is one of the most important parts of any web application or website. Even when creating a Single Page Application (SPA) with only one page, we still use the navigation to jump from section to section.
Navigation makes it easy for users to find what they are looking for in web applications. We can make our application user-friendly and easy to use by providing simple and easy-to-understand navigation.
Angular provides many methods for navigation to achieve simple to complex routing easily. Angular provides a separate module, RouterModule, to set up navigation in our web application.
A Single Page Application (SPA) does not have different pages to link to, but it displays different views. Normally we display a link using HTML like below.
# angular
<a href="/link">
  Example link in HTML.
</a>
Angular provides us a directive, routerLink, that can be used instead of href as shown below.
# angular
<a routerLink="/home">
  Link Name.
</a>
There are 2 ways to use routerLink, one is used as a string, and the other is used as an array, as shown below.
# angular
<a routerLink="/home">
  Link used as a string.
</a>
<a [routerLink]="['/', 'user', 'fakhar']">
  Link used as an array.
</a>
The [routerLink] is used when we want to pass parameters in a link, while we use routerLink when we want a link. We will go through an example in which we will navigate through different components using routerLink.
So let’s create a new application using the following command.
# angular
ng new my-app
After creating our new application in Angular, we will go to our application directory using this command.
# angular
cd my-app
Let’s run our app to check if all dependencies are installed correctly.
# angular
ng serve --open
We will generate components using commands. First, we will generate our home component.
# angular
ng generate component home
Once we have generated our home component, we will generate our about component.
# angular
ng generate component about
Lastly, we generate our services component using the following command.
# angular
ng generate component services
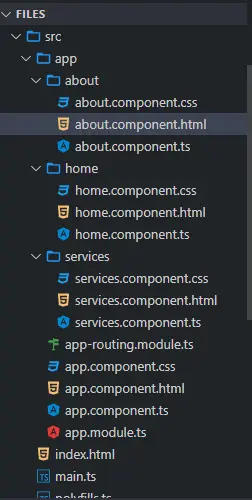
After generating our components, we will have three components in separate folders with 3 files.
Output:
Once we have generated our components, we will create views. First, we will open about.component.html from the about folder and add the following code.
# angular
<div class="container" >
  <h1> This is about Component </h1>
  <h3> Try navigating to other components </h3>
</div>
We will open the home.component.html file from the home folder and add the following code.
# angular
<div class="container">
 <h1> This is home component </h1>
 <h3> Try navigating to other components </h3>
</div>
We will open the services.component.html file from the services folder and add the following code.
# angular
<div class="container">
 <h1> This is Services component </h1>
 <h3> Try navigating to other components </h3>
</div>
Once we have our components and views ready, we will define our routes in app-routing.module.ts. We will import ngModule.
We will also import Routes and RouterModule from router and import our created components.
# angular
import { NgModule } from '@angular/core';
import { Routes, RouterModule } from '@angular/router';
import { AboutComponent}  from './about/about.component';
import { HomeComponent} from './home/home.component';
import { ServicesComponent } from './services/services.component';

@NgModule({
  imports: [RouterModule.forRoot(routes)],
  exports: [RouterModule]
})
export class AppRoutingModule { }
Once we have imported everything, we will define routes to our components, as shown below.
# angular
const routes: Routes = [

    { path: 'about', component: AboutComponent },
    { path: 'home', component: HomeComponent},
    { path: 'services', component: ServicesComponent },
 ];
We will create our navigation menu in app.component.html. We will use routerLink to get the links from the routes we just defined and use router-outlet to display the content of our components.
<ul class="nav navbar-nav">
  <li>
    <a routerLink="/home">Home</a>
  </li>
  <li>
    <a routerLink="/about">About</a>
  </li>
  <li>
    <a routerLink="/services">Services</a>
  </li>
</ul>

<router-outlet> </router-outlet>
Output:
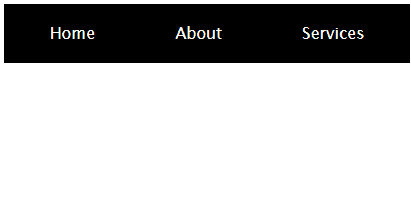
The above example shows that we can easily navigate from one component to another using routerLink and defining routes.
So in this tutorial, we learned how to create components and define routes, use routerLink to navigate between components easily, and use routerLink and [routerLink].

Rana is a computer science graduate passionate about helping people to build and diagnose scalable web application problems and problems developers face across the full-stack.
LinkedIn