How to Rotate Raspberry Pi Display
- Rotate Display in Raspberry Pi Device Using Command Prompt/Terminal
- Rotate Display in Raspberry Pi Device Using Desktop
- Rotate Display Using the Raspberry Pi Device
- Rotate the Screen for the Previous Version of the Raspberry Pi Device
Raspberry Pi is a small handheld computer built by the Raspberry Pi foundation team. It was developed for basic learning purposes for students.
With this device, students can build different hardware and software projects. A few industrial projects were also developed using this small Raspberry Pi.
Assuming that you have already set up the Raspberry Pi device and doing operations with it. In this article, we learn about the Pi device’s display (screen) rotation.
It is possible to rotate the display by 90, 180, and 270 degrees in a Raspberry Pi device from the local computer.
Before we start to rotate the display, we need the following things.
- a Raspberry Pi (no specific version)
- a micro SD card
- reliable and stable internet connection
- a regular power supply
Rotate Display in Raspberry Pi Device Using Command Prompt/Terminal
If you have a 3D display, then use the terminal to rotate the display on the Pi desktop, which is suitable. For this purpose, open and edit the config.txt file.
In the next step, insert your SD card, open the boot or config file on a text editor like a Notepad, and connect the Pi device using the SSH connection. Then use the following command:
sudo nano /boot/config.txt
You can rotate or change the orientation of the Raspberry Pi desktop screen in the following ways.
1 for 90 degrees
2 for 180 degrees
3 for 270 degrees
To rotate the screen, use the commands display_lcd_rotate and display_hdmi_rotate using the terminal. Each value serves a different type of rotation on the screen using the display_lcd_rotate command.
display_lcd_rotate = 0 # resetting to default screen rotation
display_lcd_rotate = 1 # rotates by 90 degrees
display_lcd_rotate = 2 # rotates by 180 degrees
display_lcd_rotate = 3 # rotates by 270 degrees
Once you are satisfied with the new display settings, you can save the display rotation on the file by pressing together Ctrl+X key and then press Y key. The new display settings normally work once you restart the Raspberry Pi device.
sudo reboot
Rotate Display in Raspberry Pi Device Using Desktop
A display configuration tool is required for rotating the Pi device. On the Raspberry Pi desktop screen, go to the top left of the icon (shown as a PIN) and click on it.
Inside this, select the preference section and choose the screen configuration option. Pick a display you wish to rotate and move the cursor over it to set the screen orientation according to your requirement.
After selecting the rotation type, select the Ok option to confirm the display settings.
Rotate Display Using the Raspberry Pi Device
To avoid the config.txt file configuration, the new Pi device with version 4 has the latest video driver to rotate the screen. A simple screen configuration tool is used in Raspberry Pi 4 for rotating the screen.
To operate, open the terminal and use the xrandr command to rotate the display according to your need.
DISPLAY=:0 xrandr --output HDMI-1 --rotate normally
DISPLAY=:0 xrandr --output HDMI-1 --rotate to right
DISPLAY=:0 xrandr --output HDMI-1 --rotate to left
DISPLAY=:0 xrandr --output HDMI-1 --rotate inverted
Rotate the Screen for the Previous Version of the Raspberry Pi Device
There are a few similar steps to start the process for the previous or lower versions of the Raspberry Pi device 4. Open and edit the boot configuration file using the command line, which takes the screen rotation changes.
# connect remotely to Raspberry Pi via SSH connection
sudo nano /boot/config.txt
Similar to the previous examples, you have few options to rotate the display with different configurations. Each of them rotates the screen differently.
0 is to rotate back normally, 1 is for rotating the display for 90 degrees, 2 is for rotating the display for 180 degrees, and 3 is for rotating the display for 270 degrees. For the touchscreen display, you need to adjust the touchscreen also.
If you do not adjust the touchscreen rotation, the system takes input on the wrong position of the screen.
Note: The correct rotation for the touchscreen is necessary as the touch position is defined in the transformation matrix. If the values are incorrectly placed in the
Xinput, then the display’s touchscreen won’t work normally.
# adjust both touchscreen and screen display rotation
lcd_rotate = 0 # default, normal rotation
lcd_rotate = 1 # 90 degrees, upside down
lcd_rotate = 2 # 180 degrees,  landscape
lcd_rotate = 3 # 270 degrees, upside down
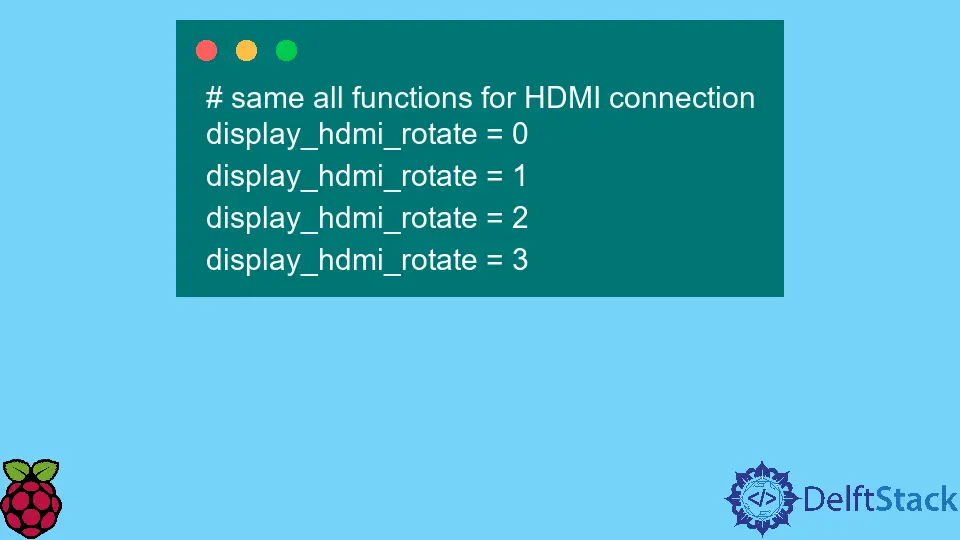
Similarly, if you are rotating the display for a display with an HDMI connection, use the following commands. If the display_hdmi_rotate command does not work, go to the config file and disable the dtoverlay=vc4-kms-v3d by inserting the # sign at the start of the file, save it, and reboot.
This process will make display_hdmi_rotate work.
# same all functions for HDMI connection
display_hdmi_rotate = 0
display_hdmi_rotate = 1
display_hdmi_rotate = 2
display_hdmi_rotate = 3
The Transformation Matrix is different in various kinds of screen models. Let’s take an example of screen display model M505T, where we can observe this type of transformation matrix as shown below.
# transformation matrix list for different degree positions.
90 degrees # transformation matrix  - 0 1 0 -1 0 1 0 0 1
180 degrees  # transformation matrix -1 0 1 0 -1 1 0 0 1
270 degrees # transformation matrix 0 -1 1 1 0 0 0 0 1
Once the new settings are done, you need to save the settings by using the Ctrl+X together and a Y key. Also, you need to restart the device to apply the new settings to the Raspberry Pi device.
sudo reboot