How to Create and Use Branches on Git
-
Use the
git branchCommand to Create, Show, and Delete Branches in Git -
Use
git checkout -b <branch>to Create New Branch With Current Changes in Git
This tutorial introduces the Git branch. We will see how Git branches can help you organize your project.
Some of the commands we will deal with are git branch and git checkout.
Use the git branch Command to Create, Show, and Delete Branches in Git
We use the git branch command to create, show, and delete branches.
You cannot use this command to switch between different branches.
- The
git branchshows all branches in your repository. - The
git branch <branch name>creates a new branch<branch name>in our repository. - The
git branch -d <branch name>deletes the branch<branch name>. Merge changes first before you run this command. - The
git branch -D <branch name>deletes a branch without exception. Use this command when you are positive about the decision. - The
git branch -m <branch name>renames or moves branches.
Let us create a new branch called New_Branch.
pc@JOHN MINGW64 ~/Git (main)
$ git branch New_Branch
Check if the branch exists.
pc@JOHN MINGW64 ~/Git (main)
$ git branch
  New_Branch
* main
We have two branches from the output above, New_Branch and main.
Let us now try to delete the New_Branch.
pc@JOHN MINGW64 ~/Git (main)
$ git branch -d New_Branch
Deleted branch New_Branch (was 78129a6).
You will get an error message when you have unmerged changes. Use the git push origin --delete <branch name> to delete a branch from a remote repository.
Use git checkout -b <branch> to Create New Branch With Current Changes in Git
The git checkout command switches between branches in a project.
To check an existing branch in your repository, use git checkout <branch>. Below is an example.
$ git branch
  Last_Branch
  New_Branch
* main
pc@JOHN MINGW64 ~/Git (main)
$ git checkout New_Branch
Switched to branch 'New_Branch'
M       .bash_history
M       text.txt.txt
M       text.txt.txt.bak
In our code above, we have two branches, New_Branch and Last_Branch. We use git checkout New_Branch to switch from our main branch to the New_Branch.
Use the git checkout -b <branch> to switch to a new branch. Let’s look at an example.
pc@JOHN MINGW64 ~/Git (New_Branch)
$ git checkout -b Branch1
Switched to a new branch 'Branch1'
When you switch to a new branch, Git automatically saves the changes from your current branch to the new branch. Check this out.
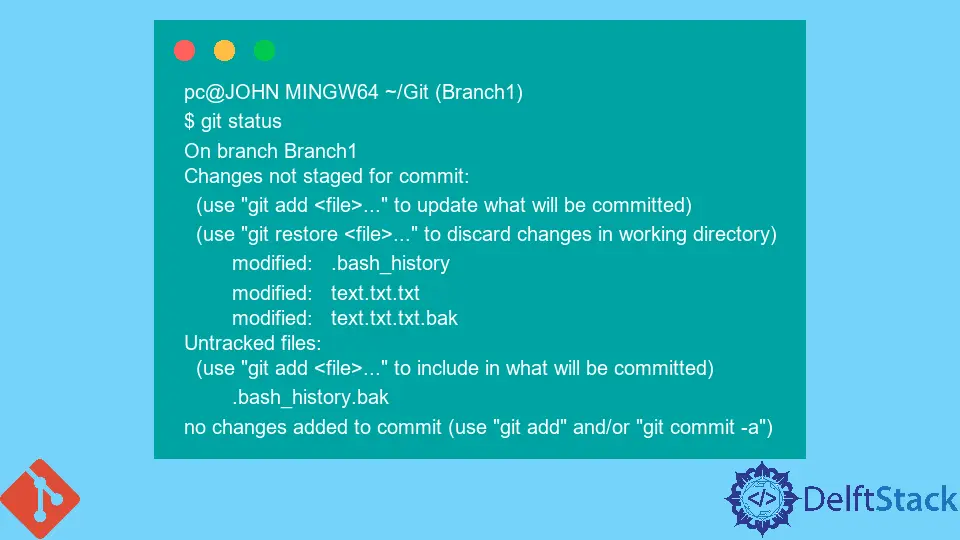
pc@JOHN MINGW64 ~/Git (Branch1)
$ git status
On branch Branch1
Changes not staged for commit:
  (use "git add <file>..." to update what will be committed)
  (use "git restore <file>..." to discard changes in working directory)
        modified:   .bash_history
        modified:   text.txt.txt
        modified:   text.txt.txt.bak
Untracked files:
  (use "git add <file>..." to include in what will be committed)
        .bash_history.bak
no changes added to commit (use "git add" and/or "git commit -a")
The output above proves that Git saved changes from the main branch to Branch1.

John is a Git and PowerShell geek. He uses his expertise in the version control system to help businesses manage their source code. According to him, Shell scripting is the number one choice for automating the management of systems.
LinkedIn