How to Add Right Click Menu to an Item in C#
- Understanding Context Menus
- Creating a Context Menu in C#
- Customizing Context Menu Items
- Handling Context Menu Events
- Conclusion
- FAQ
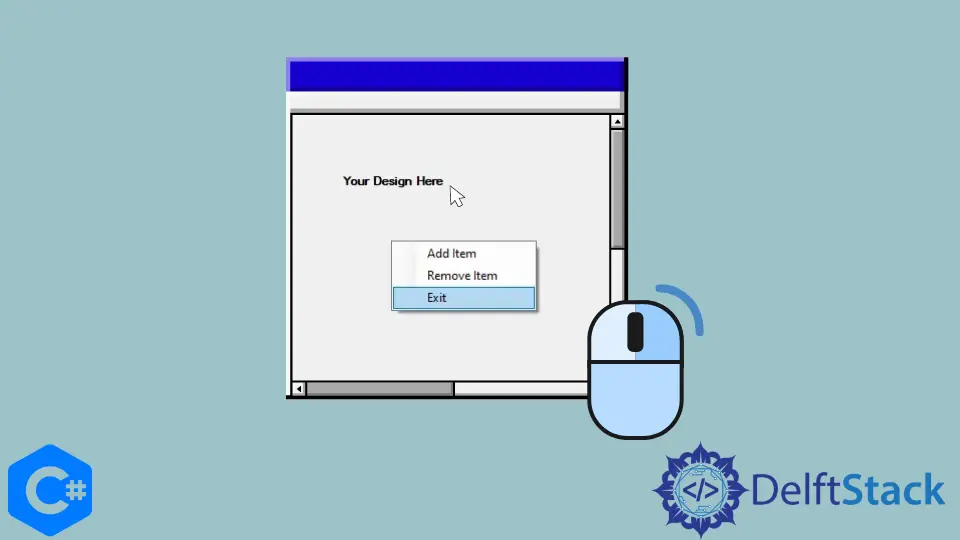
Adding a right-click menu to an item in a C# Windows Form application can significantly enhance user experience by providing quick access to common actions. Whether you want to allow users to copy, paste, delete, or perform other functions, a context menu can streamline these tasks. In this article, we will guide you through the process of implementing a right-click menu in a C# Windows Form application.
By following the steps outlined here, you will learn how to create a context menu, associate it with a specific item, and handle user interactions effectively. With a few lines of code, you can transform your application into a more user-friendly environment. Let’s dive into the details and get started!
Understanding Context Menus
Before we jump into the implementation, it’s essential to understand what a context menu is. A context menu is a pop-up menu that appears when a user right-clicks on a specific item within your application. It allows users to access relevant options quickly without navigating through the main menu or toolbar.
In C#, context menus can be created using the ContextMenuStrip class. This class provides a straightforward way to create a menu that can be displayed when the user right-clicks on an item. Now, let’s look at how to implement this in a C# Windows Form application.
Creating a Context Menu in C#
To create a context menu in your C# Windows Forms application, you will need to follow these steps:
- Open Visual Studio and create a new Windows Forms Application.
- Add a
ContextMenuStripcomponent to your form from the Toolbox. - Add menu items to the
ContextMenuStripby right-clicking on it in the designer and selecting “Add Menu Item.” - Associate the Context Menu with a control, such as a ListBox or a Button.
Here’s a simple example of how to implement a context menu for a ListBox:
public partial class Form1 : Form
{
    public Form1()
    {
        InitializeComponent();
        InitializeContextMenu();
    }

    private void InitializeContextMenu()
    {
        ContextMenuStrip contextMenu = new ContextMenuStrip();
        ToolStripMenuItem addItem = new ToolStripMenuItem("Add Item");
        ToolStripMenuItem deleteItem = new ToolStripMenuItem("Delete Item");

        addItem.Click += AddItem_Click;
        deleteItem.Click += DeleteItem_Click;

        contextMenu.Items.Add(addItem);
        contextMenu.Items.Add(deleteItem);

        listBox1.ContextMenuStrip = contextMenu;
    }

    private void AddItem_Click(object sender, EventArgs e)
    {
        listBox1.Items.Add("New Item");
    }

    private void DeleteItem_Click(object sender, EventArgs e)
    {
        if (listBox1.SelectedItem != null)
        {
            listBox1.Items.Remove(listBox1.SelectedItem);
        }
    }
}
In this code snippet, we first create a ContextMenuStrip and populate it with two menu items: “Add Item” and “Delete Item.” We then associate the context menu with a ListBox control named listBox1. The AddItem_Click and DeleteItem_Click methods handle the respective actions when the user selects these options.
Output:
New Item added to the ListBox
Selected item removed from the ListBox
The AddItem_Click method adds a new item to the ListBox, while the DeleteItem_Click method removes the selected item. This simple implementation demonstrates how to create a right-click context menu that enhances user interaction within your application.
Customizing Context Menu Items
Once you have a basic context menu set up, you may want to customize it further. Customization can involve changing the appearance of the menu items, adding icons, or even enabling/disabling options based on certain conditions.
To customize the context menu items, you can set properties such as BackColor, ForeColor, and Image for each ToolStripMenuItem. Here’s an example of how to add icons to the context menu items:
private void InitializeContextMenu()
{
    ContextMenuStrip contextMenu = new ContextMenuStrip();

    ToolStripMenuItem addItem = new ToolStripMenuItem("Add Item", null, AddItem_Click);
    addItem.Image = Image.FromFile("path_to_add_icon.png");

    ToolStripMenuItem deleteItem = new ToolStripMenuItem("Delete Item", null, DeleteItem_Click);
    deleteItem.Image = Image.FromFile("path_to_delete_icon.png");

    contextMenu.Items.Add(addItem);
    contextMenu.Items.Add(deleteItem);

    listBox1.ContextMenuStrip = contextMenu;
}
In this example, we have added icons to the “Add Item” and “Delete Item” options by loading images from specified file paths. This not only makes the context menu visually appealing but also helps users quickly identify the actions associated with each option.
Output:
Context menu with icons displayed
By customizing the context menu items, you can create a more engaging user experience that aligns with your application’s design.
Handling Context Menu Events
Handling events from context menu items is crucial for ensuring that your application responds appropriately to user actions. In the previous examples, we demonstrated how to handle click events for menu items. However, you can also implement additional event handlers to manage other actions, such as hovering over menu items or opening the menu.
For instance, you might want to enable or disable menu items based on the selection state of the ListBox. Here’s how you can achieve that:
private void InitializeContextMenu()
{
    ContextMenuStrip contextMenu = new ContextMenuStrip();

    ToolStripMenuItem addItem = new ToolStripMenuItem("Add Item", null, AddItem_Click);
    ToolStripMenuItem deleteItem = new ToolStripMenuItem("Delete Item", null, DeleteItem_Click);

    contextMenu.Items.Add(addItem);
    contextMenu.Items.Add(deleteItem);

    listBox1.ContextMenuStrip = contextMenu;
    listBox1.MouseDown += ListBox1_MouseDown;
}

private void ListBox1_MouseDown(object sender, MouseEventArgs e)
{
    if (e.Button == MouseButtons.Right)
    {
        int index = listBox1.IndexFromPoint(e.Location);
        listBox1.ClearSelected();
        if (index != -1)
        {
            listBox1.SelectedIndex = index;
            contextMenu.Items[1].Enabled = true; // Enable delete item
        }
        else
        {
            contextMenu.Items[1].Enabled = false; // Disable delete item
        }
    }
}
In this implementation, we handle the MouseDown event for the ListBox. When the user right-clicks, we check if an item is selected. If an item is selected, we enable the “Delete Item” option; otherwise, we disable it. This dynamic behavior makes your context menu more intuitive and responsive to user actions.
Output:
Delete Item enabled or disabled based on selection
By effectively handling events, you can create a context menu that adapts to user interactions, providing a smoother and more engaging experience.
Conclusion
Adding a right-click context menu to an item in a C# Windows Forms application is a straightforward process that can greatly enhance usability. By following the steps outlined in this article, you can create a context menu, customize it, and handle user interactions effectively. Whether you are building a simple application or a more complex one, implementing a context menu can streamline user tasks and improve the overall experience.
Now that you have the knowledge to implement context menus in your applications, take the time to experiment with different features and customizations. The more you practice, the more intuitive your applications will become.
FAQ
-
What is a context menu in C#?
A context menu is a pop-up menu that appears when a user right-clicks on an item, providing quick access to relevant options. -
How do I add a context menu to a control in C#?
You can add a context menu by using theContextMenuStripclass and associating it with a control, such as a ListBox or Button. -
Can I customize the appearance of context menu items?
Yes, you can customize the appearance by changing properties likeBackColor,ForeColor, and adding icons to the menu items. -
How can I handle events from context menu items?
You can handle events by adding event handlers to the menu items, allowing you to respond to user actions like clicks. -
Is it possible to enable or disable menu items based on user selection?
Yes, you can dynamically enable or disable menu items based on user selection by handling mouse events and checking the selection state.
Windows Form application. This comprehensive guide covers creating, customizing, and handling context menus to enhance user experience. Follow our step-by-step instructions and code examples to implement context menus effectively in your applications.

I have been working as a Flutter app developer for a year now. Firebase and SQLite have been crucial in the development of my android apps. I have experience with C#, Windows Form Based C#, C, Java, PHP on WampServer, and HTML/CSS on MYSQL, and I have authored articles on their theory and issue solving. I'm a senior in an undergraduate program for a bachelor's degree in Information Technology.
LinkedIn