How to Set Up VPN Server on Raspberry Pi
This article will demonstrate setting up a VPN server on Raspberry Pi devices.
Configure WireGuard VPN Package on Raspberry Pi OS
Generally, there are many different protocols and implementations for the VPN server, but this article chose WireGuard software as a prevailing contemporary option.
The software package is usually available on the default repositories, and you should be able to install it using the following command:
sudo apt install wireguard
Once you have the wireguard package installed, several command-line tools will become available on your Raspberry Pi system for manipulating the WireGuard configuration and interfaces.
WireGuard usually adds a new virtual network interface to the system. WireGuard implements a CryptoKey Routing concept, denoted by associating public/private keys to each peer.
Namely, peers are just actors in the VPN tunnel, each identified by unique public keys. So, we need to generate these keys and include them in corresponding configuration files.
Since the configuration files and private keys should be considered sensitive information, we invoke the umask 0700 command before generating the keys and storing them in the /etc/wireguard directory.
Consequently, only the owners of these files can read/write the contents later.
umask 0700; wg genkey | sudo tee /etc/wireguard/private.key
Sample Output:
2RzKFbGMx5g7fG0BrWCI7JIpGvcwGkqUaCoENYueJw4=
The previous command will store the key in the private.key file and print it to copy it easily.
Next, we will create a configuration file named wg0.conf in the same /etc/wireguard directory and include the following contents in it:
[Interface]
PrivateKey = 2RzKFbGMx5g7fG0BrWCI7JIpGvcwGkqUaCoENYueJw4=
Address = 10.10.10.1/24
ListenPort = 51820
Notice that this configuration file is for the Raspberry Pi peer, and you can rename the wg0 part as you’d like.
You should copy replace the PrivateKey value with the key generated with the previous command. Also, you can specify a port that will accept incoming connections and the peer’s address.
Now we can move on to the other peer (Peer A), which should connect to the Raspberry Pi. At this point, we assume that the other machine is Linux-based, and you have installed the WireGuard package on it accordingly.
The Peer A configuration will follow the same steps to reuse the command to generate the public key and execute it. Notice that keys can be generated on one machine, but since the private keys are meant to be secret, we are developing them on the corresponding peer machines.
Once the private key is generated, create a configuration file (e.g. wg0.conf) in the /etc/wireguard directory and insert the following lines:
[Interface]
PrivateKey = 9jalV3EEBnVXahro0pRMQ+cHlmjE33Slo9tddzCVtCw=
Address = 10.10.10.2/32
Notice that the PrivateKey value here is arbitrary, and you must replace it with the valid one. At the same time, the IP address might modify if you have specific network configuration needs.
After this, we have to generate public keys and store them in their configuration files. The public keys are derived from private keys and, in our case, will need to be generated on both devices.
Use the following command to generate one public key on Raspberry Pi and the second one on the other machine:
sudo cat /etc/wireguard/private.key | wg pubkey | sudo tee /etc/wireguard/public.key
Now, let’s insert the peer section into the configuration file. The following lines need to be appended to the Raspberry Pi /etc/wireguard/wg0.conf file:
[Peer]
PublicKey = PRIVATE_KEY_OF_PEER_A
AllowedIPs = 10.10.10.2/32
Note that the AllowedIPs value is the same as the IP address specified in the Address value of the Peer A configuration file.
Moreover, replace PRIVATE_KEY_OF_PEER_A with the private key generated on Peer A. On the other hand, append the following lines to the wg0.conf file on Peer A machine.
Make sure to replace the private key value with the corresponding one and the Endpoint address with the address of the Raspberry Pi device. Mind that the following configuration will make the VPN connection one-sided, as only Peer A will access the Raspberry Pi network.
[Peer]
PublicKey = PRIVATE_KEY_OF_RASPBERRY
AllowedIPs = 0.0.0.0/0
Endpoint = 172.16.0.134:51820
Finally, you should start the corresponding service on the Raspberry Pi side using the command:
sudo systemctl enable wg-quick@wg0.service
While Peer A will use the following command each time it wants to create a tunnel interface and connect to it:
sudo wg-quick up wg0
You can remove the interface and terminate the existing connection from Peer A with the command:
sudo wg-quick down wg0
How to Route All Peer A Traffic Through Raspberry Pi
At this point, Peer A won’t be able to access the internet, but only the Raspberry Pi network. We need to add additional parameters to the configuration files to make this happen.
Let’s start with the Peer A wg0.conf file and append the following line in the [Interface] section:
DNS = DNS_ADDRESS_USED_BY_RASPBERRY
This DNS address value is dependent on the network configuration, so you should retrieve the currently active one and update it if, for some reason, it’s changed in the future.
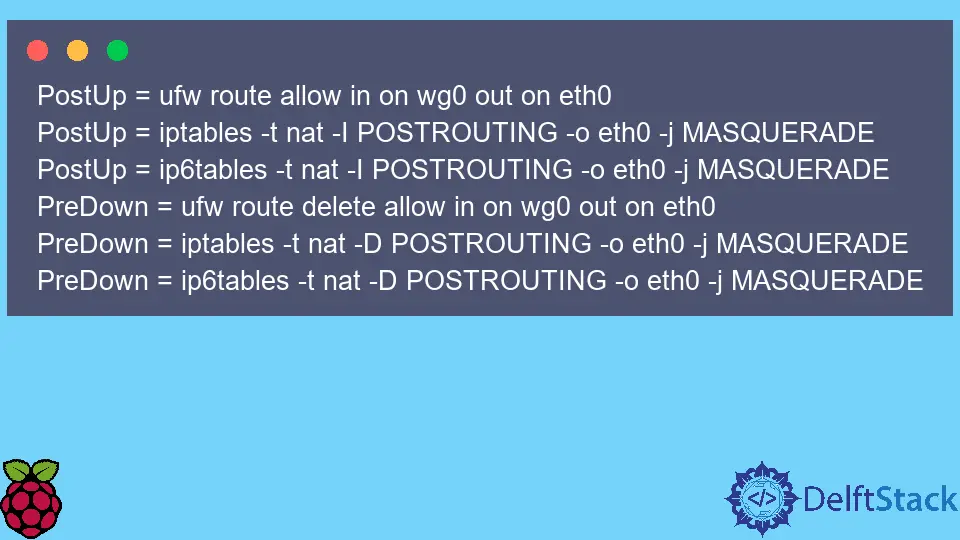
On the other hand, you should append these extra lines to the Raspberry Pi wg0.conf file:
PostUp = ufw route allow in on wg0 out on eth0
PostUp = iptables -t nat -I POSTROUTING -o eth0 -j MASQUERADE
PostUp = ip6tables -t nat -I POSTROUTING -o eth0 -j MASQUERADE
PreDown = ufw route delete allow in on wg0 out on eth0
PreDown = iptables -t nat -D POSTROUTING -o eth0 -j MASQUERADE
PreDown = ip6tables -t nat -D POSTROUTING -o eth0 -j MASQUERADE
Note that the wg0 name will need to be changed in these lines if you create a different filename for configuration files.
Once you saved the wg0.conf changes, open /etc/sysctl.conf file and uncomment/modify lines:
net.ipv4.ip_forward=1
net.ipv6.conf.all.forwarding=1
Usually, net.ipv6.conf.all.forwarding is only required if you also include IPv6 addresses in config files. After this, you must run the following command for the changes to take effect:
sudo sysctl -p
Now, you should connect and forward all your internet traffic from Peer A through Raspberry Pi. Although, if you are running a firewall on the Raspberry Pi, make sure to set up corresponding rules for Peer A, or it won’t be able to access the network at all.

Founder of DelftStack.com. Jinku has worked in the robotics and automotive industries for over 8 years. He sharpened his coding skills when he needed to do the automatic testing, data collection from remote servers and report creation from the endurance test. He is from an electrical/electronics engineering background but has expanded his interest to embedded electronics, embedded programming and front-/back-end programming.
LinkedIn Facebook