OpenCV Convolution
- Understanding Convolution in OpenCV
- Method 1: Basic Convolution with filter2D()
- Method 2: Using Custom Kernels for Advanced Effects
- Method 3: Convolution for Edge Detection
- Conclusion
- FAQ
In the world of image processing, convolution plays a pivotal role in enhancing and transforming images. If you’re diving into the realm of computer vision with OpenCV in Python, understanding how to perform convolution using the filter2D() function is essential. This article will guide you through the process of finding the convolution of two matrices or images, providing you with practical examples and insights into the underlying mechanics.
Whether you’re a beginner or an experienced developer, this tutorial will equip you with the knowledge to apply convolution in various scenarios. From sharpening images to blurring effects, mastering convolution opens up a plethora of possibilities for image manipulation. Let’s explore how OpenCV makes this task straightforward and efficient.
Understanding Convolution in OpenCV
At its core, convolution is a mathematical operation that combines two functions to produce a third. In the context of images, it involves a kernel (or filter) sliding over the image to apply a specific effect. This operation is fundamental in various applications, such as edge detection, image sharpening, and noise reduction.
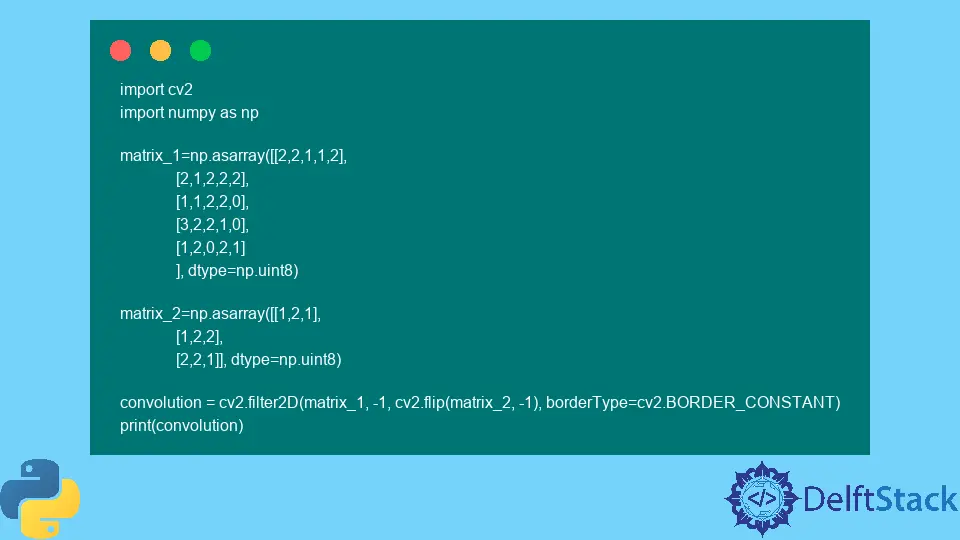
In OpenCV, the filter2D() function is used to perform convolution. This function takes an input image and a kernel, applying the kernel to the image to produce the desired output. The flexibility of filter2D() allows for various types of filters, making it a versatile tool in image processing.
Method 1: Basic Convolution with filter2D()
To start with convolution in OpenCV, you’ll need to set up your environment and install the necessary libraries. If you haven’t already, install OpenCV using pip:
pip install opencv-python
Once you have OpenCV installed, you can proceed with the convolution. Here’s a simple example demonstrating how to apply a basic convolution operation to an image using a kernel.
import cv2
import numpy as np

image = cv2.imread('input_image.jpg')
kernel = np.array([[0, -1, 0],
                   [-1, 5, -1],
                   [0, -1, 0]])

output = cv2.filter2D(image, -1, kernel)
cv2.imwrite('output_image.jpg', output)
In this example, we first import the necessary libraries: OpenCV and NumPy. We read an image using cv2.imread() and define a sharpening kernel. The kernel enhances the edges of the image, making it sharper. The filter2D() function is then called, passing the image and kernel, and the output is saved using cv2.imwrite().
Output:
output_image.jpg
This method is straightforward and effective for applying basic convolution operations. The kernel can be modified to achieve different effects, such as blurring or edge detection, depending on your needs.
Method 2: Using Custom Kernels for Advanced Effects
While basic convolution is useful, creating custom kernels can yield even more impressive results. Custom kernels allow for tailored effects based on the specific requirements of your project. Below is an example of applying a Gaussian blur using a custom kernel.
import cv2
import numpy as np

image = cv2.imread('input_image.jpg')
kernel_size = 5
sigma = 1.0
kernel = cv2.getGaussianKernel(kernel_size, sigma)
kernel = np.outer(kernel, kernel)

output = cv2.filter2D(image, -1, kernel)
cv2.imwrite('blurred_image.jpg', output)
In this code snippet, we generate a Gaussian kernel using OpenCV’s getGaussianKernel() function. The kernel is then reshaped into a 2D array using np.outer(). This Gaussian kernel is particularly effective for blurring images, softening sharp edges while maintaining overall structure. The filter2D() function applies this kernel to the input image, and the result is saved as a new image.
Output:
blurred_image.jpg
Creating custom kernels opens up a world of possibilities for image manipulation. You can experiment with different kernel sizes and sigma values to achieve the desired level of blur or even create unique effects by designing your own kernel matrices.
Method 3: Convolution for Edge Detection
Edge detection is a crucial aspect of image analysis, and convolution can be effectively employed to achieve this. The Sobel operator is a popular choice for detecting edges in images. Here’s how to implement edge detection using the Sobel kernel with OpenCV.
import cv2
import numpy as np

image = cv2.imread('input_image.jpg', cv2.IMREAD_GRAYSCALE)
sobel_x = np.array([[1, 0, -1],
                     [2, 0, -2],
                     [1, 0, -1]])

sobel_y = np.array([[1, 2, 1],
                     [0, 0, 0],
                     [-1, -2, -1]])

edges_x = cv2.filter2D(image, -1, sobel_x)
edges_y = cv2.filter2D(image, -1, sobel_y)

edges = cv2.addWeighted(edges_x, 0.5, edges_y, 0.5, 0)
cv2.imwrite('edges_image.jpg', edges)
In this example, we first read the input image in grayscale mode. Two Sobel kernels are defined: one for detecting horizontal edges (sobel_x) and another for vertical edges (sobel_y). The filter2D() function applies both kernels to the image, and the resulting edge images are combined using cv2.addWeighted() to produce a final edge-detected image.
Output:
edges_image.jpg
Edge detection is vital in various applications, such as object detection and image segmentation. By utilizing convolution with Sobel operators, you can effectively highlight the edges in an image, paving the way for further analysis and processing.
Conclusion
Convolution is a fundamental operation in image processing, enabling a wide range of effects and transformations. By utilizing OpenCV’s filter2D() function, you can easily apply various kernels to images, whether for sharpening, blurring, or edge detection. The flexibility of custom kernels allows for tailored solutions to meet specific project needs.
As you experiment with convolution in OpenCV, you’ll discover the immense power and versatility it brings to your image processing tasks. Whether you’re enhancing images for a project or analyzing visual data, mastering convolution is a crucial step in your journey through computer vision.
FAQ
-
what is convolution in image processing?
Convolution is a mathematical operation that combines two functions to produce a third function, often used in image processing to apply filters or effects to images. -
how does the filter2D() function work in OpenCV?
Thefilter2D()function in OpenCV applies a specified kernel to an image, performing convolution to produce a filtered output. It takes the image, depth, and kernel as inputs. -
can I create my own kernels for convolution?
Yes, you can create custom kernels by defining a NumPy array that represents the desired filter. This allows for tailored effects based on your specific needs. -
what are some common applications of convolution?
Convolution is commonly used for image filtering, edge detection, noise reduction, and various other image enhancement techniques. -
is OpenCV suitable for real-time image processing?
Yes, OpenCV is optimized for real-time image processing and is widely used in applications such as video analysis, object detection, and augmented reality.
