How to Compress and Unzip Files Using PowerShell
In PowerShell 5.0, Microsoft has commands for creating zip archives and extracting files from existing archives.
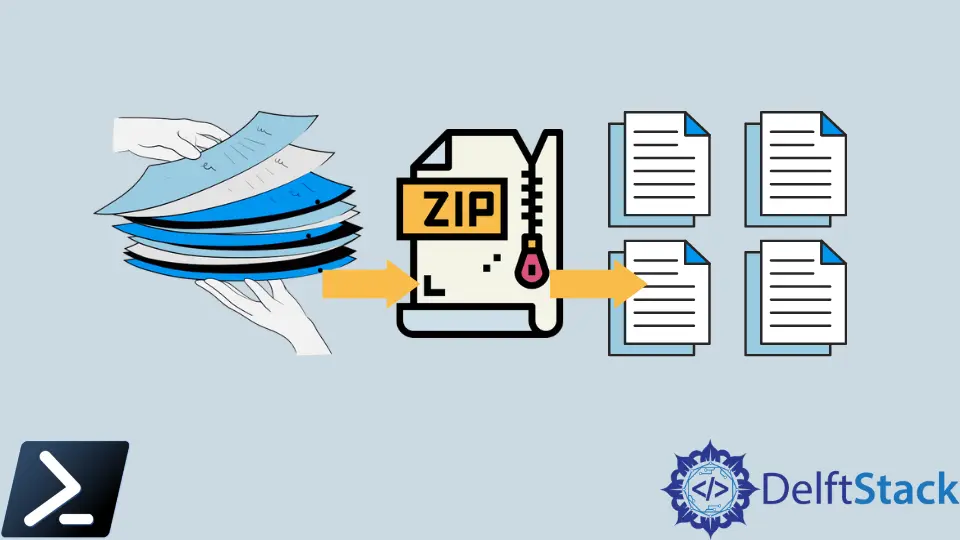
This article will discuss the PowerShell commands to archive and unzip compressed files.
The following commands are two of the newest cmdlets released in PowerShell v5.0: The Compress-Archive command creates a zipped archive file from folders or individual files and the Expand-Archive command to extract files from a zipped archive file.
Compress Files Using PowerShell
Let’s use PowerShell to compress files in a new .zip archive.
Use the -Path parameter to specify the location of the folder we want to compress and the -DestinationPath parameter to specify the name of the compressed archive you want to create.
For example, the command below will zip the Temp folder in the root C: directory and create an archive called Temp_Files.zip in the Temp folder:
Compress-Archive -Path C:\Temp -DestinationPath C:\Temp\Temp_Files.zip
Alternatively, we could compress the files in the Temp folder individually using the -LiteralPath parameter instead of the -Path parameter. This creates an archive with just the two files listed in the -LiteralPath parameter:
Compress-Archive -LiteralPath C:\Temp\File1.txt, C:\Temp\File2.txt -DestinationPath C:\Temp\Temp_Files.zip -Force
We added the -Force parameter to overwrite the first archive I created. Without the -Force parameter, you cannot replace existing archives, and Windows PowerShell will prompt you to add files to the archive instead.
To add multiple files to an archive, we can use the -Update parameter. For example, the command below adds all the files in the Invoices folder to my existing Temp_Files.zip archive:
Compress-Archive -Path C:\Temp\* -Update -DestinationPath C:\Temp\Temp_Files.zip
We can also use the -CompressionLevel parameter with one of three values: NoCompression, Optimal, or Fastest.
Optimal is the default value if the -CompressionLevel parameter is not present in the expression. Optimal compression uses the best compression, but it might take longer than Fastest.
Use the NoCompression value to create an archive with no compression.
Compress-Archive -Path C:\Temp\* -Update -DestinationPath C:\Temp\Temp_Files.zip -CompressionLevel Optimal
Unzip Files Using PowerShell
To extract files from an archive, we need to specify the name of the archive and the destination folder for the unzipped files.
Using the Expand-Archive command will extract the contents of the Temp_Files.zip archive to a Temp folder.
Expand-Archive -LiteralPath C:\Temp\Temp_Files.Zip -DestinationPath C:\Temp
Expand-Archive will automatically create the folder of the extracted files.
However, if the compressed file we unzip already exists in the destination folder, Expand-Archive will throw an error. We can overwrite files in the destination folder by adding the -Force parameter to the command line.

Marion specializes in anything Microsoft-related and always tries to work and apply code in an IT infrastructure.
LinkedIn