How to Resize an Image in Java
-
Resize and Show an Image in Java Using
BufferedImage.getScaledInstance() -
Resize Image and Save to Local Directory in Java Using
Graphics2DandImageIO

Java can perform several operations of different types like reading, writing, or deleting a file. In the following examples, we’ll demonstrate how you can resize an image in Java using three techniques.
Resize and Show an Image in Java Using BufferedImage.getScaledInstance()
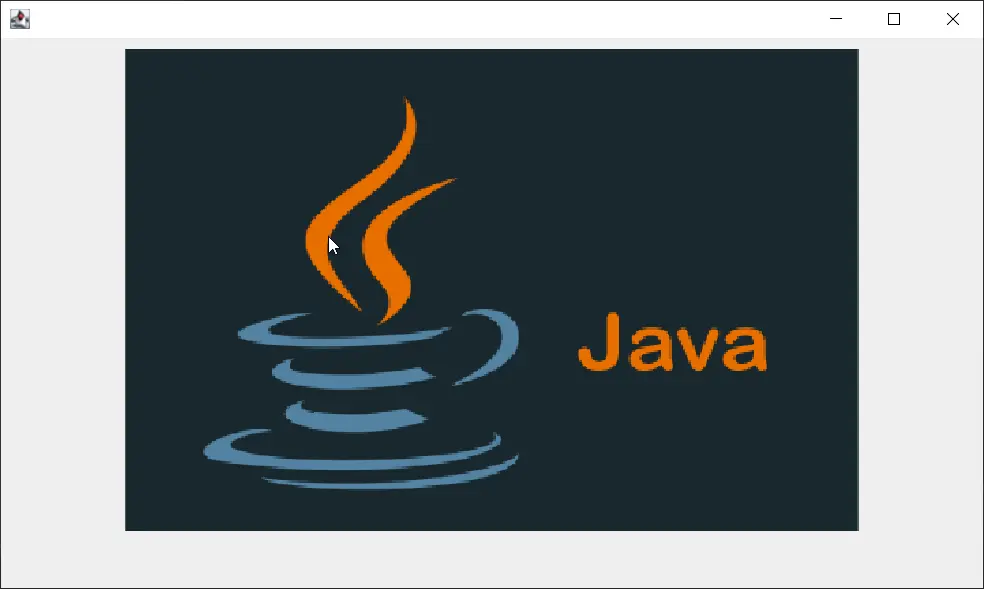
In the first example, we resize an image and show it inside a frame without saving it anywhere. Here, we create an object bufferedImage of the BufferedImage class. The BufferedImage class extends the Image class representing the graphical images as an array of rectangular pixels. To read the image, we use the ImageIO.read() function. Here, the ImageIO is a class that contains static methods like read and write to perform Input and Output operations.
We get our image using the new File() method that calls the File class constructor and passes the image location as an argument in it. Once we get the bufferedImage object, we use it to call the getScaledInstance() method that creates a scaled version of the image.
The getScaledInstance function takes three arguments: the first two are the width and height in pixels that we want to give the image, and the last argument is the algorithm to use for scaling. Here, we use the Image.SCALE_DEFAULT function, which tells the class to use the default sampling algorithm.
Once it’s done, we create a window to show the image using the JFrame object. We set the layout of the frame object as FlowLayout, which arranges the components in a line. Then, we set the size of the window; note that this size should be more than the image’s height and width to show the picture completely.
Finally, to show the image, we create an object of JLabel and call the section class that sets the image as an icon. At last, we add the jLabel object to the frame object and set the visibility to true.
import java.awt.*;
import java.awt.image.BufferedImage;
import java.io.File;
import java.io.IOException;
import javax.imageio.ImageIO;
import javax.swing.*;

public class ResizeImageExample {
  public static void main(String[] args) throws IOException {
    new ResizeImageExample();
  }

  public ResizeImageExample() throws IOException {
    BufferedImage bufferedImage = ImageIO.read(new File("C:\\Users\\User1\\Pictures\\java.png"));
    Image image = bufferedImage.getScaledInstance(600, 400, Image.SCALE_DEFAULT);

    ImageIcon icon = new ImageIcon(image);
    JFrame frame = new JFrame();
    frame.setLayout(new FlowLayout());
    frame.setSize(800, 600);

    JLabel jLabel = new JLabel();
    jLabel.setIcon(icon);
    frame.add(jLabel);
    frame.setVisible(true);
    frame.setDefaultCloseOperation(JFrame.EXIT_ON_CLOSE);
  }
}
Output:
Resize Image and Save to Local Directory in Java Using Graphics2D and ImageIO
In the second method, we use the Graphics2D class to create graphics. The first step is to get the image file using the ImageIo.read() method that takes a File object as an argument that contains the image path. The ImageIo.read() returns the BufferedImage object, bufferedImageInput. We create another BufferedImage object to be used when writing the image. It takes three arguments: the height, the width, and the image type.
Now we call the createGraphics() method using the bufferdImageOutput object that returns a Graphics2D object, g2d. Then, we create the image with the drawImage() method that takes six arguments. The first is the BufferedImage object, the second and the third are the x and y coordinates that scale up according to the size if both values are zero. The fourth and fifth arguments represent the new height and width that we want to give the image, and the last argument is the ImageObserver that is null in our case.
Before proceeding, we dispose of all the context and resources used by g2d using the g2d.dispose() function. To save the resized image in the local directory, we use the ImageIo.write() function that takes the bufferedImageOutput object, the name to be given to the new image file and the File constructor with the file path.
import java.awt.*;
import java.awt.image.BufferedImage;
import java.io.File;
import java.io.IOException;
import javax.imageio.ImageIO;

public class ResizeImageExample {
  public static void main(String[] args) throws IOException {
    resizeFile("C:\\Users\\Rupam Saini\\Pictures\\java.png",
        "C:\\Users\\Rupam Saini\\Pictures\\java-resized.png", 500, 500);
  }

  public static void resizeFile(String imagePathToRead, String imagePathToWrite, int resizeWidth,
      int resizeHeight) throws IOException {
    File fileToRead = new File(imagePathToRead);
    BufferedImage bufferedImageInput = ImageIO.read(fileToRead);

    BufferedImage bufferedImageOutput =
        new BufferedImage(resizeWidth, resizeHeight, bufferedImageInput.getType());

    Graphics2D g2d = bufferedImageOutput.createGraphics();
    g2d.drawImage(bufferedImageInput, 0, 0, resizeWidth, resizeHeight, null);
    g2d.dispose();

    String formatName = imagePathToWrite.substring(imagePathToWrite.lastIndexOf(".") + 1);

    ImageIO.write(bufferedImageOutput, formatName, new File(imagePathToWrite));
  }
}
Image before resizing:
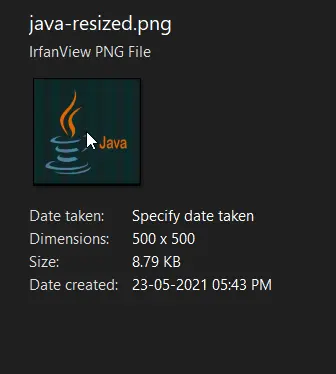
Image after resizing:
Rupam Saini is an android developer, who also works sometimes as a web developer., He likes to read books and write about various things.
LinkedIn