How to Install TensorFlow With Anaconda
- Create an Environment Variable Manually and Install TensorFlow
- Create an Environment to Install TensorFlow via Command Prompt
-
Install TensorFlow via
pipin the Base Environment

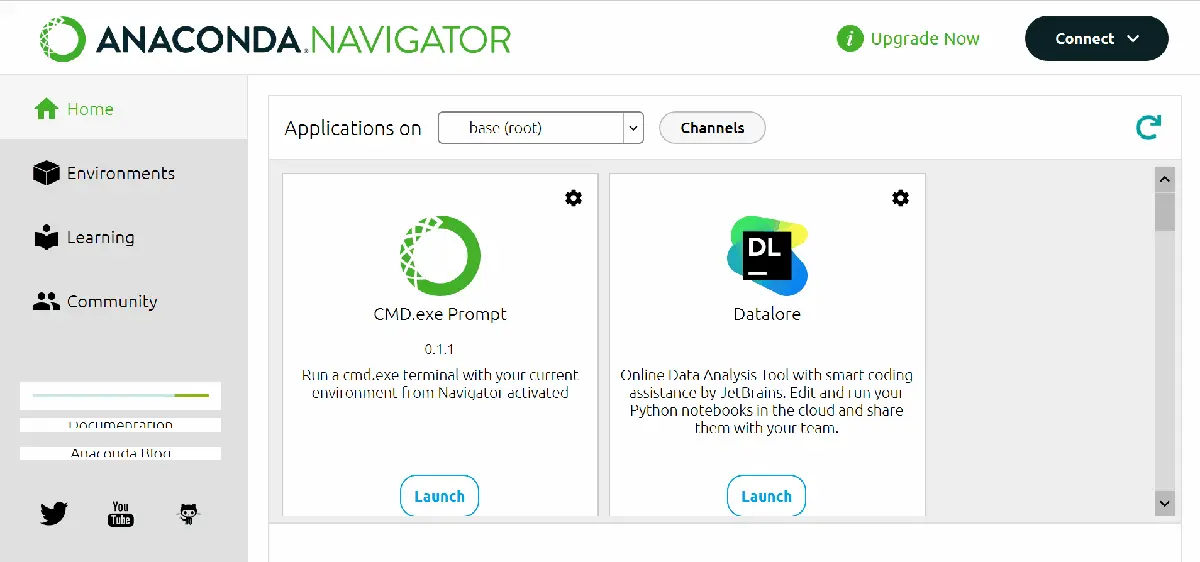
Anaconda has a base (root) environment where all the applications are primarily operable, but some would need extra features to function correctly. In our example set, we will consider using the Jupyter Notebook to check the installations of the TensorFlow library.
The first method is creating a custom environment by navigating to the environment section and creating a section. Later, when the environment is created, we will install TensorFlow on that specific environment.
Next, we will open the cmd.exe application of the root environment and create the environment for TensorFlow there. And later, activating the TensorFlow allows importing the module.
And lastly, we will use pip install in the root application, so we will not require any different environment to run the applications. Rather, the base will collectively use the imports in its applications.
Let’s dig a little deep into the following parts.
Create an Environment Variable Manually and Install TensorFlow
This section covers creating new environment variables and manual installation of TensorFlow. So, in the beginning, we will notice in the upper-left portion of the Anaconda Navigator, an option is available named Environments.
If we click on that, we will be directed to an interface where we get the Create option in the bottom-left part. The next task is to name a new environment.
You must be sure when you create an environment. You must manually install TensorFlow or any other library from the navigator’s right-side filters.
The navigator filters the installed and not installed modules. After installations, select the new environment of the Home section’s Applications on and install the required application for that environment; in our case, it is Jupyter Notebook.
The entire process consumes less time and mitigates the necessity of dealing with command prompts. Either way, creating a different environment for problem-specific tasks is considered good practice.
Let’s check the output of the procedure.
Output:
Create an Environment to Install TensorFlow via Command Prompt
We will use the base environments’ command prompt application and use the following command to initiate the installation of TensorFlow in a specified environment.
conda create -n tf2 tensorflow
conda activate tf2
Output:

Install TensorFlow via pip in the Base Environment
We will launch the root environments’ command prompt in this segment and then type the following command. This will take a good amount of time to download and install all the packages that come with TensorFlow, making the base environment heavy.
Let’s check the command and the output preview.
pip install tensorflow
Output:

As in the examples’ base environment, TensorFlow has already been installed; thus, the prompt messages are slightly different. But if you use the above command, it will establish and download the necessary modules, and no other complications will be present.