How to Set Up SFTP Server on Windows
- Set Up SFTP Server for Older Windows
- Set Up SFTP Server for Newer Windows
- Use WinSCP to Set Up and Configure SFTP Client

SFTP servers allow us access to their files and content via the SSH File Transfer Protocol, a secure network protocol. Within our OS environments, we can set up SFTP servers to allow us to retrieve and send resources to and from it.
This article will discuss setting up SFTP servers on Windows using the WinSCP software. For users looking to understand more about making SSH connections, refer to our article on SSH Using Python.
Set Up SFTP Server for Older Windows
To setup an SFTP server on Windows, you will need to install OpenSSH, which you can download from the PowerShell GitHub. You can check this installation guide for Linux environments.
You can download the msi or zip file, but we will only use the msi file in this article.
-
Install the
msifile. Afterward, go toServices, and check for the status ofOpenSSH serverandOpenSSH Authentication Agent.
-
If the
StatusandStartup Typeare notrunningandAutomatic, right-click on both services and selectProperties.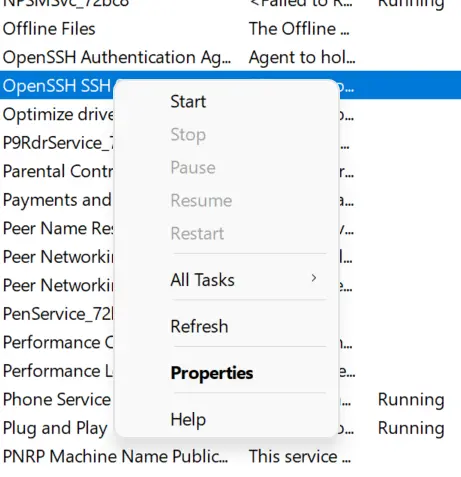
-
Change the
Startup typetoAutomatic, clickStart, and selectOK.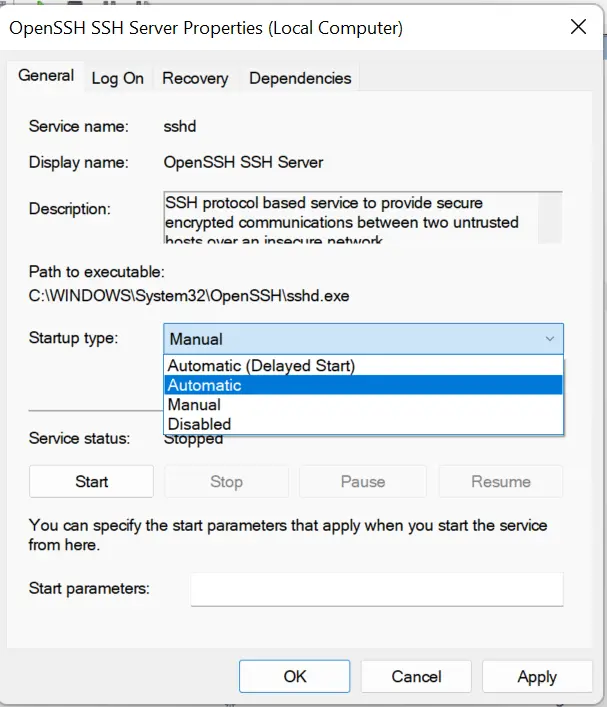
-
Do the same for
OpenSSH Authentication Agent; now, both services should beRunningandAutomatic.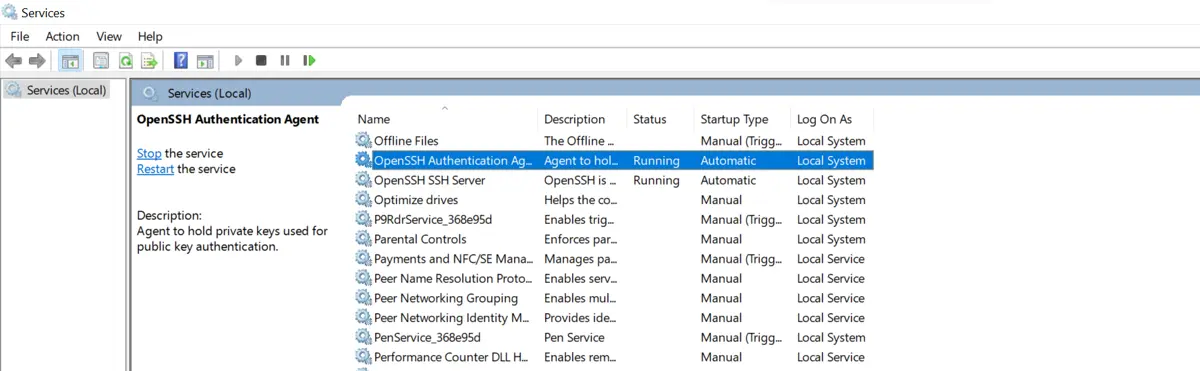
Set Up SFTP Server for Newer Windows
-
For newer Windows, you can go to
Settings > Apps > Optional Featuresto get OpenSSH.
-
Select
View Featuresand search forOpenSSH serverin theAdd an optional featuredialog box.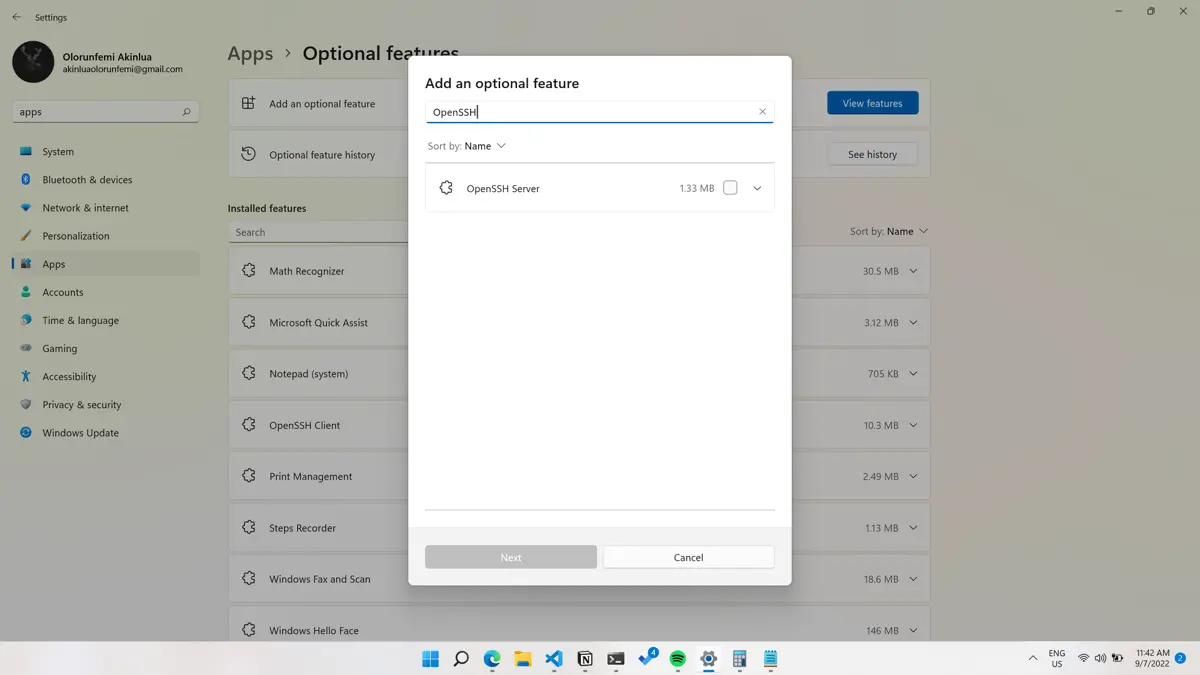
-
Select the
OpenSSH servercheckbox option and clickInstall.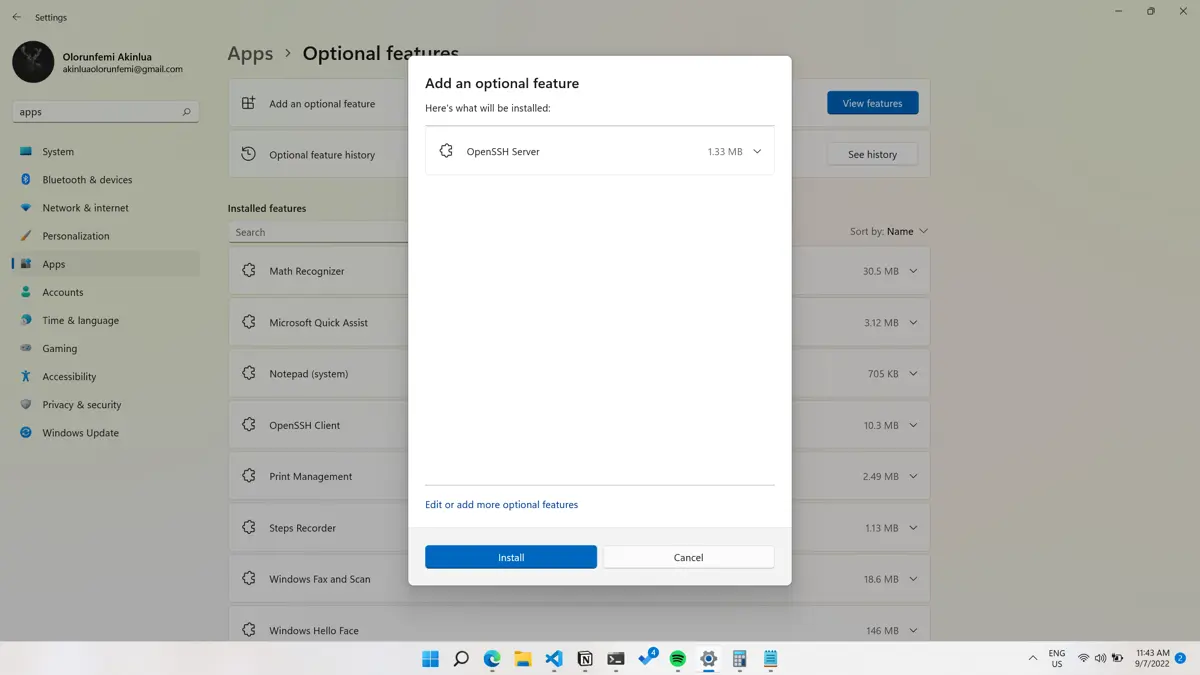
-
Afterwards, configure the SSH server using the PowerShell command below to allow incoming connections to the server.
New-NetFirewallRule -Name sshd -DisplayName 'OpenSSH SSH Server' -Enabled True -Direction Inbound -Protocol TCP -Action Allow -LocalPort 22 -Program "C:\\Windows\\System32\\OpenSSH\\sshd.exe" -
After configuration, let’s start the
OpenSSH serverservice. To set up that, you need to search forServiceswithin the search bar.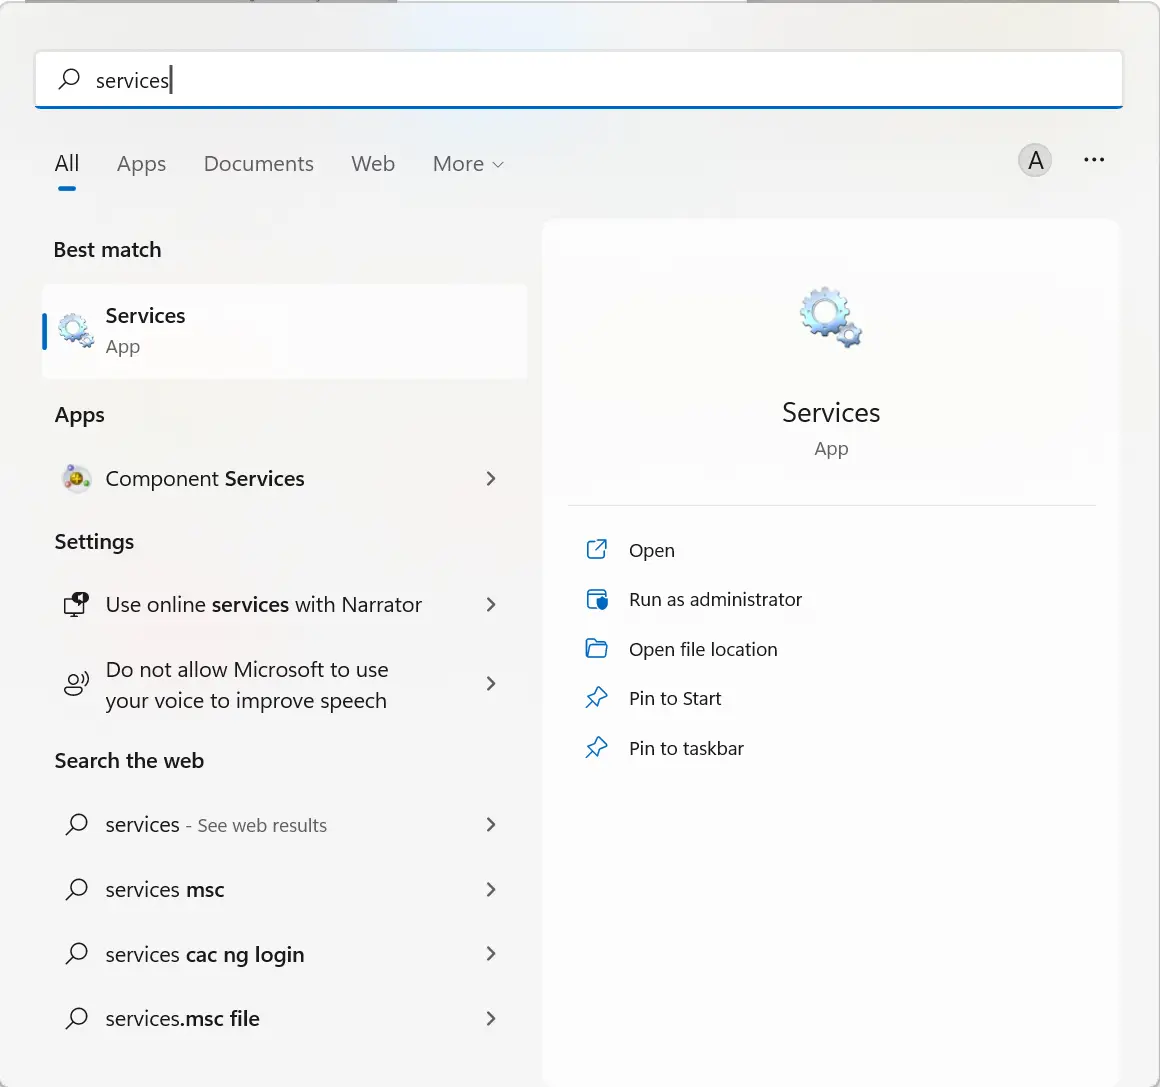
-
Find
OpenSSH serverwithin the list of Windows services.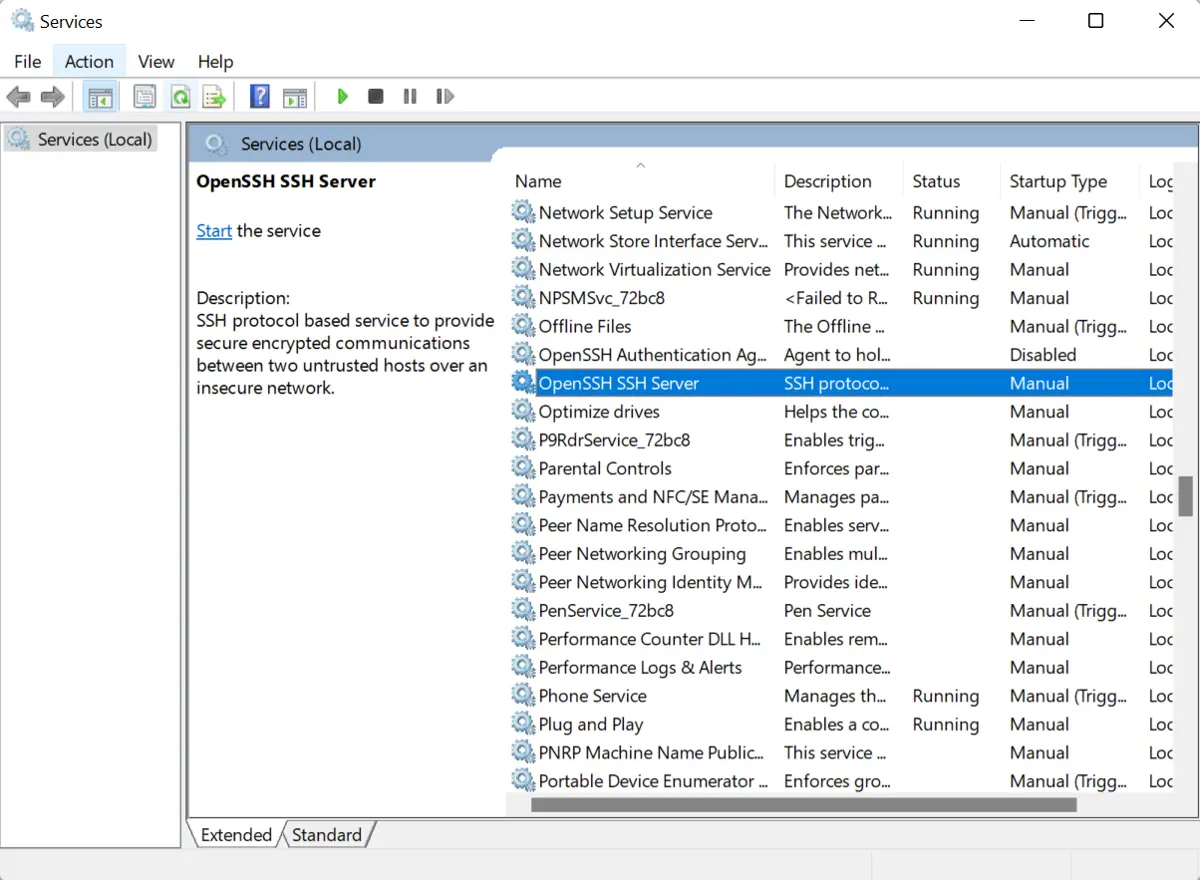
-
Right-click on the service, and select
Properties. -
Change the
Startup typetoAutomatic, clickStart, and selectOK. -
Do the same for
OpenSSH Authentication Agent; now, both services should beRunningandAutomatic.
Use WinSCP to Set Up and Configure SFTP Client
WinSCP is a GPL-3.0-only software that’s free to use and modify. It allows us to carry out secure file transfers across different protocols, including SSH File Transfer and Amazon S3. If you need a one-line FTP server, you can check our guide on How to One Line FTP Server in Python.
It’s available only on Windows and can be downloaded from their download page.
-
Upon download, run the installer file, and select the
Install Modepreferred.
-
Accept the License Agreement and select the
Typical Installionoption.
-
Select your preferred user interface style, but we will use the
Commanderin this article.
-
Afterwards, click
Installand launch theWinSCPapplication.
-
Upon launch, you should see a screen similar to the one below.

-
Fill in the hostname; use
localhost. Use the default port number22, and fill in your computer’s name and password. After that, click on theLoginbutton.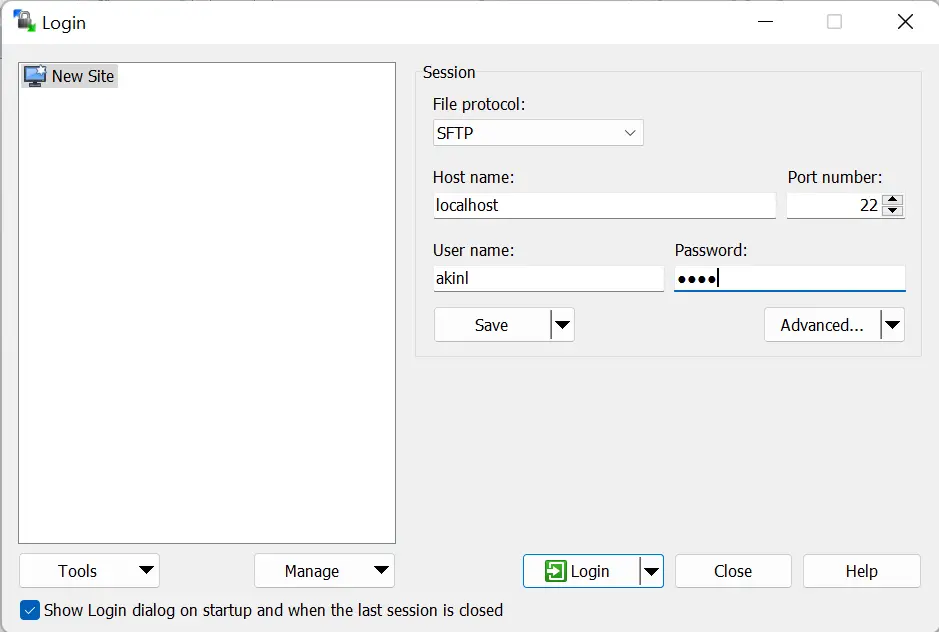
-
The screen dialog below will appear, and you must select
Yes.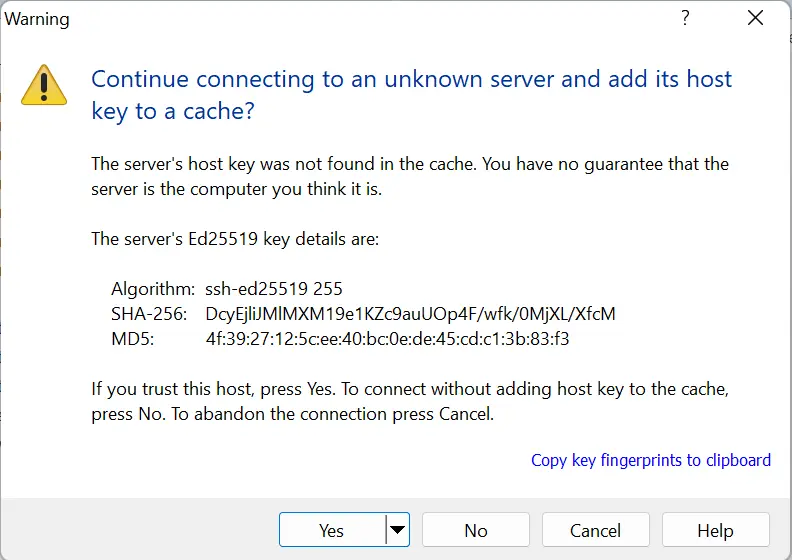
-
If successful, you should see the below screen.

-
If not successful, you might see a dialog like the one below because your
OpenSSHservice isn’t running, and you need to start the twoOpenSSHservices stated earlier.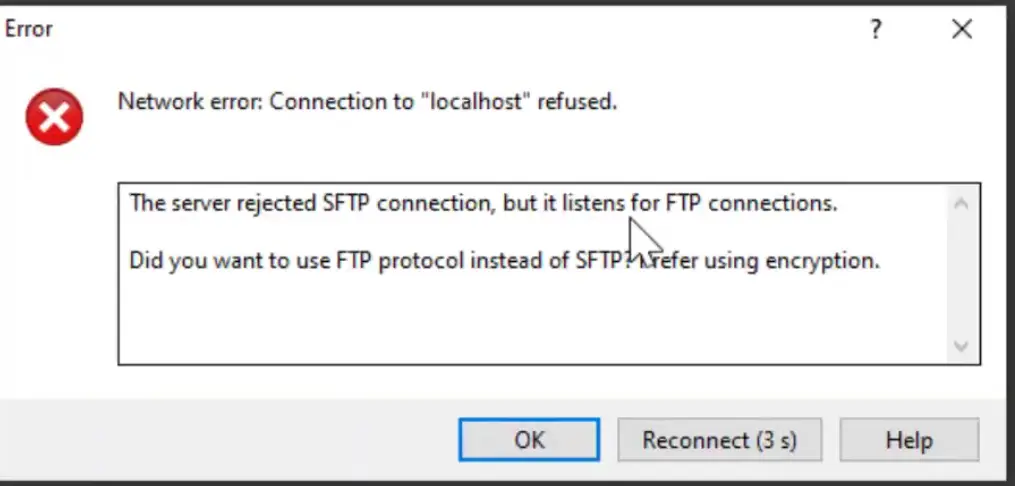
-
Now, we can set up a public key-based authentication using the
ssh-keygencommand.ssh-keygenThe output of the command is below.
Generating public/private rsa key pair.
Enter file in which to save the key (C:\Users\akinl/.ssh/id_rsa):
Created directory 'C:\Users\akinl/.ssh'.
Enter passphrase (empty for no passphrase):
Enter same passphrase again:
Your identification has been saved in C:\Users\akinl/.ssh/id_rsa.
Your public key has been saved in C:\Users\akinl/.ssh/id_rsa.pub.
The key fingerprint is:
SHA256:Ryrpy5HHTT1NK2OFzT3NjoIwORbzNV7/BfBfPLhHCEk akinl@Olorunfemi-PC
The key's randomart image is:
+---[RSA 3072]----+
|        o .E=.o  |
|         = +.Bo*.|
|        * o oo*+O|
|       o * o +o=*|
|      o S + B.+.+|
|     . + + . =.  |
|      + o .      |
|     . +         |
|      o          |
+----[SHA256]-----+
When the
ssh-keygentool requests a passphrase, you can enter one, but we don’t use one for this article. Thessh-keygencreated a hidden directory named.sshand saved the key pair within theid_rsa.pubfile under the.ssh.The public key full path is
C:\Users\akinl/.ssh/id_rsa.pub.
The public key is the
id_rsa.pubfile, and the private key is theid_rsa. -
To link the private and public keys to the WinSCP, we need to create a file named
authorized_keyswithin the.sshfolder. Copy the public key contents,id_rsa.pub, into theauthorized_keysfile and save the changes; you can use a text editor like Notepad.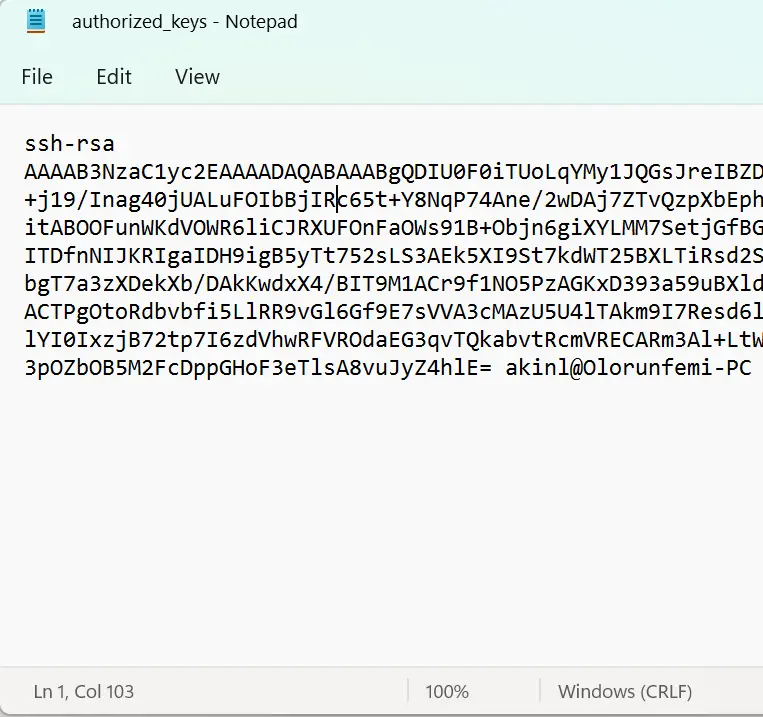
-
There should be at least three files (
authorized_keys,id_rsa, andid_rsa.pub) within your.sshdirectory.
-
To keep the
authorized_keysfile safe and only accessible to the administrators or core users, you have to configure theAccess Control List (ACL). Use the below command to configure the access control.icacls.exe "C:\Users\<username>\.ssh\authorized_keys" /inheritance:r /grant "Adminstrators:F" /grant "SYSTEM:F" -
Change the
<username>to your username.icacls.exe "C:\Users\akinl\.ssh\authorized_keys" /inheritance:r /grant "Adminstrators:F" /grant "SYSTEM:F"The output of the command:
processed file: C:\Users\akinl\.ssh\authorized_keys Successfully processed 1 file; Failed processing 0 files -
Therefore, if you now open the same
authorized_keysfile, you should see the below dialog.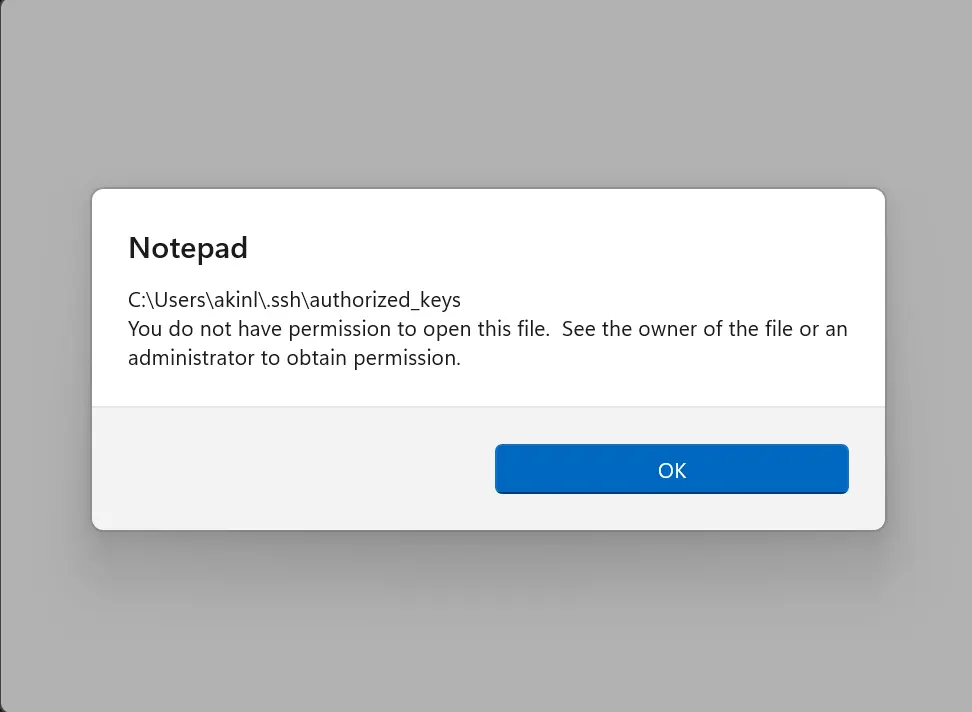
-
To fully configure the SFTP server, we need to edit the
sshd_configfile to set up the public key-based authentication; thesshd_configfile is available in theProgramDatadirectory. Copy the full path below to Windows Explorer and open thesshd_configfileC:\ProgramData\sshThe
sshd_configfile is the last file within the directory.
-
Modify by uncommenting or changing the lines containing the config information in your
sshd_configfile. Also, open thesshd_configfile as anAdministrator.PubkeyAuthentication yes AuthorizedKeysFile .ssh/authorized_keys PasswordAuthentication no PermitEmptyPasswords no Subsystem sftp internal-sftp Match User <username> X11Forwarding no AllowTcpForwarding no PermitTTY no ForceCommand internal-sftp PasswordAuthentication noIn addition, make sure to change the
<username>to your username. Furthermore, you can comment on the following configuration information within the file.Match Group administrators AuthorizedKeysFile __PROGRAMDATA__/ssh/administrators_authorized_keys -
The changes to your
ssh_configfile should look like the image below: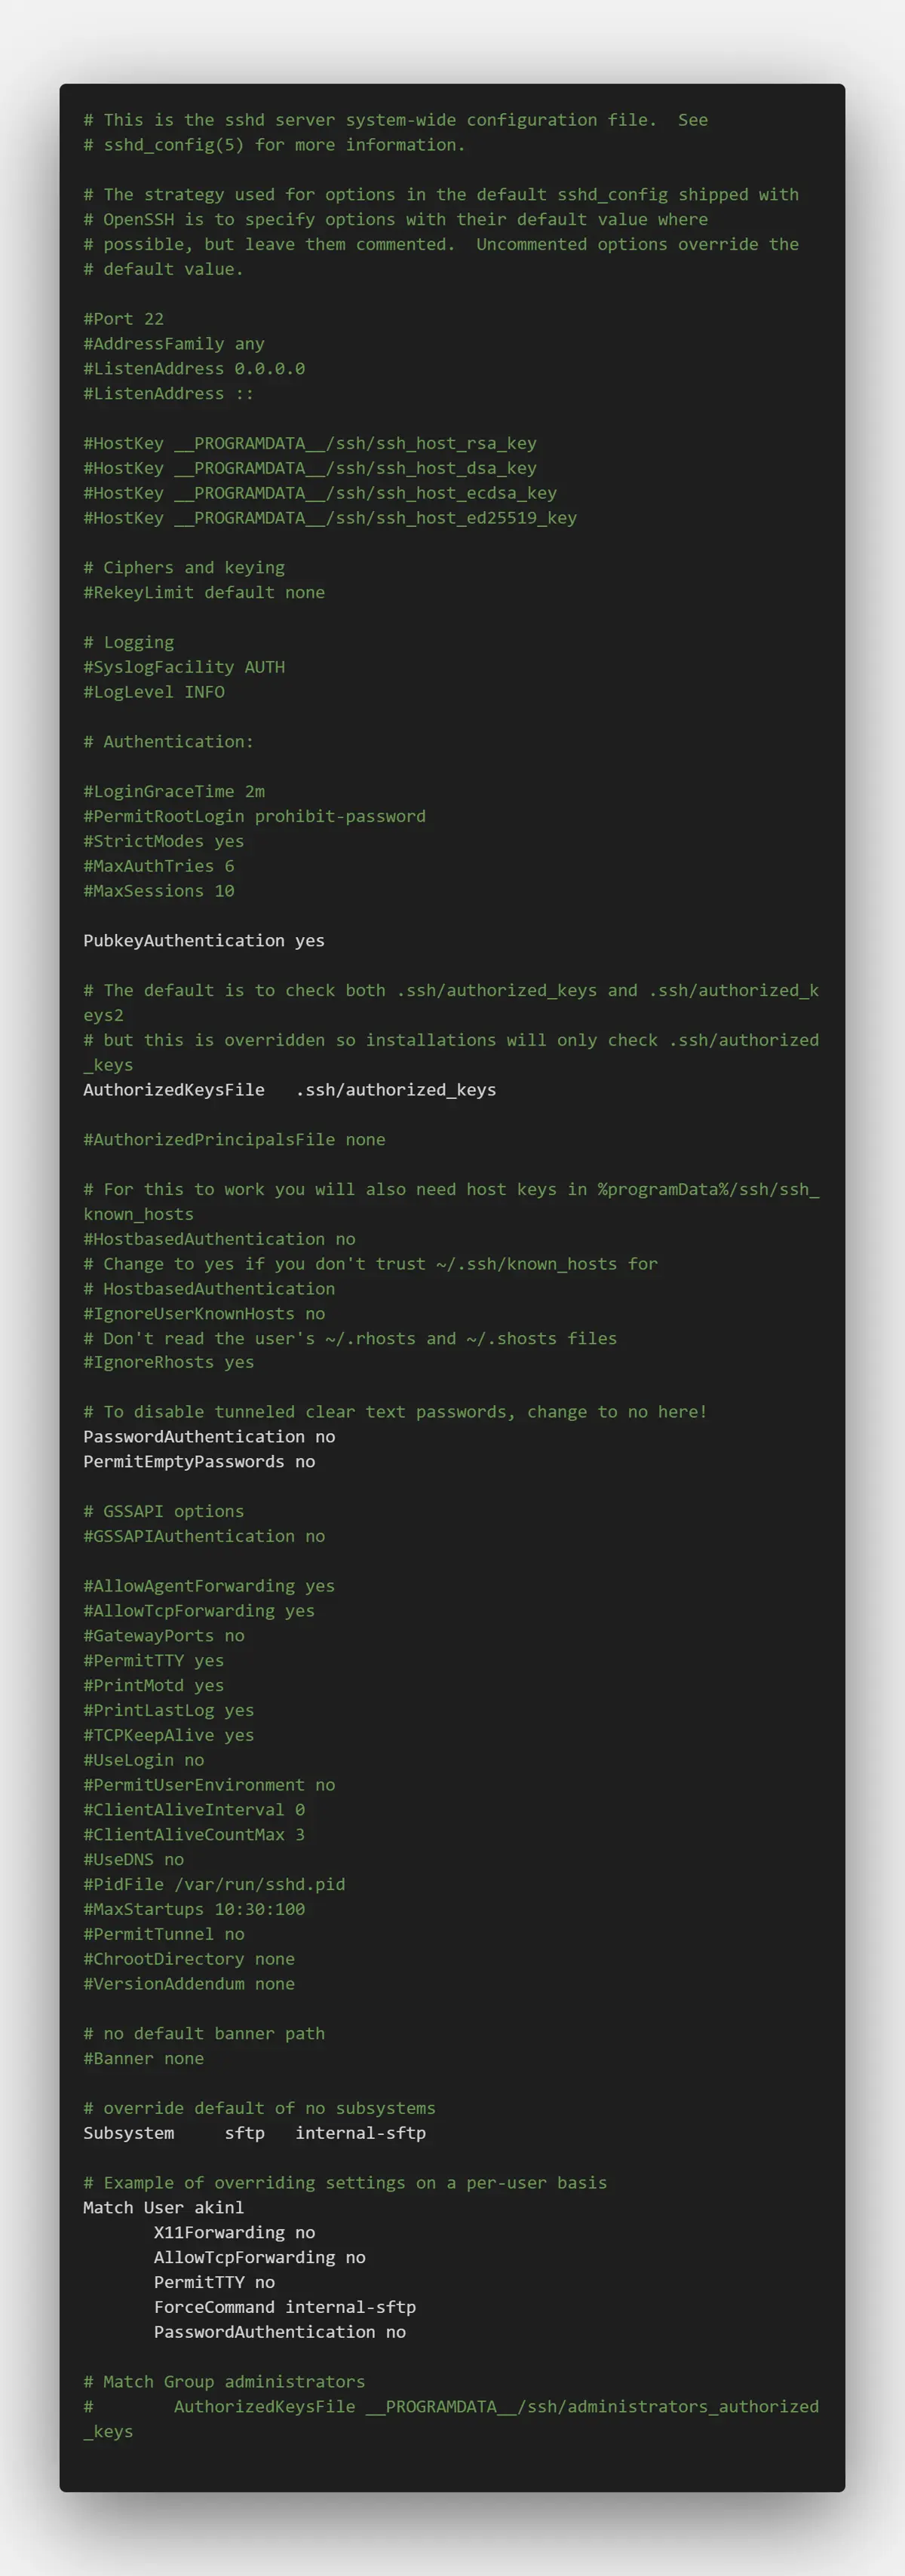
-
Now, let’s open WinSCP using the previous username and password login method.
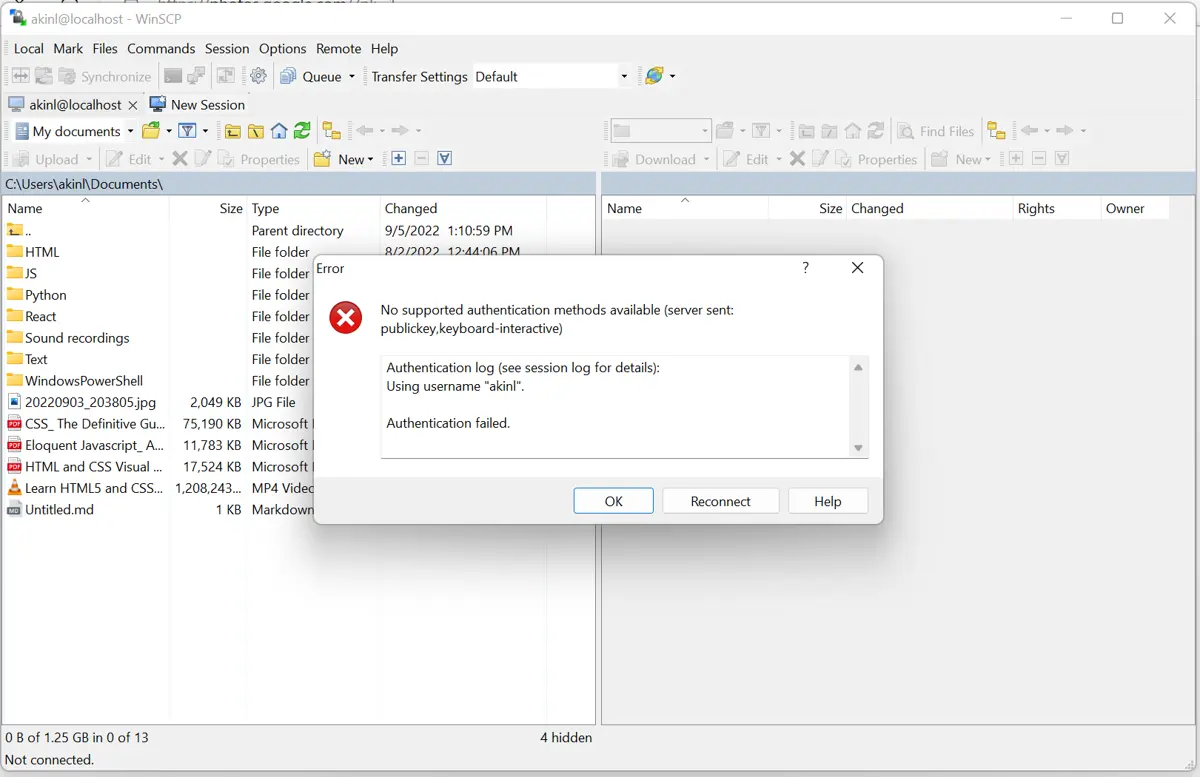
It’s no longer supported because we have changed the configuration file to support only public key authentication. To log in now, we need to use our public key.
-
Instead of using the
Password, click on theAdvancedbutton.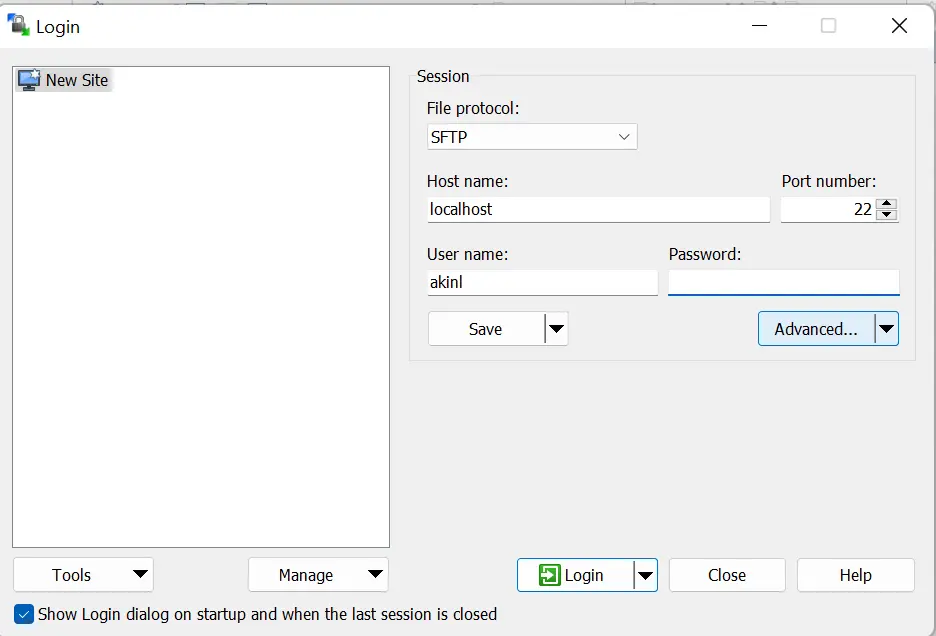
-
Go to the
Authenticationtab underSSH.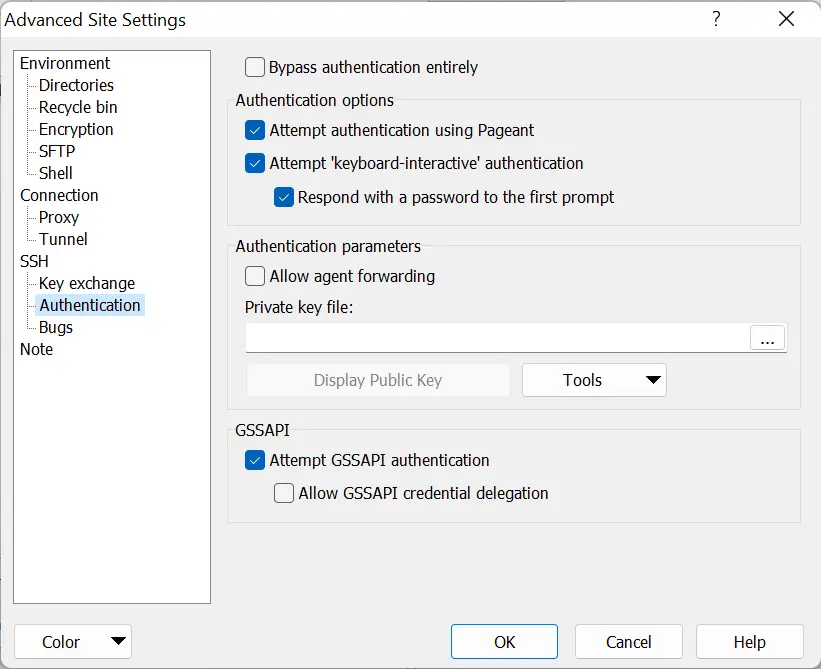
-
Under the
Authentication parametersarea, browse for the private key file and go to the.sshdirectory (C:\Users\akinl\.ssh), and change the file options toAll Files
-
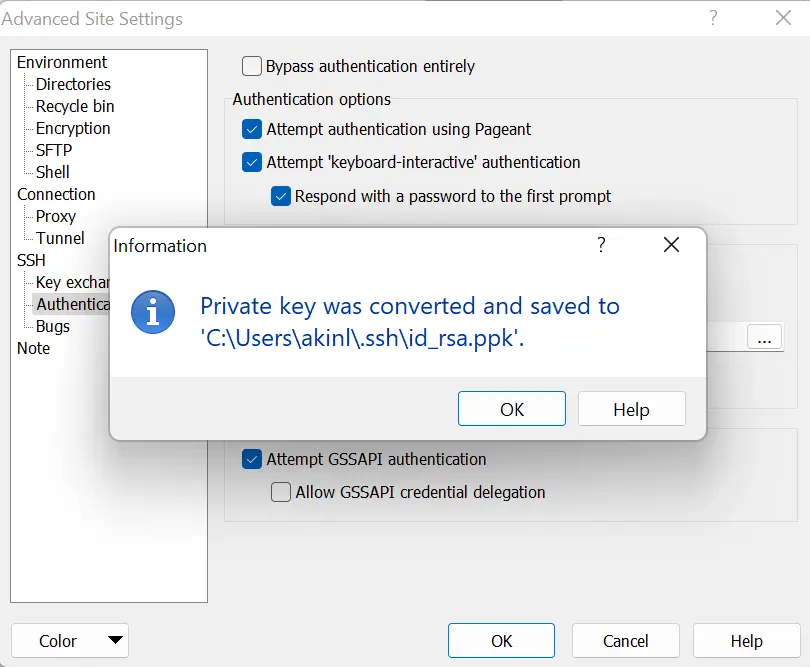
Select the
id_rsafile, which should prompt the dialog below. Do selectOK.
After, the below dialog should show.
-
Then, click
OK.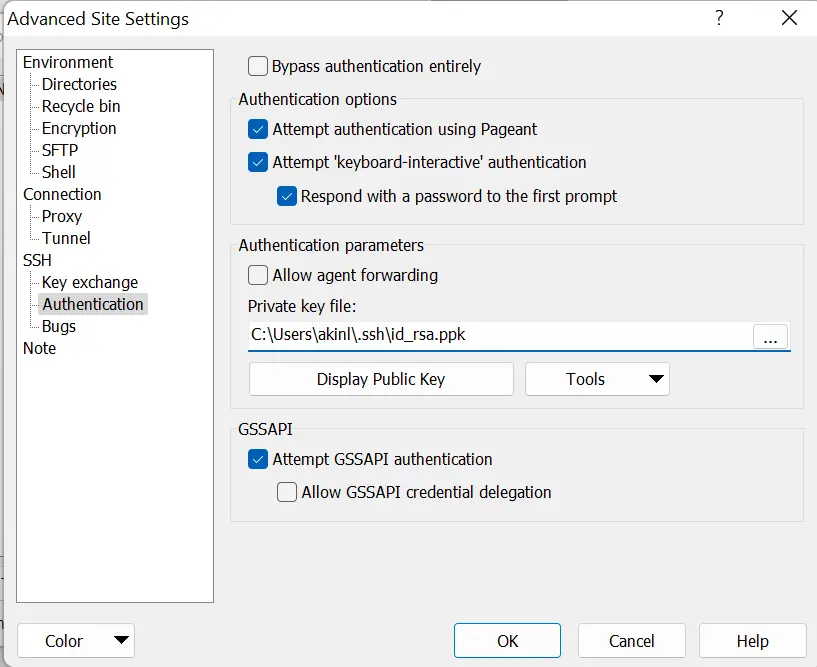
-
Now, click
Login.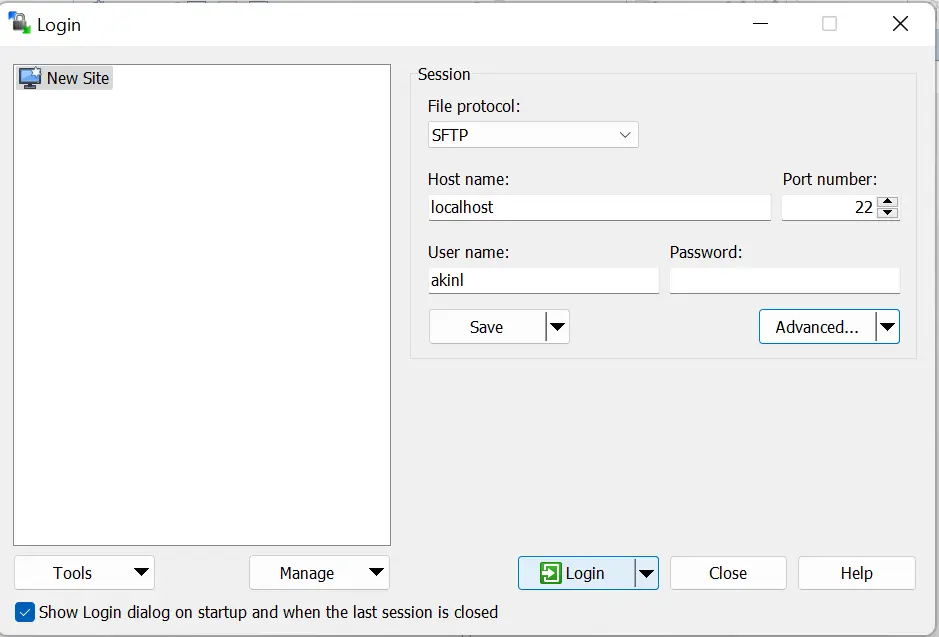
And now, you have access to the SFTP server using public key authentication.


Olorunfemi is a lover of technology and computers. In addition, I write technology and coding content for developers and hobbyists. When not working, I learn to design, among other things.
LinkedIn