How to Compress Image in Python
This tutorial will discuss compressing an image using the PIL library in Python.
Before using the PIL library, install it using pip or python.
pip install Pillow
Python Image Compression Using PIL Library
Image compression is used to reduce the size of an image. We know that images consist of pixels containing color or intensity values.
There are mainly two ways to reduce the size of an image or compress the image. One way is to resize the image to reduce the number of pixels present.
For example, if the image is 500-by-500 pixels, we can compress it or reduce its file size by reducing the number of pixels from 500-by-500 to 100-by-100 pixels. The resultant image will be compressed, but it will become small, and the file size will also decrease.
The more we lower the number of pixels, the more file size will decrease, but the image will become smaller. We may have to zoom the resized image to see it properly.
We can use the resize() function of the Image module of the PIL library to resize an image. The basic syntax of the resize() function is below.
MyImage.resize(size, resample, box, reducing_gap)
In the above code, MyImage is the Image module object which contains the input image. The size parameter contains the size of the output image, and it should be a two-value tuple like (width, height).
The resample parameter is optional, and it is set to None by default, and it is used to set the resampling filter, which will be applied to the image to smooth it like PIL.Image.Resampling.NEAREST filter which smooth each pixel using their nearest pixels.
The box parameter is also optional with the default value set to None and used to set the region of interest of the image, and it should be a 4-value tuple containing the position of the box like (0,0,width,height).
The reducing_gap is also an optional argument, and it is used to apply optimization to the image, which will further reduce the size of the image, and by default, its value is set to none.
The value of the reducing_gap should be an integer; a smaller value means fast resizing, and a large value means slow resizing but a better result.
For example, let’s compress an image using the resize() function. See the code below.
from PIL import Image

input_img = Image.open("test.jpg")
print("input image size:", input_img.size)

output_img = input_img.resize((300, 300))
print("output image size:", output_img.size)
output_img.save("testNew.jpg")
Output:
input image size: (600, 600)
output image size: (300, 300)
In the above code, we used the open() and save() functions of the Image module of the PIL library to open and save the images.
We have only provided the name and the extension of the image in the open() function because the image and the Python code file are in the same directory, but if they are not in the same directory, we have to provide a full path to the image file along with its name and extension to read it.
We have also used an image name and extension in the save() function, which will save the image in the current directory of the Python code file, but we can also save the image in another directory by providing the full path along with the image name and extension.
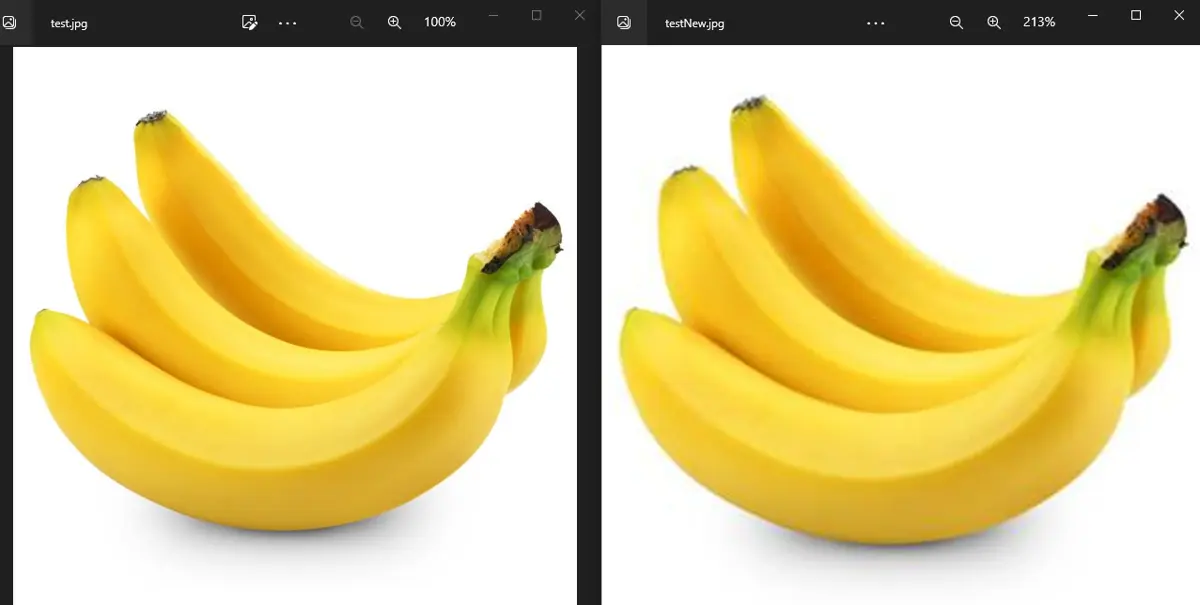
In the above picture, the left side image is the original image; its size is 21.6 kb, the right side image is the resized image, and its size is 6.88 kb.
The right side image is zoomed to 200% so that we can easily compare it with the original image and see a small quality difference in both images.
In the above example, we have not used any optional arguments, but we can use them to increase the quality of the output image.
Another method to compress an image is to reduce the quality of the image. In this method, the number of pixels of the image will remain the same, but the quality of the image will decrease along with the image’s file size.
We can use the optimize and quality arguments inside the save() function to reduce the file size of an image.
The optimize argument will be set to true to apply optimization to the image, which will reduce the size without losing much quality, and the quality argument can be set to any percentage from 1 to 100.
If we set the quality to 50 percent, the image file size will become half. For example, let’s use the save() function only to decrease the file size in the above example.
See the code below.
from PIL import Image

input_img = Image.open("test.jpg")
output_img = input_img.save("testNew.jpg", optimize=True, quality=50)
input_img_2 = Image.open("testNew.jpg")
print("Input image size:", input_img.size)
print("Output Image Size:", input_img_2.size)
Output:
Input image size: (600, 600)
Output Image Size: (600, 600)
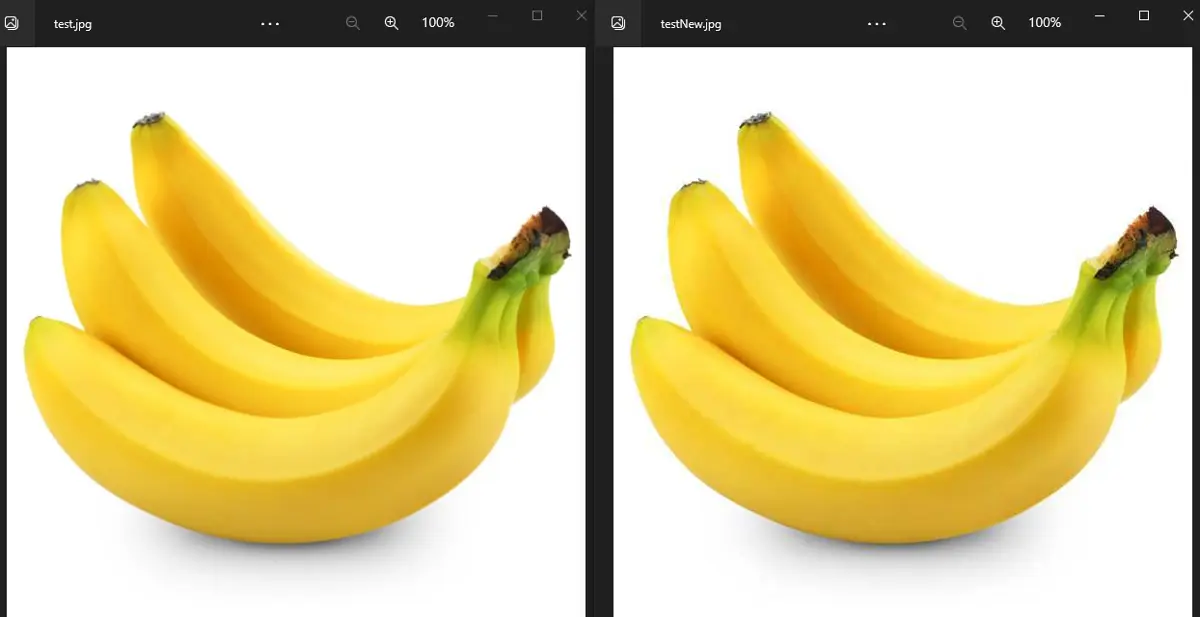
In the above output, we can see that the number of pixels of the input and output images is the same, and the quality of the output image is decreased. The left image is the original image, and the right is the output image.
If we compare both examples, the quality of both the output images is almost the same, but the pixel size of the output image in the first example is less than the pixel size of the output image in the second example. We can also combine the resize() and save() function to get the required result.
