How to Add JavaScript MDCRipple to Ajax Loaded Button

This tutorial will teach you to add MDCRipple to an HTML button loaded with AJAX. We’ll use MDC via their CSS and JavaScript files from the UNPKG CDN.
Add JavaScript MDCRipple to Ajax Loaded Button
An AJAX requests work on a server, so you can skip this section if you have access to a live server; however, if you don’t have access to a live server, download XAMPP.
After installing XAMPP, locate the htdocs folder in your XAMPP installation and create a working directory. This directory will contain the code sample project in this article.
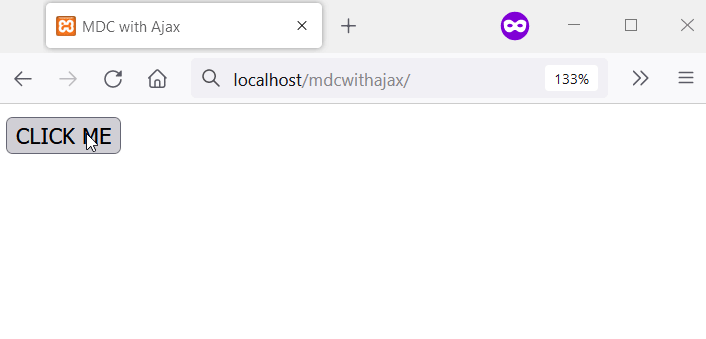
Our HTML code will load the MDC CSS and JavaScript files from UNPKG CDN. Also, it’ll contain a <main> element made up of an HTML <button>.
This button will have an onclick event attribute whose value is a function. This function gets called when the user clicks the button and initiates the AJAX request.
So, the following code is the HTML.
<head>
	<meta charset="utf-8">
	<title>MDC with Ajax</title>
    <script src="https://unpkg.com/material-components-web@latest/dist/material-components-web.min.js"></script>
	<link rel="stylesheet" href="https://unpkg.com/material-components-web@latest/dist/material-components-web.min.css">
</head>
<body>
	<main id="mdc-button-container">
		<button type="button" onclick="loadMDCButton()">CLICK ME</button>
    </main>
</body>
</html>
Next, create and save another HTML file in your working directory. You can name the file mdc-button.html.
This file will contain the code for the HTML button. What’s more, the button will have MDC class names.
So, it’ll be easy to attach MDCRipple via JavaScript. The following is the code for mdc-button.html.
<button class="mdc-button mdc-button--raised">
  <span class="mdc-button__ripple"></span>
  <span class="mdc-button__label">Click for Ripple</span>
</button>
The JavaScript code will create an AJAX connection, and it’ll work as follows:
- Create a new
XMLHttpRequest. - Use the
onloadmethod ofXMLHttpRtouestto do the following.
2.1 Get the ID of the<main>element.
2.2 Set itsinnerHTMLproperty to the response text of theXMLHttpRequest.
2.3 Attach MDCRipple to the button inmdc-button.html. - Open a
GETrequest to themdc-button.htmlfile. - Send the
mdc-button.htmlas a replacement for the button in the<main>element.
The following is the code for the JavaScript function.
function loadMDCButton() {
  const xhttp = new XMLHttpRequest();
  xhttp.onload = function() {
    document.getElementById('mdc-button-container').innerHTML =
        this.responseText;
    mdc.ripple.MDCRipple.attachTo(document.querySelector('.mdc-button'));
  } xhttp.open('GET', 'mdc-button.html', true);
  xhttp.send();
}
The following is the complete code for our sample project.
<head>
	<meta charset="utf-8">
	<title>MDC with Ajax</title>
	<script src="https://unpkg.com/material-components-web@latest/dist/material-components-web.min.js"></script>
	<link rel="stylesheet" href="https://unpkg.com/material-components-web@latest/dist/material-components-web.min.css">
</head>
<body>
	<main id="mdc-button-container">
		<button type="button"  onclick="loadMDCButton()">CLICK ME</button>
	</main>
	<script type="text/javascript">
		function loadMDCButton() {
			const xhttp = new XMLHttpRequest();
			xhttp.onload = function() {
				document.getElementById("mdc-button-container").innerHTML = this.responseText;
				mdc.ripple.MDCRipple.attachTo(document.querySelector('.mdc-button'));
			}
			xhttp.open("GET", "mdc-button.html", true);
			xhttp.send();
		}
	</script>
</body>
Output:

Habdul Hazeez is a technical writer with amazing research skills. He can connect the dots, and make sense of data that are scattered across different media.
LinkedIn