How to Create Customized Alert Box in JavaScript
- Create Customized Alert Box With jQuery UI
- Create Customized Alert Box With SweetAlert2
- Create Customized Alert Box With A Custom Function
This article will teach you how to create a customized alert box in JavaScript using jQuery UI, SweetAlert2, and a custom alert function.
Create Customized Alert Box With jQuery UI
You can use jQuery UI to mimic the functionality of the JavaScript native alert() function. Though jQuery UI has lots of APIs, you can use its dialog() API to create a custom alert box.
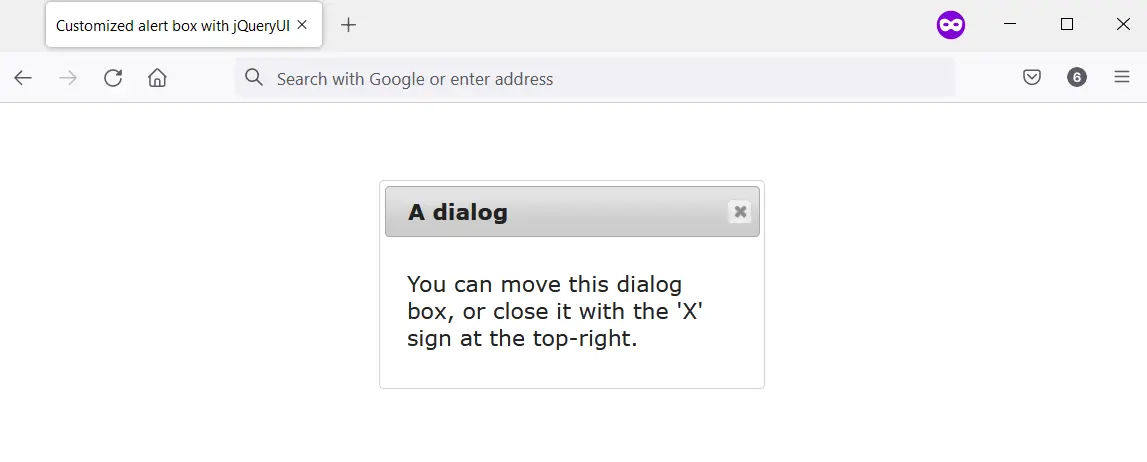
Meanwhile, unlike the native JavaScript native alert() function, you can drag the alert box created with the dialog() API.
We’ve imported jQuery, jQuery UI, and the CSS styles for jQuery UI into our code in the following code block. Therefore, we can use the dialog() API to create the custom alert box.
Meanwhile, the dialog() API needs a location on the web page that it’ll display the custom alert box. So, we’ll use an HTML div element with a unique ID.
What’s more, this div should have a title attribute containing text that’ll be the title of the custom alert box. When you run the code in your web browser, you’ll observe the custom alert box created with the dialog() API.
Code:
<head>
    <meta charset="utf-8">
    <title>Customized alert box with jQueryUI</title>
    <link rel="stylesheet" href="https://ajax.googleapis.com/ajax/libs/jqueryui/1.12.1/themes/smoothness/jquery-ui.css">
    <script src="https://ajax.googleapis.com/ajax/libs/jquery/3.6.0/jquery.min.js"></script>
    <script src="https://ajax.googleapis.com/ajax/libs/jqueryui/1.12.1/jquery-ui.min.js"></script>
    <script>
        $(function() {
            $("#jquery-ui-dialog").dialog();
        });
    </script>
</head>
<body>
    <main style="display: flex; justify-content: center;">
        <div id="jquery-ui-dialog" title="A dialog">
            <p>You can move this dialog box, or close it with the 'X' sign at the top-right.</p>
        </div>
    </main>
</body>
Output:
Create Customized Alert Box With SweetAlert2
SweetAlert2 allows you to create an alert box that is accessible, customizable, and responsive. It aims to replace JavaScript popup boxes, including the native JavaScript alert() function.
You can use SweetAlert2 in various ways in your project. However, for this article, we’ll use it with the <script> tag via a Content Delivery Network (CDN).
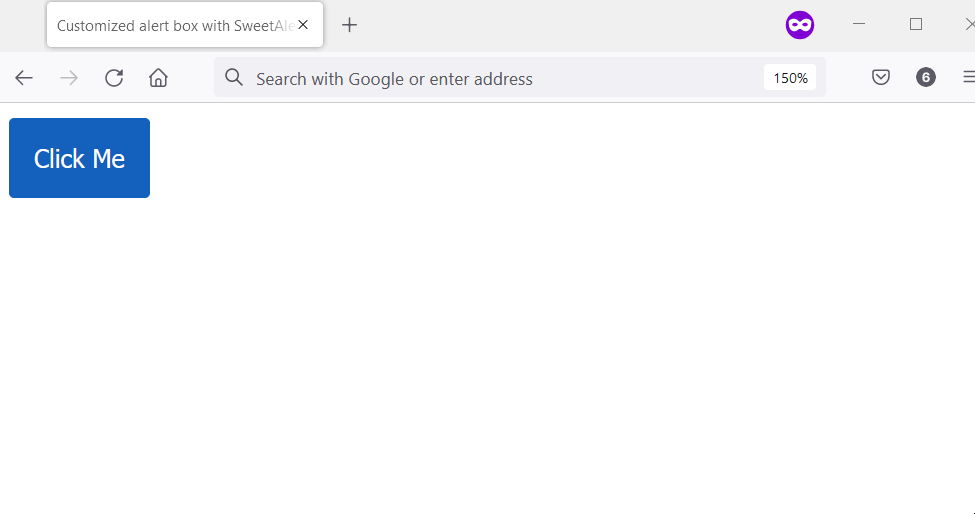
Therefore, when SweetAlert2 downloads, you can use it by attaching an event listener to an HTML button. You can call on the Swal.fire() method and supply it with arguments in the event listener.
The argument that you supply to Swal.fire() determines the output of the customized alert box.
We attached an event listener to an HTML button in the next code block. This button has an HTML ID attribute of #showAlert.
We’ve used jQuery to grab the ID to make things easy for you. After that, we call on the Swal.fire() method with arguments that shows a customized alert.
Code:
<head>
    <meta charset="utf-8">
    <title>Customized alert box with SweetAlert2</title>
    <script src="https://ajax.googleapis.com/ajax/libs/jquery/3.6.0/jquery.min.js"></script>
    <script src="https://cdn.jsdelivr.net/npm/sweetalert2@11.4.8/dist/sweetalert2.all.min.js"></script>
    <style type="text/css">
        button {
            padding: 1em;
            background-color: #1560bd;
            color: #ffffff;
            border-radius: 0.2em;
            border-style: none;
            cursor: pointer;
        }
    </style>
</head>
<body>
    <main>
        <button id="showAlert">Click Me</button>
    </main>
</body>
<script>
    $("#showAlert").click(function(){
        Swal.fire(
            'Are you done?',
        )
    });
</script>
Output:
Create Customized Alert Box With A Custom Function
You can create a custom function that’ll replace the native alert() box in the user’s web browser. You’ll do this from the window object, and the custom function will work as such:
- Set constants for the alert title and alert button text.
- Check if an HTML has an ID of
alert_container. If true, stop the creation of the custom alert. - Create the div element for the alert container and append it to the body element. Afterward, do the following:
- Give the alert container an HTML ID.
- Give the alert container an HTML class name.
- Create a div element for the alert box and append it to the alert container. Afterward, give it an HTML class name.
- Set the top position of the alert box using
scrollTop. - Set the left position of the alert box using
scrollWidthandoffsetWidth. - Create an HTML
h1element for the alert title. Then do the following:- Create a text node for the alert title. Its value should be the alert title constant.
- Append the
h1to the alert box. - Append the text node to the alert title.
- Create the HTML
buttonelement. Then do the following:- Create a text node for the button text. Its value should be the alert title constant.
- Append the button text to the
buttonelement. - Append the
buttonelement to the alert box. - Assign the
buttonelement a unique class name. - Attach an event listener to the button. The event listener should close the custom alert box.
In addition, you should create a function that’ll remove the custom alert. This should happen when the user clicks the OK button.
The function should use the following steps:
- Get the HTML
bodyelement. - Get the alert container.
- Use the
removeChildmethod to remove the alert container from the HTMLbodyelement.
Finally, create CSS styles to style the custom alert function. In the subsequent code blocks, you’ll find the implementation for the following:
- The custom alert function
- The function that removes it
- The CSS styles for the custom alert function
HTML and JavaScript code:
<body>
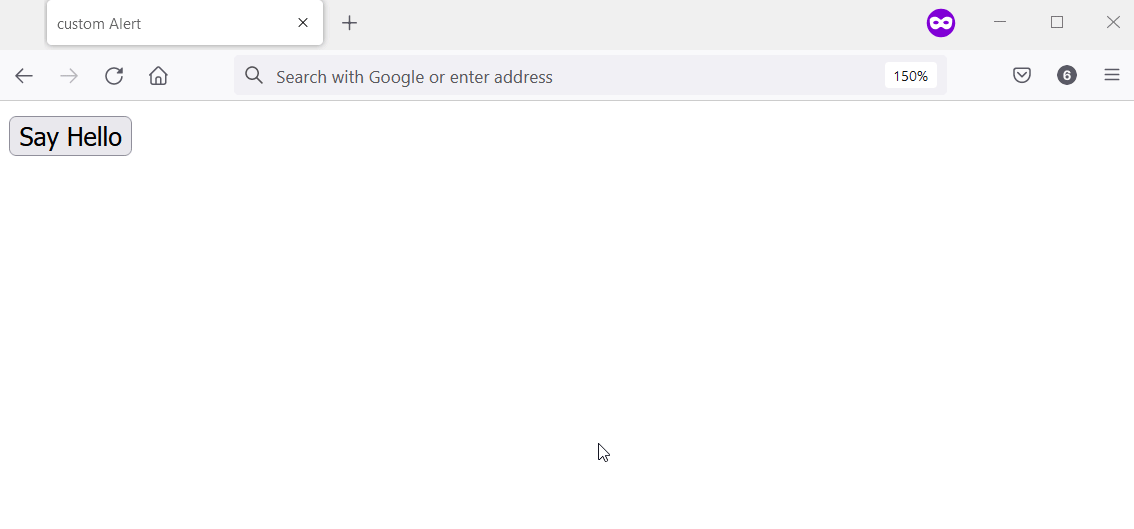
<input type="button" value = "Say Hello" onclick="alert('Hello');" />
</body>
<script>
// Ensure the user's web browser can run
// JavaScript before creating the custom
// alert box
if (document.getElementById) {
// Swap the native alert for the custom
// alert
window.alert = function (alert_message) {
custom_alert(alert_message);
}
}
function custom_alert(alert_message) {
/* You can utilize the web page address
* for the alert message by doing the following:
const ALERT_TITLE = "The page at " + document.location.href + " says: ";
*/
const ALERT_TITLE = "Alert Message";
const ALERT_BUTTON_TEXT = "OK";
// Check if there is an HTML element with
// an ID of "alert_container".If true, abort
// the creation of the custom alert.
let is_alert_container_exist = document.getElementById("alert_container");
if (is_alert_container_exist) {
return;
}
// Create a div to serve as the alert
// container. Afterward, attach it to the body
// element.
let get_body_element = document.querySelector("body");
let div_for_alert_container = document.createElement("div");
let alert_container = get_body_element.appendChild(div_for_alert_container);
// Add an HTML ID and a class name for the
// alert container
alert_container.id = "alert_container";
alert_container.className = "alert_container"
// Create the div for the alert_box and attach
// it to the alert container.
let div_for_alert_box = document.createElement("div")
let alert_box = alert_container.appendChild(div_for_alert_box);
alert_box.className = "alert_box";
// Set the position of the alert box using
// scrollTop, scrollWidth, and offsetWidth
alert_box.style.top = document.documentElement.scrollTop + "px";
alert_box.style.left = (document.documentElement.scrollWidth - alert_box.offsetWidth) / 2 + "px";
// Create h1 to hold the alert title
let alert_header_tag = document.createElement("h1");
let alert_title_text = document.createTextNode(ALERT_TITLE)
let alert_title= alert_box.appendChild(alert_header_tag);
alert_title.appendChild(alert_title_text);
// Create a paragraph element to hold the
// alert message
let alert_paragraph_tag = document.createElement("p");
let alert_message_container = alert_box.appendChild(alert_paragraph_tag);
alert_message_container.textContent = alert_message;
// Create the OK button
let ok_button_tag = document.createElement("button");
let ok_button_text = document.createTextNode(ALERT_BUTTON_TEXT)
let ok_button = alert_box.appendChild(ok_button_tag);
ok_button.className = "close_btn";
ok_button.appendChild(ok_button_text);
// Add an event listener that'll close the
// custom alert
ok_button.addEventListener("click", function () {
remove_custom_alert();
}, false);
}
function remove_custom_alert() {
let HTML_body = document.querySelector("body");
let alert_container = document.getElementById("alert_container");
HTML_body.removeChild(alert_container);
}
</script>
CSS code:
.alert_container {
    position: absolute;
    top: 0px;
    left: 0px;
    width: 100%;
    height: 100%;
    background-color: #0000004d;
}

.alert_box {
    position: relative;
    width: 300px;
    min-height: 100px;
    margin-top: 50px;
    border: 1px solid #666;
    background-color: #fff;
}

.alert_box h1 {
    font-size: 0.9em;
    margin: 0;
    background-color: #1560bd;
    color: #fff;
    border-bottom: 1px solid #000;
    padding: 2px 0 2px 5px;
}

.alert_box p {
    font-size: 0.7em;
    height: 50px;
    margin-left: 55px;
    padding-left: 5px;
}

.close_btn {
    width: 70px;
    font-size: 0.7em;
    display: block;
    margin: 5px auto;
    padding: 7px;
    border: 0;
    color: #fff;
    background-color: #1560bd;
    border-radius: 3px;
    cursor: pointer;
}
Output:

Habdul Hazeez is a technical writer with amazing research skills. He can connect the dots, and make sense of data that are scattered across different media.
LinkedIn