How to addEventListener vs. Onclick in JavaScript
This article explains the differences between JavaScript addEventListener and onclick.
addEventListener vs. onclick in JavaScript
Although both addEventListener and onclick can serve the same purpose, there are some nuances that you should know.
So, that’s what this article is all about. What’s more, we’ll accompany our explanations with code examples.
onclick Is an HTML Attribute; addEventListener Works Only in the <Script> Element
onclick is an HTML attribute so that you can add it directly to an HTML element or within the <script> element. Meanwhile, you can only use addEventListener within the <script> element.
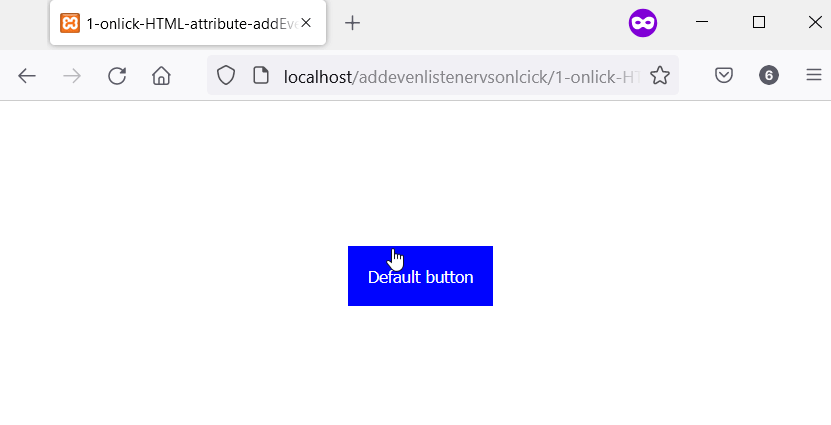
For example, we’ve added onclick as an attribute of the button element in the following code. Not only that, the value of the onclick is a JavaScript alert message.
Therefore, when you click the button, you’ll observe a JavaScript alert in your web browser. However, you cannot add addEventListener as an HTML attribute.
Example code:
<head>
    <meta charset="utf-8">
    <title>1-onlick-HTML-attribute-addEventlistener-Via-Script-Element</title>
    <style>
        body {
            display: grid;
            justify-content: center;
            align-items: center;
            height: 100vh;
        }

        button {
            padding: 1.2em;
            background-color: #0004ff;
            color: #ffffff;
            border: none;
            cursor: pointer;
        }
    </style>
</head>
<body>
    <main id="main">
        <!-- Add onclick as an attribute of the button -->
        <button id="button" onclick="alert('Perform click actions with onclick attribute.')">Default button</button>
    </main>
</body>
Output:
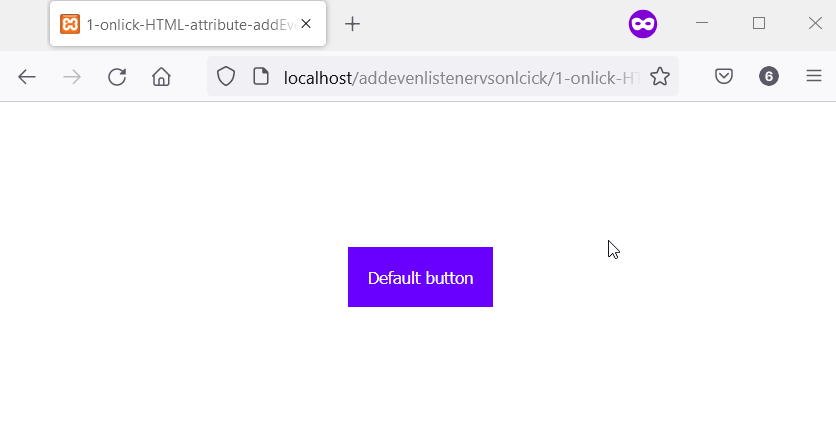
In a <script> element, you can select the button and add onclick as its attribute. At the same time, you can also add a click event listener to the button using addEventListener.
So, in the following, the HTML button has the onclick attribute and addEventListener. As a result, you’ll get two JavaScript alert messages when you click the button.
Example code:
<head>
    <meta charset="utf-8">
    <title>1-onlick-HTML-attribute-addEventlistener-Via-Script-Element-V2</title>
    <style>
        body {
            display: grid;
            justify-content: center;
            align-items: center;
            height: 100vh;
        }

        button {
            padding: 1.2em;
            background-color: #6800ff;
            color: #ffffff;
            border: none;
            cursor: pointer;
        }
    </style>
</head>
<body>
    <main id="main">
        <button id="button">Default button</button><br/>
    </main>

    <script>
        let button = document.getElementById('button');

        // Here, we are in the <script> element, we can
        // also add onclick to the button
        button.onclick = function() {
            alert("Perform click actions with onclick.")
        }

        // Also add click event via addEventListener
        button.addEventListener("click", function() {
            alert("Perform click actions with addEventListener");
        }, false);
    </script>
</body>
Output:
You Can Have Multiple addEventListener on an Element, but Only One onclick
The addEventListener allows you to attach multiple click events to an element. However, you can only attach a single onclick attribute to an element.
Meanwhile, an element will run all the click events added via addEventListener. So, if an element has three click events via addEventListener, all will run when you click the element.
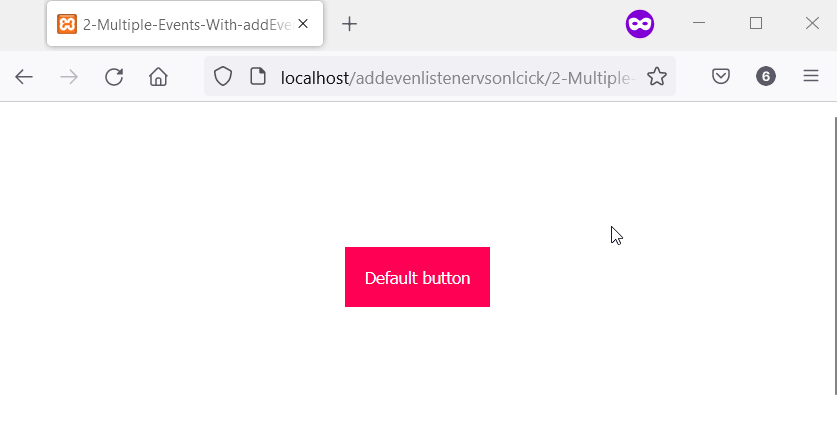
The HTML button has two click events via addEventListener in the code below. When you click the button, all click events will run.
As a result, you’ll observe two JavaScript alert messages in your web browser.
Example code:
<head>
    <meta charset="utf-8">
    <title>2-Multiple-Events-With-addEventListener-One-with-Onclick</title>
    <style>
        body {
            display: grid;
            justify-content: center;
            align-items: center;
            height: 100vh;
        }

        button {
            padding: 1.2em;
            background-color: #ff0054;
            color: #ffffff;
            border: none;
            cursor: pointer;
        }
    </style>
</head>
<body>
    <main id="main">
        <button id="button">Default button</button><br/>
    </main>

    <script>
        let button = document.getElementById('button');

        // Also add click event via addEventListener
        button.addEventListener("click", function () {
            alert("Perform First click action with addEventListener");
        }, false);

        // Yet another click event via addEventListener
        button.addEventListener("click", function () {
            alert("Perform Second click action with addEventListener");
        }, false);
    </script>
</body>
Output:
We’ve mentioned that you can only have one onclick on an element. However, what happens when you have more than one? Which onclick will run?
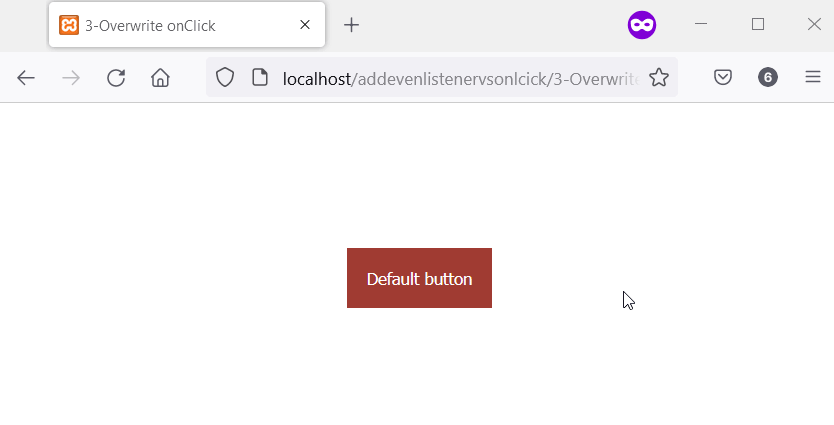
Multiple onclick Attributes Overwrite Each Other
Only the last one works if you have multiple onclick on a single element. That’s because onclick is an element attribute, so only one can exist on the element.
Therefore, your web browser will only execute the last one if you add more than one onclick to an element.
So, we’ve added two click events via onclick in the following code. Meanwhile, when you run the code in your web browser, you’ll note the JavaScript alert for the last onclick.
Example code:
<head>
    <meta charset="utf-8">
    <title>3-Overwrite onClick</title>
    <style>
        body {
            display: grid;
            justify-content: center;
            align-items: center;
            height: 100vh;
        }

        button {
            padding: 1.2em;
            background-color: #a03c32;
            color: #ffffff;
            border: none;
            cursor: pointer;
        }
    </style>
</head>
<body>
    <main id="main">
        <button id="button">Default button</button><br/>
    </main>

    <script>
        let button = document.getElementById('button');

        // Define a first click event with onclick
        button.onclick = function () {
            alert("Perform First click action with addEventListener");
        }

        // Define another click event with onclick.
        // Meanwhile, this one overwrites the first one.
        button.onclick = function () {
            alert("The second onclick runs, not the first!!!");
        }
    </script>
</body>
Output:
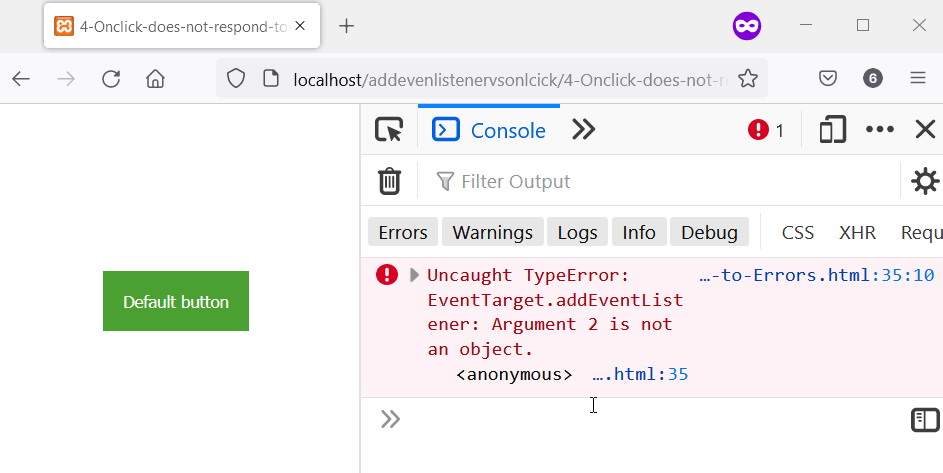
a String Value of Element.onclick Fails Silently; addEventListener Throws an Error
If the function value of onclick in a <script> element is a string, it’ll fail silently. However, an error occurs if you supply a string in place of the function in addEventListener.
In the following example, we have the string Say what? as the value of button.onclick. Meanwhile, the same string, Say what?, is also in the position of the function in addEventListener.
You’ll get a TypeError in the console when you run the code. Besides, nothing happens if you click the button, there is no error whatsoever.
That’s because onclick has a string value instead of a function. Meanwhile, addEventListener already throws an error at the first run of the code.
Example code:
<head>
    <meta charset="utf-8">
    <title>4-Onclick-does-not-respond-to-Errors</title>
    <style>
        body {
            display: grid;
            justify-content: center;
            align-items: center;
            height: 100vh;
        }

        button {
            padding: 1.2em;
            background-color: #4aa032;
            color: #ffffff;
            border: none;
            cursor: pointer;
        }
    </style>
</head>
<body>
    <main id="main">
        <button id="button">Default button</button><br/>
    </main>

    <script>
        let button = document.getElementById('button');

        // This will not throw an error.
        button.onclick = "Say what?";

        // This throws an error.
        button.addEventListener("click", "Say what?")
    </script>
</body>
Output:
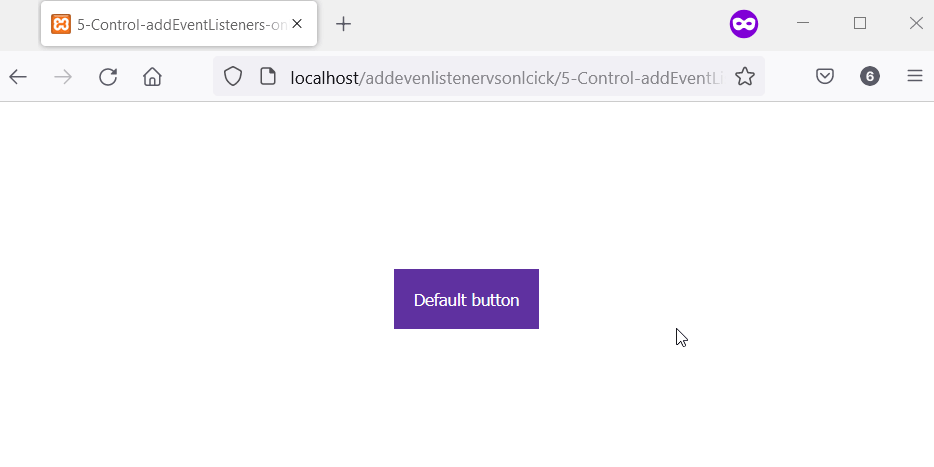
addEventListener Gives You Control Over the Number of Clicks; Onclick Is Always Available
addEventListener accepts a Boolean value called once. This value dictates the number of times the listener will run.
So, when you specify once as true, the event listener is automatically removed after its first run. In the following code, the button has a click event via onclick and addEventListener.
Meanwhile, the addEventListener has the Boolean once set to true. As a result, when you click the button for the first time, you’ll get two JavaScript alert messages.
However, subsequent clicks only show the click event of onclick. That’s because the addEventListener no longer exists.
Example code:
<head>
    <meta charset="utf-8">
    <title>5-Control-addEventListeners-onlclick-always-run</title>
    <style>
        body {
            display: grid;
            justify-content: center;
            align-items: center;
            height: 100vh;
        }

        button {
            padding: 1.2em;
            background-color: #5f32a0;
            color: #ffffff;
            border: none;
            cursor: pointer;
        }
    </style>
</head>
<body>
    <main id="main">
        <button id="button">Default button</button><br/>
    </main>

    <script>
        let button = document.getElementById('button');

        // Attach click event via onclick that'll always
        // run every time you click the button.
        button.onclick = function () {
            alert("I always run. Click OK and click the button again.")
        }

        // We'll execute this function one time, with addEventListener
        function sayOnce () {
            alert("This is the only time you'll see me. Good Bye.");
        }

        // You can pass a third Boolean value to addEventListener
        // This boolean value defines the number of times you
        // the event listener can work on the element. Here,
        // the event listener will work once.
        button.addEventListener("click", sayOnce, { once: true })
    </script>
</body>
Output:
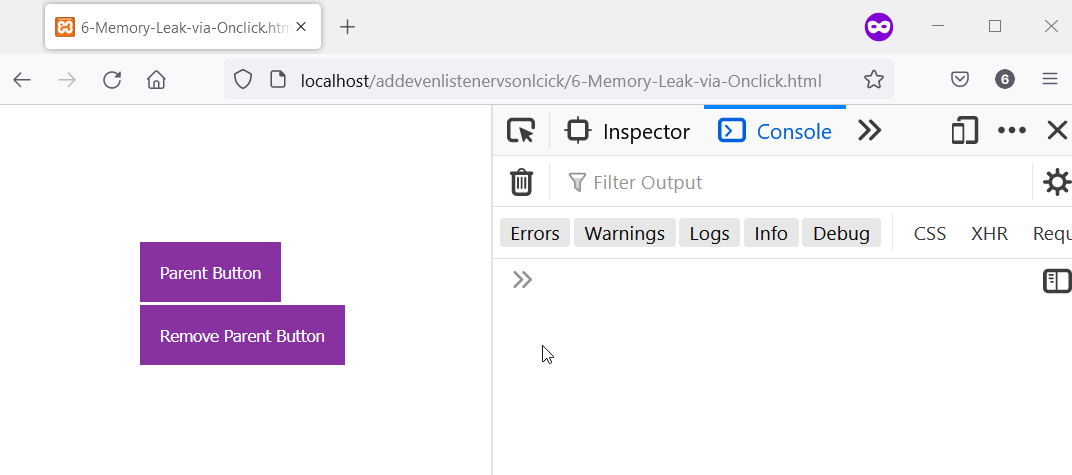
onclick Can Cause a Memory Leak; addEventListener Gets Removed With the Element
When you remove an element with a click event via onclick, the onclick and its value remain in memory. Check element.onclick in the removed nodes array of the MutationObserver to confirm.
The element is the removed node with onclick attached. What’s more, you’ll have to set up a MutationObserver to pull this off.
The two HTML buttons have click events via onclick in the following code. Meanwhile, clicking on the Remove Parent Button removes the Parent Button.
However, with MutationObserver, we log the onclick of the Parent Button to the console. This proves the onclick still exists even after deleting the Parent Button.
<head>
    <meta charset="utf-8">
    <title>6-Memory-Leak-via-Onclick.html</title>
    <style>
        body {
            display: grid;
            justify-content: center;
            align-items: center;
            height: 100vh;
        }

        button {
            padding: 1.2em;
            background-color: #8832a0;
            color: #ffffff;
            border: none;
            cursor: pointer;
            margin-top: 0.2em;
        }
    </style>
</head>
<body>
    <main id="main">
        <button id="parent_button">Parent Button</button><br/>
        <button id="remove_parent_button">Remove Parent Button</button>
    </main>

    <script>
        let main = document.getElementById('main');
        let parent_button = document.getElementById('parent_button');
        let remove_parent_button = document.getElementById('remove_parent_button');

        // Add a function via onclick
        parent_button.onclick = function amIleaking() {
            alert("This onclick function exist after the Parent button dies. \n Remove the Parent button, and Check the console!.");
        }

        // Setup a mutation observer to observe changes
        // in the DOM.
        const observer = new MutationObserver(function(mutations_list) {
            mutations_list.forEach(function(mutation) {
                mutation.removedNodes.forEach(function(removed_node) {
                    if (removed_node.id === 'parent_button') {
                        console.log('#parent_button has been removed');
                        observer.disconnect();
                    }
                    // Even after removal, the onclick function
                    // is available in the removedNodes. Here, [0]
                    // represents the first element of the removed
                    // node, which the parent_button.
                    console.log(mutation.removedNodes[0].onclick);
                    /*To see the function details in Firefox
                    console.log(mutation.removedNodes[0].onclick.toString());*/
                });
            });
        });
        // Observe changes in the main element. Meanwhile,
        // the main element consists of the parent button
        // and the button that removes it.
        observer.observe(document.querySelector("#main"), { subtree: false, childList: true });

        // Setup onclick to remove the parent button
        remove_parent_button.onclick = function () {
            document.querySelector("#parent_button").remove();
        }
    </script>
</body>
Output:
addEventListener Does Not Work in IE<9; onclick Works in IE<9
If you want to support IE<9, addEventListener will not work. That’s because IE<9 supports the non-standard attachEvent.
Nevertheless, you can write a utility function if you’d like to support IE<9. This function will check if the web browser supports attachEvent or addEventListener.
Therefore, if the browser supports attachEvent, you’ll use attachEvent; otherwise, you’ll use addEventListener. Meanwhile, you can always count on onclick to work in IE<9.
So, you can use the following code if you want to support IE<9.
Example code:
// Define an addEvent function and check if
// the element supports attachEvent. Otherwise
// we use addEventListner.
function add_event(element, evnt, funct) {
  if (element.attachEvent) {  // element supports attachEvent
    return element.attachEvent('on' + evnt, funct);
  } else {  // Element does not support attachEvent
    // Use addEventListnere instead
    return element.addEventListener(evnt, funct, false);
  }
}

// How you can use it
add_event(document.getElementById('HTMLElement'), 'click', function() {
  alert('Hello World!');
});

Habdul Hazeez is a technical writer with amazing research skills. He can connect the dots, and make sense of data that are scattered across different media.
LinkedIn