How to Use Java FFMPEG to Convert Files From One Format to Another
-
The
Fast-Forward MPEG(FFMPEG) - Use Java Runtime to Execute FFMPEG to Convert Files From One Format to Another
- Java Wrapper to Use the FFMPEG
- Reason to Prioritize Java Runtime to Execute FFMPEG Over Java FFMPEG Wrapper or Vice Versa
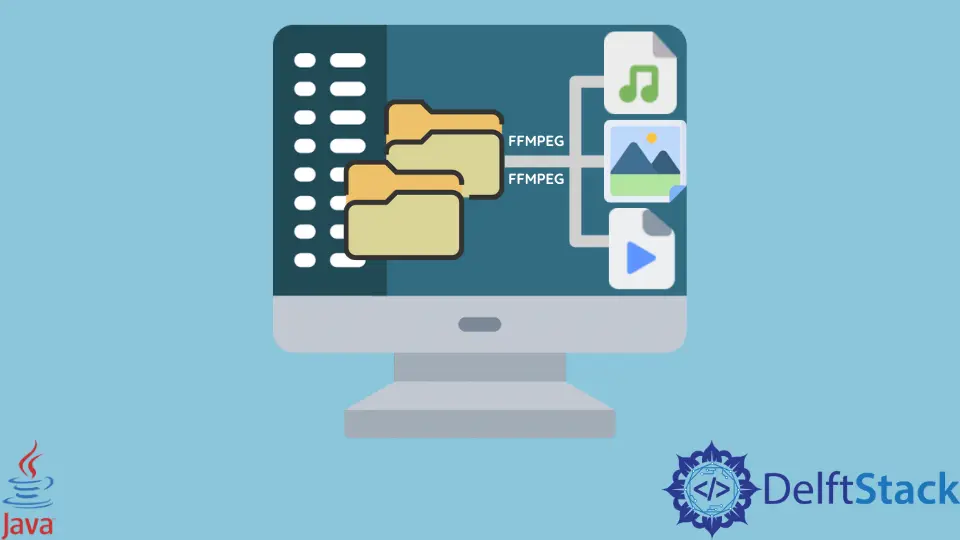
The FFMPEG is the best for a content creator or the one who interacts with media files most of the time.
Today, we will explore how to transform media files using Java FFMPEG wrapper and Java runtime to execute FFMPEG from the command line. We will also explore some reasons to prioritize one over the other.
The Fast-Forward MPEG (FFMPEG)
The Fast-Forward MPEG (FFMPEG) is an open-source and free multimedia framework that we can use to encode, decode, mux, demux, transcode, filter, stream, and play many multimedia files that have been created yet.
We can use FFMPEG on Windows, macOS X, Solaris, and Linux and do many things using FFMPEG. It includes rotating, trimming, cropping, reversing video, adding filters to video, audio compressing, video compressing, resizing the media file, fade in/out, converting video into different formats, and many others.
We can use any of them depending on what our project needs. The FFMPEG is used behind the scenes in media-related software projects and is also used as an internal part of many software, including iTunes, Plex, Blender, YouTube, VLC Media Player, etc.
Use Java Runtime to Execute FFMPEG to Convert Files From One Format to Another
Here, we are using Java runtime to execute the FFMPEG to learn various functionalities such as converting, reducing file sizes, adding audio, extracting audio, trimming media files, etc.
To do that, we must have FFMPEG installed on our machine. You can download it from its official website if you don’t have it.
Once it is downloaded and installed, we can now execute various commands to practice. Some of them are given below:
Convert Container Format:
/*
By using this command, we are not converting the video
into different codecs but changing the container format
to contain the same video as the input file.
*/
ffmpeg - i input.mkv output1.mp4
Convert Video and Audio Codec:
/*
This command converts the input video file into
`vp9` codec and the audio contained in that container
into the `vorbis ogg` format.
*/
ffmpeg - i input.mkv - c : v vp9 - c : a libvorbis output2.webm
Convert the Video Codec Only:
/*
This command converts the video codec to `vp9` and keeps
the audio codec as it is.
*/
ffmpeg - i input.mkv - c : v vp9 - c : a copy output3.webm
Convert the Audio Codec Only:
/*
Here, we convert the audio codec to `libvorbis`
and keep the video codec as it is.
*/
ffmpeg - i input.mkv - c : v copy - c : a libvorbis output4.mkv
Reduce Bitrate:
/*
This command keeps the audio codec as it is, converts
the video codec to `libx264` by reducing the bitrate to `1M`.
*/
ffmpeg - i input.mkv - c : a copy - c : v libx264 - b : v 1M output5.mp4
Reduce Frame Rate to Reduce the File Size:
/*
This command keeps the audio codec as it is, converts the video
the codec to `libx264` and reduce the fps to 24.
*/
ffmpeg - i input.mkv - c : a copy - c : v libx264 - r 24 output6.mp4
Reduce Resolution:
/*
This command keeps the audio codec as it is, converts the video
the codec to `libx264` reduces the resolution to `848x480`.
*/
ffmpeg - i input.mkv - c : a copy - c : v libx264 - s 848x480 output.mp4
Reduce Bitrate, Resolution, and Framerate:
/*
This command keeps the audio codec as it is, converts the video
the codec to `libx264`, reduce the resolution to `848x480`, and bitrate for the video to `1M`, and
change fps to 30.
*/
ffmpeg - i input.mkv - c : a copy - c : v libx264 - b : v 1M - r 30 - s 848x480 output.mp4
Trim Video File:
/*
This command trims the video length to 10 seconds, starting
from the given beginning point.
*/
ffmpeg - i input.mkv - ss 00 : 00 : 10 - t 10 output.mkv
Extract Audio:
// it extracts the audio from a video file
ffmpeg - i input.mkv - vn output.m4a
Change Speed of the Audio:
// it speeds up the audio
ffmpeg - i input.mkv - filter : a "atempo=2.0" - vn output.mkv
Change Speed of the Video:
// it changes the speed of the video
ffmpeg - i input.mkv - filter : v "setpts=0.125*PTS" output.mp4
Following is the description of each flag we used in the above ffmpeg commands.
| Flag | Description |
|---|---|
ffmpeg |
the command name that we are using. |
-i |
the input file followed by the input file’s path. In our case, we have the input file in the same directory. So, we are just writing its name as input.mkv. |
-c:v |
the codec for the video file. |
-c:a |
the codec for the audio file. |
copy |
keep the codec as it is based on its use. It will keep the codec for the video file the same if it is used as -c:v copy; on the other hand, if we use it as -c:a copy, it will keep the audio track as it is. |
-b:v |
bitrate for the video file. |
1M |
the given bitrate that we want to have after executing the command. |
-r |
the framerate (fps) followed by the number of framerate. |
-s |
size switch followed by the new size, 848x480. |
-ss |
the start timestamp, while -t specifies the actual duration of the clip in seconds. |
-vn |
no video. It only extracts the audio from the input file. |
atempo |
used to slow down or speed up the audio. |
-filter:a / -filter:v |
filter the audio and video, respectively. |
setpts |
set presentation timestamp. |
vp9 / libx264 |
the codecs for the video file. |
libvorbis |
the codec for the audio file. |
Java Wrapper to Use the FFMPEG
Here, we are using the following tools:
- Java 18.0.1.1
- MongoDB 5.0.8
- NetBeans IDE 13
- Maven to install dependencies
Example Code:
// replace the package with your own if you have
package com.voidtesting.ffmpeg_java_wrapper;

// import necessary libraries
import java.io.File;
import java.io.IOException;

// FFMPEG_Java_Wrapper class
public class FFMPEG_Java_Wrapper {
  // main
  public static void main(String[] args) {
    // try block
    try {
      // create process
      Runtime rt = Runtime.getRuntime();
      // save the location
      File folder = new File("C:\\Users\\DelftStack\\Desktop\\MediaFiles");
      // save all files in an array that are retrieved from the specified folder
      File[] file = folder.listFiles();

      /*
      for each filename, open the command prompt
      and execute the specified command.
       */
      for (int i = 0; i < file.length; i++) {
        rt.exec("cmd.exe /c start "
                + "ffmpeg -i " + file[i].getName() + " -vn output" + (i + 1) + ".m4a",
            null, folder);
      } // end for

    } // end try
    catch (IOException e) {
      System.out.println(e);
    } // end catch

  } // end main
} // end FFMPEG_Java_Wrapper
This code will iterate over all the video files in the specified directory, extract the audio from them, and save them in the current directory. To execute this code, we have to open the IDE every time and run the code.
What if we execute the code only once and make a .jar file for future use? To do that, we add the following code in the pom.xml file.
Example Code:
<build>
        <plugins>
            <plugin>
                <artifactId>maven-assembly-plugin</artifactId>
                <version>2.4</version>
                <configuration>
                    <descriptorRefs>
                        <descriptorRef>jar-with-dependencies</descriptorRef>
                    </descriptorRefs>
                    <archive>
                        <manifest>
                            <mainClass>
                               <!--make sure to replace the name
                                   of your Main file here-->
                               com.voidtesting.ffmpeg_java_wrapper
                                .FFMPEG_Java_Wrapper
                            </mainClass>
                        </manifest>
                    </archive>
                </configuration>
                <executions>
                    <execution>
                        <id>make-assembly</id>
                        <phase>package</phase>
                        <goals>
                            <goal>single</goal>
                        </goals>
                    </execution>
                </executions>
            </plugin>
        </plugins>
    </build>
After executing the code, all the .jar files for this specific project will be saved in Maven’s default directory, which is C:\Users\AdministratorName\.m2\repository.
As we have saved our files in the com.voidtesting.ffmpeg_java_wrapper package, our .jar file would be on the following path:
C:\Users\Dell\\.m2\repository\com\voidtesting\ffmpeg_java_wrapper\FFMPEG_Java_Wrapper\1.0-SNAPSHOT
Make sure to select the file which looks like yourFileName-1.0-SNAPSHOT-jar-with-dependencies. We can place that file anywhere on the machine and execute it as follows:
java -jar FFMPEG_Java_Wrapper-1.0-SNAPSHOT-jar-with-dependencies.jar
Reason to Prioritize Java Runtime to Execute FFMPEG Over Java FFMPEG Wrapper or Vice Versa
This is an opinionated point that differs from person to person, but there is a crystal clear answer to it.
If we want to use FFMPEG programmatically and solve problems within the Java application, we go for the Java FFMPEG wrapper. Here, we can define our logic based on our requirements or use already written APIs to complete our tasks.
By using APIs, we can achieve compile-time safety, call built-in methods, and much more. If we don’t want to mess with APIs and look for simple solutions, then the CLI option is preferred.
Here, we type the commands manually to accomplish the tasks. Just think, if we have to type thousands of commands for a complex project every day?
Cutting a long story short, CLI is only useful for easy and simple projects, but Java Wrapper is useful to automate things and beneficial for complex projects.
