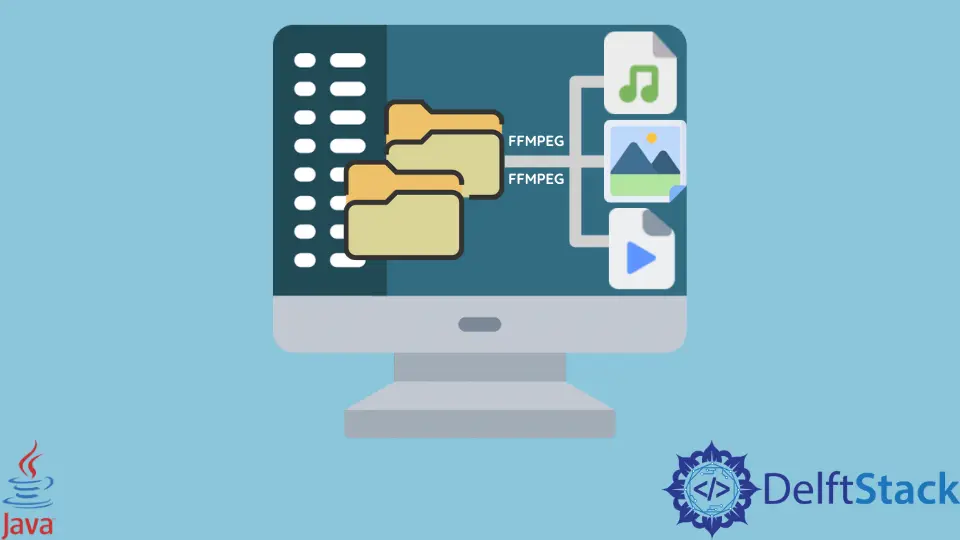
Java FFMPEG를 사용하여 한 형식에서 다른 형식으로 파일 변환
-
Fast-Forward MPEG(FFMPEG) - Java 런타임을 사용하여 FFMPEG를 실행하여 파일을 한 형식에서 다른 형식으로 변환
- FFMPEG를 사용하는 자바 래퍼
- Java FFMPEG 래퍼 또는 그 반대로 FFMPEG를 실행하기 위해 Java 런타임에 우선 순위를 지정하는 이유
FFMPEG는 콘텐츠 제작자 또는 대부분의 시간에 미디어 파일과 상호 작용하는 사람에게 가장 적합합니다.
오늘은 Java FFMPEG 래퍼와 Java 런타임을 사용하여 미디어 파일을 변환하여 명령줄에서 FFMPEG를 실행하는 방법을 살펴보겠습니다. 우리는 또한 하나를 다른 것보다 우선시해야 하는 몇 가지 이유를 탐구할 것입니다.
Fast-Forward MPEG (FFMPEG)
Fast-Forward MPEG(FFMPEG)는 아직 생성되지 않은 많은 멀티미디어 파일을 인코딩, 디코딩, 먹스, 디먹스, 트랜스코딩, 필터링, 스트리밍 및 재생하는 데 사용할 수 있는 오픈 소스 및 무료 멀티미디어 프레임워크입니다.
Windows, macOS X, Solaris 및 Linux에서 FFMPEG를 사용할 수 있으며 FFMPEG를 사용하여 많은 작업을 수행할 수 있습니다. 여기에는 회전, 자르기, 자르기, 비디오 반전, 비디오에 필터 추가, 오디오 압축, 비디오 압축, 미디어 파일 크기 조정, 페이드 인/아웃, 비디오를 다른 형식으로 변환 등이 포함됩니다.
프로젝트 요구 사항에 따라 이들 중 무엇이든 사용할 수 있습니다. FFMPEG는 미디어 관련 소프트웨어 프로젝트의 배후에서 사용되며 iTunes, Plex, Blender, YouTube, VLC Media Player 등 많은 소프트웨어의 내부 부품으로도 사용됩니다.
Java 런타임을 사용하여 FFMPEG를 실행하여 파일을 한 형식에서 다른 형식으로 변환
여기서는 Java 런타임을 사용하여 FFMPEG를 실행하여 변환, 파일 크기 줄이기, 오디오 추가, 오디오 추출, 미디어 파일 트리밍 등과 같은 다양한 기능을 학습합니다.
그렇게 하려면 컴퓨터에 FFMPEG가 설치되어 있어야 합니다. 없는 경우 공식 웹 사이트에서 다운로드할 수 있습니다.
다운로드 및 설치가 완료되면 이제 다양한 명령을 실행하여 연습할 수 있습니다. 그 중 일부는 다음과 같습니다.
컨테이너 형식 변환:
/*
By using this command, we are not converting the video
into different codecs but changing the container format
to contain the same video as the input file.
*/
ffmpeg - i input.mkv output1.mp4
비디오 및 오디오 코덱 변환:
/*
This command converts the input video file into
`vp9` codec and the audio contained in that container
into the `vorbis ogg` format.
*/
ffmpeg - i input.mkv - c : v vp9 - c : a libvorbis output2.webm
비디오 코덱만 변환:
/*
This command converts the video codec to `vp9` and keeps
the audio codec as it is.
*/
ffmpeg - i input.mkv - c : v vp9 - c : a copy output3.webm
오디오 코덱만 변환:
/*
Here, we convert the audio codec to `libvorbis`
and keep the video codec as it is.
*/
ffmpeg - i input.mkv - c : v copy - c : a libvorbis output4.mkv
비트레이트 줄이기:
/*
This command keeps the audio codec as it is, converts
the video codec to `libx264` by reducing the bitrate to `1M`.
*/
ffmpeg - i input.mkv - c : a copy - c : v libx264 - b : v 1M output5.mp4
프레임 속도를 줄여 파일 크기 줄이기:
/*
This command keeps the audio codec as it is, converts the video
the codec to `libx264` and reduce the fps to 24.
*/
ffmpeg - i input.mkv - c : a copy - c : v libx264 - r 24 output6.mp4
해상도 줄이기:
/*
This command keeps the audio codec as it is, converts the video
the codec to `libx264` reduces the resolution to `848x480`.
*/
ffmpeg - i input.mkv - c : a copy - c : v libx264 - s 848x480 output.mp4
비트 전송률, 해상도 및 프레임 속도 줄이기:
/*
This command keeps the audio codec as it is, converts the video
the codec to `libx264`, reduce the resolution to `848x480`, and bitrate for the video to `1M`, and
change fps to 30.
*/
ffmpeg - i input.mkv - c : a copy - c : v libx264 - b : v 1M - r 30 - s 848x480 output.mp4
비디오 파일 다듬기:
/*
This command trims the video length to 10 seconds, starting
from the given beginning point.
*/
ffmpeg - i input.mkv - ss 00 : 00 : 10 - t 10 output.mkv
오디오 추출:
// it extracts the audio from a video file
ffmpeg - i input.mkv - vn output.m4a
오디오 속도 변경:
// it speeds up the audio
ffmpeg - i input.mkv - filter : a "atempo=2.0" - vn output.mkv
비디오 속도 변경:
// it changes the speed of the video
ffmpeg - i input.mkv - filter : v "setpts=0.125*PTS" output.mp4
다음은 위의 ffmpeg 명령에서 사용한 각 플래그에 대한 설명입니다.
| 깃발 | 설명 |
|---|---|
ffmpeg |
우리가 사용하는 명령 이름. |
-i |
입력 파일 다음에 입력 파일의 경로가 옵니다. 우리의 경우 동일한 디렉토리에 입력 파일이 있습니다. 그래서 우리는 그 이름을 input.mkv로 씁니다. |
-c:v |
비디오 파일의 코덱입니다. |
-c:a |
오디오 파일의 코덱입니다. |
copy |
코덱은 용도에 따라 그대로 유지합니다. -c:v copy로 사용되는 경우 비디오 파일의 코덱을 동일하게 유지합니다. 반면에 -c:a copy로 사용하면 오디오 트랙을 그대로 유지합니다. |
-b:v |
비디오 파일의 비트 전송률. |
1M |
명령을 실행한 후 원하는 주어진 비트 전송률. |
-r |
프레임 속도(fps) 다음에 프레임 속도 수가 나옵니다. |
-s |
크기 스위치 다음에 새로운 크기 848x480이 표시됩니다. |
-ss |
시작 타임스탬프인 반면 -t는 클립의 실제 지속 시간을 초 단위로 지정합니다. |
-vn |
동영상이 없습니다. 입력 파일에서 오디오만 추출합니다. |
atempo |
오디오를 느리게 하거나 빠르게 하는 데 사용됩니다. |
-filter:a / -filter:v |
오디오 및 비디오를 각각 필터링합니다. |
setpts |
프레젠테이션 타임스탬프를 설정합니다. |
vp9 / libx264 |
비디오 파일의 코덱. |
libvorbis |
오디오 파일의 코덱입니다. |
FFMPEG를 사용하는 자바 래퍼
여기서는 다음 도구를 사용합니다.
- 자바 18.0.1.1
- 몽고DB 5.0.8
- 넷빈즈 IDE 13
- Maven 의존성 설치
예제 코드:
// replace the package with your own if you have
package com.voidtesting.ffmpeg_java_wrapper;

// import necessary libraries
import java.io.File;
import java.io.IOException;

// FFMPEG_Java_Wrapper class
public class FFMPEG_Java_Wrapper {
  // main
  public static void main(String[] args) {
    // try block
    try {
      // create process
      Runtime rt = Runtime.getRuntime();
      // save the location
      File folder = new File("C:\\Users\\DelftStack\\Desktop\\MediaFiles");
      // save all files in an array that are retrieved from the specified folder
      File[] file = folder.listFiles();

      /*
      for each filename, open the command prompt
      and execute the specified command.
       */
      for (int i = 0; i < file.length; i++) {
        rt.exec("cmd.exe /c start "
                + "ffmpeg -i " + file[i].getName() + " -vn output" + (i + 1) + ".m4a",
            null, folder);
      } // end for

    } // end try
    catch (IOException e) {
      System.out.println(e);
    } // end catch

  } // end main
} // end FFMPEG_Java_Wrapper
이 코드는 지정된 디렉토리에 있는 모든 비디오 파일을 반복하고, 그 파일에서 오디오를 추출하고, 현재 디렉토리에 저장합니다. 이 코드를 실행하려면 매번 IDE를 열고 코드를 실행해야 합니다.
코드를 한 번만 실행하고 나중에 사용할 수 있도록 .jar 파일을 만들면 어떻게 될까요? 이를 위해 pom.xml 파일에 다음 코드를 추가합니다.
예제 코드:
<build>
        <plugins>
            <plugin>
                <artifactId>maven-assembly-plugin</artifactId>
                <version>2.4</version>
                <configuration>
                    <descriptorRefs>
                        <descriptorRef>jar-with-dependencies</descriptorRef>
                    </descriptorRefs>
                    <archive>
                        <manifest>
                            <mainClass>
                               <!--make sure to replace the name
                                   of your Main file here-->
                               com.voidtesting.ffmpeg_java_wrapper
                                .FFMPEG_Java_Wrapper
                            </mainClass>
                        </manifest>
                    </archive>
                </configuration>
                <executions>
                    <execution>
                        <id>make-assembly</id>
                        <phase>package</phase>
                        <goals>
                            <goal>single</goal>
                        </goals>
                    </execution>
                </executions>
            </plugin>
        </plugins>
    </build>
코드를 실행한 후 이 특정 프로젝트의 모든 .jar 파일은 Maven의 기본 디렉토리인 C:\Users\AdministratorName\.m2\repository에 저장됩니다.
com.voidtesting.ffmpeg_java_wrapper 패키지에 파일을 저장했으므로 .jar 파일은 다음 경로에 있습니다.
C:\Users\Dell\\.m2\repository\com\voidtesting\ffmpeg_java_wrapper\FFMPEG_Java_Wrapper\1.0-SNAPSHOT
yourFileName-1.0-SNAPSHOT-jar-with-dependencies와 같은 파일을 선택해야 합니다. 해당 파일을 시스템의 아무 곳에나 배치하고 다음과 같이 실행할 수 있습니다.
java -jar FFMPEG_Java_Wrapper-1.0-SNAPSHOT-jar-with-dependencies.jar
Java FFMPEG 래퍼 또는 그 반대로 FFMPEG를 실행하기 위해 Java 런타임에 우선 순위를 지정하는 이유
이것은 사람마다 의견이 다를 수 있는 부분이지만 이에 대한 명확한 답이 있습니다.
프로그래밍 방식으로 FFMPEG를 사용하고 Java 애플리케이션 내에서 문제를 해결하려면 Java FFMPEG 래퍼를 사용합니다. 여기에서 요구 사항에 따라 논리를 정의하거나 이미 작성된 API를 사용하여 작업을 완료할 수 있습니다.
API를 사용하여 컴파일 시간 안전성을 확보하고 내장 메서드를 호출하는 등의 작업을 수행할 수 있습니다. API를 엉망으로 만들고 간단한 솔루션을 찾고 싶지 않다면 CLI 옵션이 선호됩니다.
여기에서 작업을 수행하기 위해 명령을 수동으로 입력합니다. 복잡한 프로젝트에 대해 매일 수천 개의 명령을 입력해야 한다면?
간단히 말해서 CLI는 쉽고 간단한 프로젝트에만 유용하지만 Java Wrapper는 자동화에 유용하고 복잡한 프로젝트에 유용합니다.
