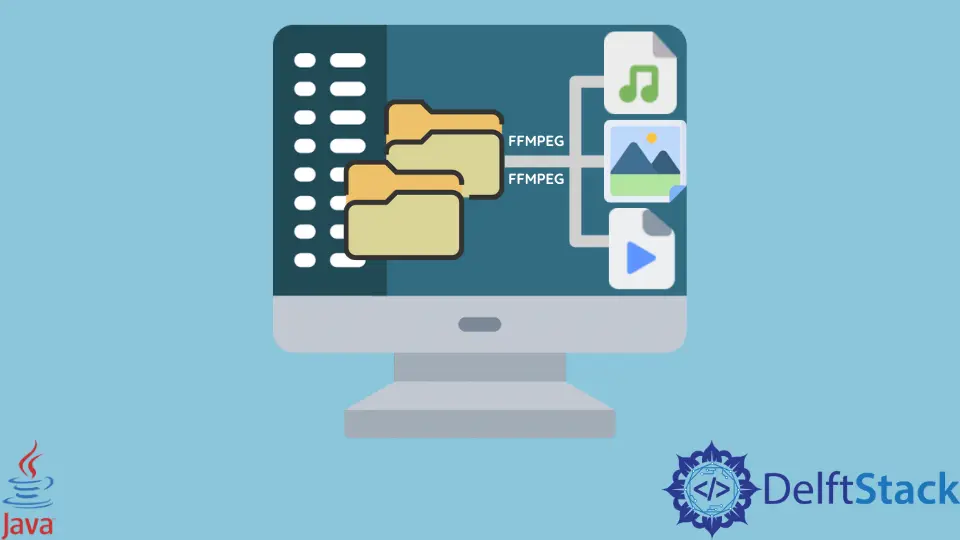
使用 Java FFMPEG 將檔案從一種格式轉換為另一種格式
-
Fast-forward MPEG(FFMPEG) - 使用 Java 執行時執行 FFMPEG 將檔案從一種格式轉換為另一種格式
- 使用 FFMPEG 的 Java 包裝器
- 優先考慮 Java 執行時執行 FFMPEG 而不是 Java FFMPEG Wrapper 或反之亦然的原因
FFMPEG 最適合內容建立者或大多數時間與媒體檔案互動的人。
今天,我們將探討如何使用 Java FFMPEG 包裝器和 Java 執行時轉換媒體檔案以從命令列執行 FFMPEG。我們還將探討一些優先考慮一個優先於另一個的原因。
Fast-forward MPEG (FFMPEG)
Fast-forward MPEG (FFMPEG) 是一個開源和免費的多媒體框架,我們可以使用它來編碼、解碼、複用、解複用、轉碼、過濾、流式傳輸和播放許多已經建立的多媒體檔案。
我們可以在 Windows、macOS X、Solaris 和 Linux 上使用 FFMPEG,並使用 FFMPEG 做很多事情。它包括旋轉、修剪、裁剪、反轉視訊、向視訊新增過濾器、音訊壓縮、視訊壓縮、調整媒體檔案大小、淡入/淡出、將視訊轉換為不同格式等等。
我們可以根據專案的需要使用它們中的任何一個。FFMPEG 在媒體相關軟體專案的幕後使用,也被用作許多軟體的內部部分,包括 iTunes、Plex、Blender、YouTube、VLC 媒體播放器等。
使用 Java 執行時執行 FFMPEG 將檔案從一種格式轉換為另一種格式
在這裡,我們使用 Java 執行時執行 FFMPEG 來學習各種功能,例如轉換、減小檔案大小、新增音訊、提取音訊、修剪媒體檔案等。
為此,我們必須在我們的機器上安裝 FFMPEG。沒有的話可以到它的【官網】下載。
下載並安裝後,我們現在可以執行各種命令來練習。其中一些如下:
轉換容器格式:
/*
By using this command, we are not converting the video
into different codecs but changing the container format
to contain the same video as the input file.
*/
ffmpeg - i input.mkv output1.mp4
轉換視訊和音訊編解碼器:
/*
This command converts the input video file into
`vp9` codec and the audio contained in that container
into the `vorbis ogg` format.
*/
ffmpeg - i input.mkv - c : v vp9 - c : a libvorbis output2.webm
僅轉換視訊編解碼器:
/*
This command converts the video codec to `vp9` and keeps
the audio codec as it is.
*/
ffmpeg - i input.mkv - c : v vp9 - c : a copy output3.webm
僅轉換音訊編解碼器:
/*
Here, we convert the audio codec to `libvorbis`
and keep the video codec as it is.
*/
ffmpeg - i input.mkv - c : v copy - c : a libvorbis output4.mkv
降低位元率:
/*
This command keeps the audio codec as it is, converts
the video codec to `libx264` by reducing the bitrate to `1M`.
*/
ffmpeg - i input.mkv - c : a copy - c : v libx264 - b : v 1M output5.mp4
降低幀速率以減小檔案大小:
/*
This command keeps the audio codec as it is, converts the video
the codec to `libx264` and reduce the fps to 24.
*/
ffmpeg - i input.mkv - c : a copy - c : v libx264 - r 24 output6.mp4
降低解析度:
/*
This command keeps the audio codec as it is, converts the video
the codec to `libx264` reduces the resolution to `848x480`.
*/
ffmpeg - i input.mkv - c : a copy - c : v libx264 - s 848x480 output.mp4
降低位元率、解析度和幀率:
/*
This command keeps the audio codec as it is, converts the video
the codec to `libx264`, reduce the resolution to `848x480`, and bitrate for the video to `1M`, and
change fps to 30.
*/
ffmpeg - i input.mkv - c : a copy - c : v libx264 - b : v 1M - r 30 - s 848x480 output.mp4
修剪視訊檔案:
/*
This command trims the video length to 10 seconds, starting
from the given beginning point.
*/
ffmpeg - i input.mkv - ss 00 : 00 : 10 - t 10 output.mkv
提取音訊:
// it extracts the audio from a video file
ffmpeg - i input.mkv - vn output.m4a
改變音訊的速度:
// it speeds up the audio
ffmpeg - i input.mkv - filter : a "atempo=2.0" - vn output.mkv
改變視訊的速度:
// it changes the speed of the video
ffmpeg - i input.mkv - filter : v "setpts=0.125*PTS" output.mp4
以下是我們在上述 ffmpeg 命令中使用的每個標誌的描述。
| 旗幟 | 描述 |
|---|---|
ffmpeg |
我們正在使用的命令名稱。 |
-i |
輸入檔案後跟輸入檔案的路徑。在我們的例子中,我們在同一個目錄中有輸入檔案。所以,我們只是把它的名字寫成 input.mkv。 |
-c:v |
視訊檔案的編解碼器。 |
-c:a |
音訊檔案的編解碼器。 |
copy |
根據使用情況保留編解碼器。如果用作 -c:v copy,它將保持視訊檔案的編解碼器相同;另一方面,如果我們將它用作 -c:a copy,它將保持音軌原樣。 |
-b:v |
視訊檔案的位元率。 |
1M |
執行命令後我們希望獲得的給定位元率。 |
-r |
幀率 (fps) 後跟幀率數。 |
-s |
尺寸開關後跟新尺寸 848x480。 |
-ss |
開始時間戳,而 -t 指定剪輯的實際持續時間(以秒為單位)。 |
-vn |
沒有視訊。它只從輸入檔案中提取音訊。 |
atempo |
用於減慢或加快音訊的速度。 |
-filter:a / -filter:v |
分別過濾音訊和視訊。 |
setpts |
設定演示時間戳。 |
vp9 / libx264 |
視訊檔案的編解碼器。 |
libvorbis |
音訊檔案的編解碼器。 |
使用 FFMPEG 的 Java 包裝器
在這裡,我們使用以下工具:
- Java 18.0.1.1
- MongoDB 5.0.8
- NetBeans IDE 13
- Maven 來安裝依賴項
示例程式碼:
// replace the package with your own if you have
package com.voidtesting.ffmpeg_java_wrapper;

// import necessary libraries
import java.io.File;
import java.io.IOException;

// FFMPEG_Java_Wrapper class
public class FFMPEG_Java_Wrapper {
  // main
  public static void main(String[] args) {
    // try block
    try {
      // create process
      Runtime rt = Runtime.getRuntime();
      // save the location
      File folder = new File("C:\\Users\\DelftStack\\Desktop\\MediaFiles");
      // save all files in an array that are retrieved from the specified folder
      File[] file = folder.listFiles();

      /*
      for each filename, open the command prompt
      and execute the specified command.
       */
      for (int i = 0; i < file.length; i++) {
        rt.exec("cmd.exe /c start "
                + "ffmpeg -i " + file[i].getName() + " -vn output" + (i + 1) + ".m4a",
            null, folder);
      } // end for

    } // end try
    catch (IOException e) {
      System.out.println(e);
    } // end catch

  } // end main
} // end FFMPEG_Java_Wrapper
此程式碼將遍歷指定目錄中的所有視訊檔案,從中提取音訊,並將它們儲存在當前目錄中。要執行此程式碼,我們必須每次都開啟 IDE 並執行程式碼。
如果我們只執行一次程式碼並製作一個 .jar 檔案以供將來使用會怎樣?為此,我們在 pom.xml 檔案中新增以下程式碼。
示例程式碼:
<build>
        <plugins>
            <plugin>
                <artifactId>maven-assembly-plugin</artifactId>
                <version>2.4</version>
                <configuration>
                    <descriptorRefs>
                        <descriptorRef>jar-with-dependencies</descriptorRef>
                    </descriptorRefs>
                    <archive>
                        <manifest>
                            <mainClass>
                               <!--make sure to replace the name
                                   of your Main file here-->
                               com.voidtesting.ffmpeg_java_wrapper
                                .FFMPEG_Java_Wrapper
                            </mainClass>
                        </manifest>
                    </archive>
                </configuration>
                <executions>
                    <execution>
                        <id>make-assembly</id>
                        <phase>package</phase>
                        <goals>
                            <goal>single</goal>
                        </goals>
                    </execution>
                </executions>
            </plugin>
        </plugins>
    </build>
執行程式碼後,該特定專案的所有 .jar 檔案將儲存在 Maven 的預設目錄中,即 C:\Users\AdministratorName\.m2\repository。
由於我們將檔案儲存在 com.voidtesting.ffmpeg_java_wrapper 包中,我們的 .jar 檔案將位於以下路徑:
C:\Users\Dell\\.m2\repository\com\voidtesting\ffmpeg_java_wrapper\FFMPEG_Java_Wrapper\1.0-SNAPSHOT
確保選擇看起來像 yourFileName-1.0-SNAPSHOT-jar-with-dependencies 的檔案。我們可以將該檔案放在機器上的任何位置並按如下方式執行它:
java -jar FFMPEG_Java_Wrapper-1.0-SNAPSHOT-jar-with-dependencies.jar
優先考慮 Java 執行時執行 FFMPEG 而不是 Java FFMPEG Wrapper 或反之亦然的原因
這是一個固執己見的觀點,因人而異,但有一個非常明確的答案。
如果我們想以程式設計方式使用 FFMPEG 並解決 Java 應用程式中的問題,我們會選擇 Java FFMPEG 包裝器。在這裡,我們可以根據我們的需求定義我們的邏輯,或者使用已經編寫好的 API 來完成我們的任務。
通過使用 API,我們可以實現編譯時安全、呼叫內建方法等等。如果我們不想弄亂 API 並尋找簡單的解決方案,那麼 CLI 選項是首選。
在這裡,我們手動鍵入命令來完成任務。試想一下,如果我們每天必須為一個複雜的專案輸入數千條命令?
長話短說,CLI 僅適用於簡單的專案,但 Java Wrapper 可用於自動化事物並有利於複雜的專案。
