How to Force Pull Overwrite in Git
- Force Pull in Git
- Keeping Local Commits When Pulling in Git
- Keeping Local Changes When Pulling in Git
Git is the most popular and demanding version control system today. The user interfaces for Git are similar to other version control systems. We can log in, clone a repository, and make commits.
However, Git features a few notable differences that make it more complicated than other systems.
Git is distributed. Every user has their repository instead of all repositories being stored in a single central location. Everyone has to make a connection to another repository to use it. It is a little annoying, but it also means that we can work on the same files in different locations. We can work on the same project in multiple places, and the changes are synchronized.
We are here to understand how to forcefully pull all the changes in the working current local branch. Indeed, it may have happened to us that we have an old git repository that has not been synced with the remote one with the latest changes, and we also may or may not have remote latest commits, and now we want to pull all the latest remote changes, and we don’t even care about the local changes in the current repository, so what to do for this scenario. The solution for this problem is below.
Force Pull in Git
By the name of command pull, we may think we can use the git pull command here, but it is not the ideal way to use the pull command in Git. So, there are two ways to handle this situation, one is to delete the current local repository and make a clone again of the same repository, but the disadvantage is that we lose our untracked files that already exist in our current repository.
First, we’ll execute fetch --all like the following.
git fetch --all
Here the command git fetch will download the latest from remote without merging or rebasing anything. Then, after executing fetch as above, if we are on the master branch, we will execute the following command to reset:
git reset --hard origin/master
By executing the above command git reset, it will reset the master branch to what we just fetched, or If we are on any other branch, we will use the branch name as follows.
git reset --hard origin/<branch_name>
The --hard option above will change all the files in our working tree to match the files in the origin/master branch.
Keeping Local Commits When Pulling in Git
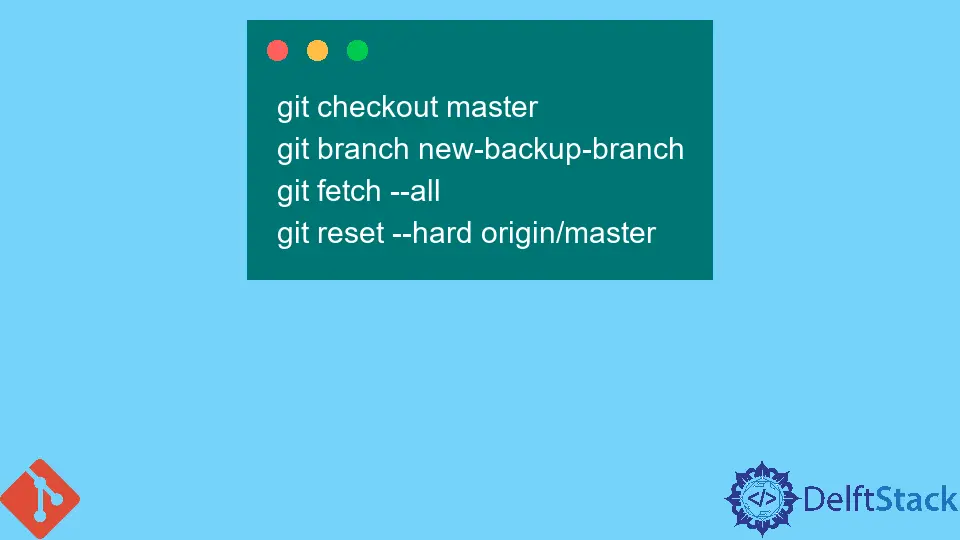
If we want to keep local commits, we have to make a local branch from the branch we are on before executing the reset command.
git checkout master
git branch new-backup-branch
git fetch --all
git reset --hard origin/master
The commands mentioned above are only meant for expert users who know what they are exactly doing. The warning is for the above commands: only use the above commands with care, and make sure that you know what their actions mean before you apply them!
Keeping Local Changes When Pulling in Git
Both uncommitted and staged changes will be lost when we execute the reset command. So what’s the solution to retain that changes in the local repository?
If we want to keep those changes, we’ll use the stash command before executing the reset command, and after performing the pull, we can pop the stashed changes on top of our changes. For that purpose, we’ll run the following command:
git stash
And after finishing the reset and pull, if we want to reapply these stashed changes, in this way, we will get our local changes again in the working directory. we will use the following command to get back our changes:
git stash pop

Abdul is a software engineer with an architect background and a passion for full-stack web development with eight years of professional experience in analysis, design, development, implementation, performance tuning, and implementation of business applications.
LinkedIn