Java でのバイト バッファ クラスのデモ
-
Java の
ByteBufferクラス -
Java の
ByteBufferクラスの操作カテゴリ - Java のバイト バッファ クラスのメソッド
- Java でのバイト バッファの実装
-
Java でバイト バッファ クラスの
getCharメソッドを実装する
この記事は、Java 仮想マシンが ByteBuffer クラスをどのように処理するかを理解するのに役立ちます。 また、その範囲を示し、主要なパラメーターをリストします。
最後に、2つの Java プログラムを実行して、説明した内容を実演します。
Java のByteBufferクラス
ByteBuffer クラスは、一連の整数値を格納するために使用されます。 これらの整数値は、I/O 操作で使用されます。
ソースから宛先へのバイト転送を支援するバッファです。 また、バッファ配列のようなストレージの他に、現在の位置、制限、容量などの抽象化を提供します。
Example1 と Example2 という 2つの主要な Java ファイルがあります。最初の例を使用して、ByteBuffer を割り当て、そのオブジェクトを使用する方法を示します。 2 番目の例では、主に getChar() および rewind() メソッドを使用します。
詳細については、読み続けてください。
Java の ByteBuffer クラスの操作カテゴリ
getおよびputメソッド (絶対および相対) を使用して、1 バイトの読み取りと書き込みを行うことができます。- (相対
bulk getメソッド) を使用して、隣接するバイトのシーケンス データをこのバッファーから配列に転送することもできます。 - バイトバッファを圧縮、複製、およびスライスするためのメソッドを使用することもできます (オプション)。
- 他のプリミティブ型の値を読み書きし、特定のバイト順序でバイト シーケンスとの間で変換するための絶対および相対
getおよびputメソッド。
ByteBuffer クラスの階層:
java.lang.Object> java.nio.Buffer>java.nio.ByteBuffer`
バイト バッファは、直接または間接であり、非直接とも呼ばれます。 ダイレクト バイト バッファがある場合、Java 仮想マシン(JVM)はすべてを作成します。
ネイティブ I/O 操作を直接実行しようとします。 言い換えれば、JVM は、オペレーティング システムのネイティブ I/O 操作の各呼び出しの前 (または後) に、バッファーの内容を中間バッファーに (または中間バッファーから) コピーすることを回避しようとします。
2つの簡単な方法で、バイト バッファーを作成できます。
-
allocate()- バッファーのコンテンツにスペースを割り当てることができます。次のコード ブロックは、容量が 20 バイトの空のバイト バッファーを作成する方法を示しています。
構文:
ByteBuffer xyz = ByteBuffer.allocate(20); -
wrap()- バッファの既存のバイト配列にラップします。構文:
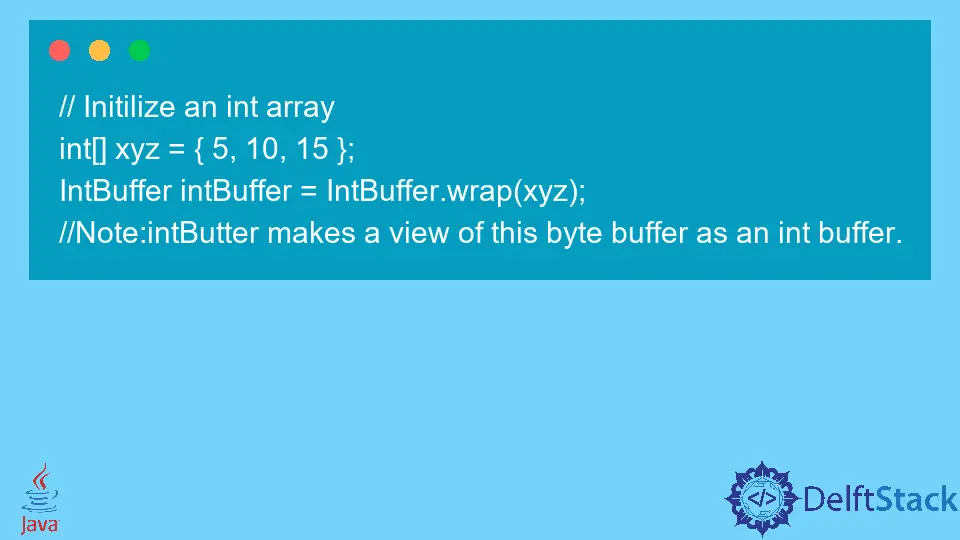
// Initilize an int array
int[] xyz = {5, 10, 15};
IntBuffer intBuffer = IntBuffer.wrap(xyz);
// Note:intButter makes a view of this byte buffer as an int buffer.
Java のバイト バッファ クラスのメソッド
このクラスに含めることができるメソッドは他にもあります。 ただし、必要と思われるもののみを強調表示します。
次に、以下の表の各メソッドを実装に使用しません。 最も重要な方法とその使用方法のいくつかに慣れることを目的としています。
詳細については、Byte Buffer Class Oracle Docs を参照してください。
| S.N | メソッド名 | まとめ |
|---|---|---|
| 1 | put(バイト a) |
新しいバイト バッファを予約します。 |
| 2 | get() |
相対 get メソッド。 |
| 3 | allocate(int 容量) |
新しいバイト バッファを予約します。 |
| 4 | order() |
このバッファの現在のハッシュ コードを返します。 |
| 5 | isDirect() |
このバイト バッファがダイレクトかどうかを通知します。 |
| 6 | hashArray() |
ハッシュ配列は、利用可能なバイト配列がこのバッファをサポートしているかどうかを示します。 |
| 7 | getInt() |
int 値を読み取るため。 |
| 8 | compact() |
このバッファを圧縮します |
| 9 | asIntBuffer() |
これは、このバイト バッファを int バッファとして表示します。 |
| 10 | allocateDirect(int 容量) |
新しいダイレクト バイト バッファを割り当てます。 |
| 11 | putInt(整数値) |
相対 put メソッドです。 |
| 12 | put(int, バイト) |
これは絶対的な put メソッドです。 |
| 13 | getChar() |
文字値を読み取るためのメソッドを取得するために使用されます。 |
Java でのバイト バッファの実装
次のプログラムは、表に示されている各メソッドの例を示していません。 ただし、最も一般的なもののいくつかについて説明します。
または、公式ドキュメントを参照することもできます。
例:
-
容量を設定する
ByteBuffer bfr = ByteBuffer.allocate(20); -
バイト バッファの容量を取得します。
int capacity = bfr.capacity(); -
絶対値
put(int, byte)を使用して位置を設定します。注: この方法は位置には影響しません。
// position=2
bfr.put(2, (byte) 2xFF);
-
位置を 10 に設定します
bfr.position(10); -
表に記載されている相対
put(byte)を使用することもできます。bfr.put((byte) 2xFF); // position 2 -
新しいポジションを取得したい場合
int newposition = bfr.position(40); -
残りのバイト数を取得できます
int remainingByteCount = bfr.remaining(); -
制限の設定
bfr.limit(10);
実装:
このプログラムでは、バイト バッファー クラスのデモを行います。 まず、バイト バッファとそのオブジェクトを作成し、サイズを割り当てます。
次に、PuntInt() 関数を使用して型キャストすることにより、int データ型をバイトに変換します。
コード:
package bytebuffer.delftstack.com.util;
/*We will demonstrate the byte buffer class in this program.
 *First of all, we will create a byte buffer and its object and allocate it a size.
 *Then, we will convert the int data type to the byte by typecasting with the help of PuntInt()
 *function */
import java.nio.*;
import java.util.*;
// main class
public class Example1 {
  // main function
  public static void main(String[] args) {
    // capacity declaration
    int allocCapac = 6;
    // Creating the ByteBuffer
    try {
      // creating object of ByteBuffer
      // and allocating size capacity
      ByteBuffer createOBJ = ByteBuffer.allocate(allocCapac);
      // putting the int to byte typecast value
      // in ByteBuffer using putInt() method
      createOBJ.put((byte) 20);
      createOBJ.put((byte) 40);
      createOBJ.put((byte) 60);
      createOBJ.put((byte) 80);
      createOBJ.put((byte) 100);
      createOBJ.put((byte) 120);
      createOBJ.rewind();
      // We will print the byter buffer now
      System.out.println("The byte buffer: " + Arrays.toString(createOBJ.array()));
    }
    // catch exception for error
    catch (IllegalArgumentException e) {
      System.out.println("IllegalArgumentException catched");
    } catch (ReadOnlyBufferException e) {
      System.out.println("ReadOnlyBufferException catched");
    }
  }
}
// class
出力:
The byte buffer: [20, 40, 60, 80, 100, 120]
Java でバイト バッファ クラスの getChar メソッドを実装する
前のプログラムのように、このコード ブロックでは int の代わりに string を使用します。 まず、バイトバッファの容量を 100 と宣言します。
次に、そのオブジェクトを作成し、int 値の代わりに文字列を配置し、サイズを割り当てます。 その後、rewind() を使用してこのバッファを巻き戻し、while ループで最後に getChar 関数を適用します。
詳細については、次のコード ブロックを確認してください。
package bytebuffer.delftstack.com.util;

/*In this code block, we will use string instead of int like the previous program.
First of all, we declare the capacity of the byte buffer to `100`.
Then, we create its object, put the string instead of the int value, and allocate it with size.
After that, we will use `rewind()` to rewind this buffer and in the while loop and finally apply the
getChar function. Please check out the following code block to learn more:*/

import java.nio.ByteBuffer;
public class Example2 {
  public static void main(String[] args) {
    // Declaring the capacity of the ByteBuffer
    int capacity = 100;
    // Creating the ByteBuffer
    // creating object of ByteBuffer
    // and allocating size capacity
    ByteBuffer bufferOBJ = ByteBuffer.allocate(capacity);
    // putting the string in the bytebuffer
    bufferOBJ.asCharBuffer().put("JAVA");
    // rewind the Bytebuffer
    bufferOBJ.rewind(); // The position is set to zero and the mark isdiscarded.
    // Declaring the variable
    char charr;
    // print the ByteBuffer
    System.out.println("This is the default byte buffer: ");
    while ((charr = bufferOBJ.getChar()) != 0) System.out.print(charr + "");
    // rewind the Bytebuffer
    bufferOBJ.rewind();
    // Reads the char at this buffer's current position
    // using getChar() method
    char FrstVal = bufferOBJ.getChar();
    // print the char FrstVal
    System.out.println("\n\n The first byte value is : " + FrstVal);
    // Reads the char at this buffer's next position
    // using getChar() method
    char NXTval = bufferOBJ.getChar();
    // print the char FrstVal
    System.out.print("The next byte value is : " + NXTval);
  }
}
出力:
This is the default byte buffer:
JAVA
The first byte value is : J
The next byte value is : A

Sarwan Soomro is a freelance software engineer and an expert technical writer who loves writing and coding. He has 5 years of web development and 3 years of professional writing experience, and an MSs in computer science. In addition, he has numerous professional qualifications in the cloud, database, desktop, and online technologies. And has developed multi-technology programming guides for beginners and published many tech articles.
LinkedIn