How to Save as in Microsoft Excel VBA
-
What Is the
SaveAsFunction in VBA - Example 1: Save a Workbook
- Example 2: Create a New Workbook and Save It
- Example 3: Save the Active Workbook
- Example 4: Save All Active Workbooks
-
Example 5: Use the
SaveAsFunction Parameters - Conclusion
VBA provides developers with a variety of different functions and features.
This article will learn about the SaveAs method in VBA.
What Is the SaveAs Function in VBA
The SaveAs method saves a workbook object at a specified path destination in Excel VBA. A workbook is an Excel file containing the sheets you are working on.
These workbooks contain important data, and we can use the SaveAs function to save them to your computer.
Note: VBA also has a
Savefunction for saving a file, but it does not take a specific location. Moreover, if you want to save without writing the code, then this can be done manually using theSaveandSave Asoptions in theFilemenu or by using the Ctrl+S shortcut.
Syntax
The syntax for the SaveAs function in VBA is as follows:
expression.SaveAs (FileName, FileFormat, Password, WriteResPassword, ReadOnlyRecommended, CreateBackup, AccessMode, ConflictResolution, AddToMru, TextCodepage, TextVisualLayout, Local)
Let us look at the parameters of the function:
Expression: The variable’s name represents the workbook object. For example, we can use theActiveWorkbookvariable to specify the currently open workbook.FileName: This is the file name you want to save, optionally including the path. The file will be saved in the current folder if the path is not indicated.FileFormat: This indicates the format in which you want to save the file, which will also determine the extension. If not specified and you are saving your file for the first time, the format used will be the version of Excel in use.Password: If you want to keep a password on your file, you can specify it here in a string of15characters or less.WriteResPassword: This password is used for write-reservation. If someone wants to edit the file, they will have to provide this password, or it will be opened in read-only mode.ReadOnlyRecommended: IfTrueis sent here, a message will be displayed when the file is opened, saying that it is recommended to open this file in read-only mode.CreateBackup: A backup file will be created ifTrueis sent here.AccessMode: Here, you can specify the access mode for the save, such as exclusive or default.ConflictResolution: This parameter specifies how theSaveAsmethod will resolve conflicts that occur while saving the file. One option, for example, is to provide a dialog box to let the user decide.AddToMru: The default value for this isFalse, but you can indicateTrueif you want to add this file to the recently used list.TextCodepage: This parameter is ignored in Excel for all languages.TextVisualLayout: This parameter is also ignored in Excel for all languages.Local: The default value for this isFalse, which saves the file in the language of VBA, i.e., US English. Sending aTruehere will save the file in the language of Microsoft Excel.
Note: All parameters to the
SaveAsfunction are optional, and it is not required to write them.
Now that you know the syntax of the SaveAs method let us look at some examples to help you better understand it.
Example 1: Save a Workbook
This example shows how you can save a workbook to a particular location using the SaveAs method by specifying its name. The code for this is as follows:
Sub Example1()
Workbooks("Example.xlsm").SaveAs "D:\Example.xlsm", FileFormat:=xlOpenXMLWorkbookMacroEnabled
End Sub
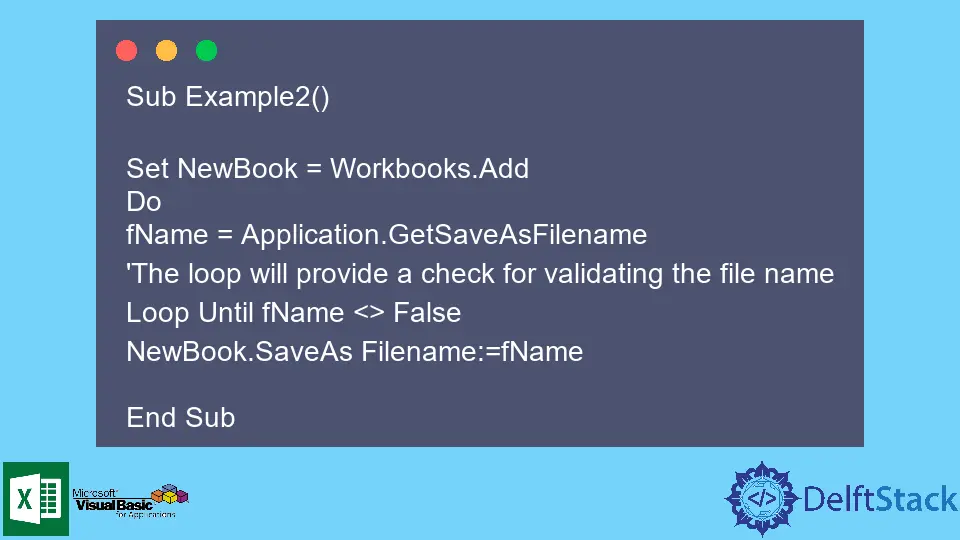
Example 2: Create a New Workbook and Save It
Here is an example that will create a new workbook, ask for a name from the user, and then save it. The Workbooks.Add function creates a new workbook and adds it to the list of currently active workbooks.
The GetSaveAsFileName function gets the file name from the user and is also used to specify the path. Manually selecting the path is useful if we want a different path for each file.
The code is given below.
Sub Example2()

Set NewBook = Workbooks.Add
Do
fName = Application.GetSaveAsFilename
'The loop will provide a check for validating the file name
Loop Until fName <> False
NewBook.SaveAs Filename:=fName

End Sub
Example 3: Save the Active Workbook
This example shows how you can use the ActiveWorkbook variable to save the currently open file. While providing the file name in the path, you will have to concatenate it using the & operator and ActiveWorkbook.Name method, as shown in the code below.
Sub Example3()
ActiveWorkbook.SaveAs "D:\Example\" & ActiveWorkbook.Name & ".xlsm"
End Sub
Example 4: Save All Active Workbooks
If there is more than one workbook you are currently working on, you can still use the ActiveWorkbook variable to save all of them by using a loop. This can be done using the following code.
Sub Example4()

Dim Wb As Workbook
For Each Wb In Workbooks
ActiveWorkbook.SaveAs "D:\Example\" & ActiveWorkbook.Name & ".xlsm"
Next Wb

End Sub
Example 5: Use the SaveAs Function Parameters
In this example, we will see how most of the parameters of the SaveAs function are specified since they were missing in the previous examples. This is how you can write them in code:
Sub Example5()

Set WB = Workbooks.Add
WB.SaveAs Filename:="D:Example5.xlsm", _
FileFormat:=xlOpenXMLWorkbookMacroEnabled, Password:="", WriteResPassword:="", _
ReadOnlyRecommended:=False, CreateBackup:=False

End Sub
Conclusion
This sums up our discussion on the SaveAs function in VBA, which is a useful programming language saving valuable time for Microsoft Office users. We hope you have learned the various ways in which the SaveAs method can be used to save files to a specific location.

Hello, I am Bilal, a research enthusiast who tends to break and make code from scratch. I dwell deep into the latest issues faced by the developer community and provide answers and different solutions. Apart from that, I am just another normal developer with a laptop, a mug of coffee, some biscuits and a thick spectacle!
GitHub