Python Socket Flush
In this article, we will see how Python’s socket module provides a low-level interface to the underlying network socket implementation. We will see some important methods in the socket modules in Python.
We will also go through some Python codes to understand how to send messages from server to client using Python. So, let’s begin.
Python Socket Flush
Have we ever wondered how to flush a socket in Python? If so, we’re not alone.
Flushing a socket is common with networked applications, but most people need help understanding how it works.
In this Python article, we will look at what socket flushing is and how it works. We’ll also discuss how to flush a socket in Python.
Socket Flushing Defined
When we flush a socket, we clear its internal buffer. This buffer stores data that are waiting to be sent or received.
Flushing a socket is often necessary to ensure that all data in the buffer is sent or received.
For example, if we send data to a remote server, we may want to flush the socket to ensure that all data is sent before the connection is closed.
Python’s socket flush function is used for flushing the socket’s write buffer. This function is typically used to ensure all data in the buffer is sent before the socket is closed.
Process of Socket Flushing
When we flush a socket, the data in the buffer is sent or received immediately. The process of flushing a socket is typically handled by the operating system (Windows, Mac, or Linux).
In most cases, we do not need to worry about the details of how socket flushing works. However, it’s important to understand that the data in the buffer is sent or received immediately, which means that the data could be lost if the connection is closed before all data is sent.
Flush a Socket in Python
Flushing a socket in Python is relatively simple. The process is similar to flushing a file in Python.
As we can see, the process is quite simple. However, it’s important to remember that the data in the buffer is sent immediately, so we must be careful to ensure that all data is sent before the connection is closed.
We must import the socket module or framework to achieve socket programming in Python. This module consists of built-in methods required for creating sockets and helping them associate with each other.
Important Methods of the socket Module:
socket.socket(): Used to create sockets (required on both server and client ends to create sockets).socket.accept(): Used to accept a connection. It returns a pair of values (conn,address).socket.bind(): Used to bind to the address specified as a parameter.socket.close(): Used to bind to the address specified as a parameter.socket.connect(): Mark the socket as closed.socket.listen(): Used to connect to a remote address specified as the parameter.
Server
Now we will create a file and give it a name. In our case, we have named the file SERVER1.py.
Now we will start writing the code for the server.
So first, we will import the socket library. Then we will use the socket.socket() method to create a socket and assign it to sock.
And within the bracket, we will specify the address family as AF_INET, using a socket.AF_INET. Note that AF_INET refers to an address from the internet.
And it requires a pair of hosts and a port number. The host can use either a URL of some particular website or its address or port number as an integer.
The second parameter we will specify is a socket.SOCK_STREAM. The SOCK_STREAM is used to create TCP protocols.
The next thing we have to do is write the bind function. The bind method accepts two parameters as a tuple, so collectively, it will be one parameter.
It agrees with a host and a port number. As a parameter, we will use a socket.gethostname(), 1024.
We use the bind method because we want the server to bind to the client.
Now we will use the listen method and pass any number. In our case, we have passed 5.
Now we will use a loop so that while the connection is True, we want the server to accept the client socket and its address. We will use the accept method for this.
Once we receive the client socket and its address, we will print it. We will use the print method, and in the print method, we will use the f string.
The f string is a literal string, prefixed with an f, and contains Python expressions within brackets. Within the print statement, we will give a message Connection to {adr} established..
So once the connection is established, we want to pass some messages from the server to the client. For this, we will use c.send.
And since we need a byte, we will specify it. Within this, we will write our message.
In our case, our message is Socket programming in Python. Because we have used bytes, we must write what kind of byte.
In our case, we will write utf-8. Our server is ready now.
Example code:
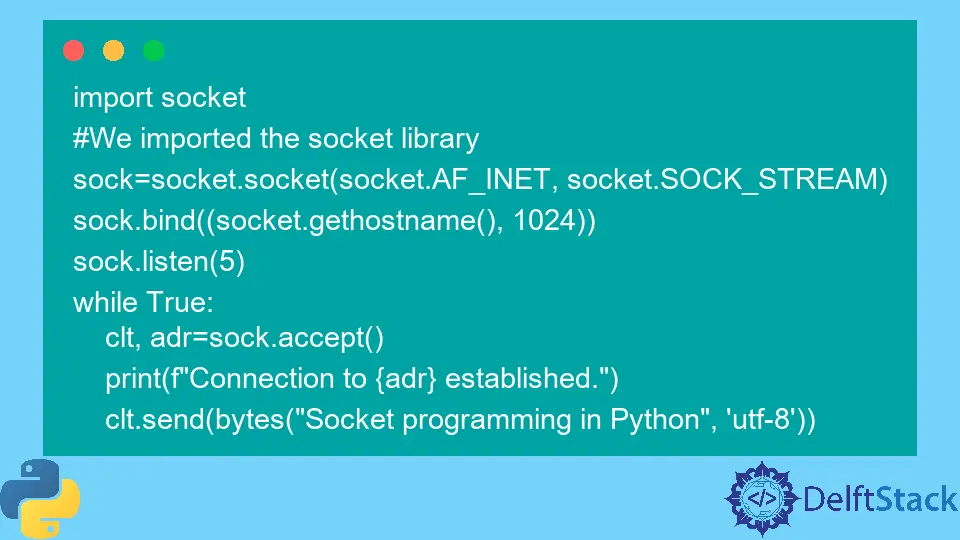
import socket

# We imported the socket library
sock = socket.socket(socket.AF_INET, socket.SOCK_STREAM)
sock.bind((socket.gethostname(), 1024))
sock.listen(5)
while True:
    clt, adr = sock.accept()
    print(f"Connection to {adr} established.")
    clt.send(bytes("Socket programming in Python", "utf-8"))
We will notice the cursor blinking on the command prompt. Now we will move to the client.
Client
So, we will open a new file in the same directory and give it a name.
In our case, we have named the file CLIENT1.py. The first thing we will do is import the socket library.
Now we will use the socket method to create a socket for the client. The same way we created for the server.
Now, we want our client to connect with the server. So, we will use the connect method and specify the parameter as gethostname along with the same port number we used in the server. So it’s 1024.
Now we have to save the message in a variable. In our case, we will name it msg.
We will use the recv method to receive the message. To this recv method, we can specify any number of bytes as a parameter.
That parameter will be received in one communication between the server and the client. So, in our first case, we will use 1024.
After this, we will print the number that we have received. Because the message being transferred is encoded, we will have to use the utf-8 byte to decode it.
Example code:
import socket

# We imported the socket library
sock = socket.socket(socket.AF_INET, socket.SOCK_STREAM)
sock.connect((socket.gethostname(), 1024))
msg = sock.recv(1024)
print(msg.decode("utf-8"))
Our server and client files are ready for execution.

We will open the command prompt in the same folder to execute these files and write the server’s path first as py Filename.py. So in our case, we will write it as py SERVER1.py and press Enter.
We will see the cursor blinking there.
Then we will open another command prompt to execute the second file as py Filename.py. In our case, we will write it as py CLIENT1.py and press Enter.
Output:
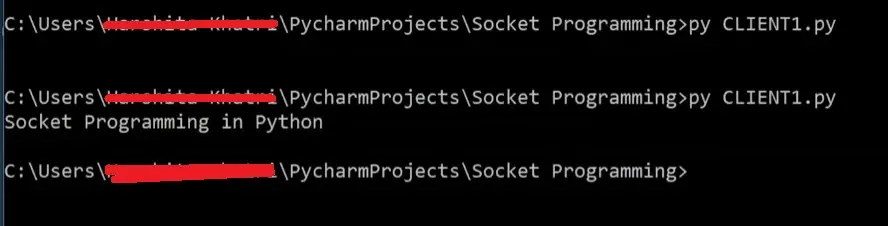
Once we run both files, we will receive the message Socket programming in Python.
Flushing a socket is a common task when working with networked applications. The process is relatively simple, but it’s important to remember that the buffer data is sent immediately.
When working with networked applications, it’s important to understand how socket flushing works. We could easily flush a socket in Python with a bit of practice.
We hope you find this Python article helpful in understanding how to Python socket flush.

My name is Abid Ullah, and I am a software engineer. I love writing articles on programming, and my favorite topics are Python, PHP, JavaScript, and Linux. I tend to provide solutions to people in programming problems through my articles. I believe that I can bring a lot to you with my skills, experience, and qualification in technical writing.
LinkedIn