How to Create an Editable HTML Table

This article will discuss creating HTML tables and how to make their cells editable.
Create a Cell in an HTML Table
When creating web pages, sometimes we might need to create tables for data representation. HTML provides us the table attribute to achieve that.
The syntax to create a cell in a table is as below.
<table>
    <tr>
        <td>This is a cell</td>
    </tr>
</table>
In the above code, we can see several elements. <tr> is for creating table rows; inside this, we have used a <td> element, which is used to build cells within the row.
Full HTML Code:
<!DOCTYPE html>
<html lang="en">
<head>
    <meta charset="UTF-8">
    <link rel="stylesheet" href="styles.css">
    <title>HTML Table</title>
</head>
    <body>
        <table>
            <tr>
                <td>This is a cell</td>
            </tr>
        </table>
    </body>
</html>
As you can see, we retrieved a table with one cell. But it is displayed as plain text because we have not given any style to it.
Let’s add some styles to the cell.
table {
    background-color: rgb(139, 220, 247);
    width: auto;
}

td{
    border: 1px solid #000000;
    text-align: center;
    padding: 16px;
}
In the above output, we can now see it as a table cell.
Create an Editable Table in HTML
On some occasions, users might need to change the content of the cells of a table.
The HTML table element provides the contenteditable property where users can create editable cells. Using this, we can easily edit a table cell.
The syntax to make a cell editable using the contenteditable attribute is as follows.
Syntax:
contenteditable = "value"
We can give true or false as the value of the contenteditable attribute. The cell can be editable if the value is true, whereas we can’t edit the cell if the value is false.
Let’s see how we can do that using the previous example with the same styles. You can change the data of the cell accordingly.
<table>
    <tr>
        <td contenteditable="true">This is a cell</td>
    </tr>
</table>
In the above example code, we have added the contenteditable attribute inside the <td> element. Then, we set the value to true.
As a result, we can have an editable cell as below. To edit the cell, we can double-click on it.
Now, let’s observe what happens when we give false as the value of the contenteditable attribute.
<table>
    <tr>
        <td contenteditable="false">This is an editable cell</td>
    </tr>
</table>
As you can see, the data or content of the table is no longer editable. Both true and false values are important on different occasions.
Some developers create forms and other stuff using tables. Sometimes some data needs to remain as they are, and that’s where the developers can use the false value.
If there are data that a user can change, as in the above example, we can use the true option.
Now, let’s make a table where we can use both true and false.
For example, let’s assume a lecturer wants a table on a web page to store the data of three students, and we will implement it. He needs Student ID, Name, and Grade as column headers, and the data we add under the Name and Grade columns must be editable.
The reason is he might type the name inaccurately. Also, the grades may need to be changed because students might ask for re-corrections.
Let’s create a table using the following code chunk.
<table>
    <!-- Creating the first row as table headers -->
    <tr>
        <th>Student ID</th>
        <th>Name</th>
        <th>Grade</th>
    </tr>
    <!-- Creating the second row -->
    <tr>
        <td>001</td>
        <td>Simon Nick</td>
        <td>A</td>
    </tr>
    <!-- Creating the third row -->
    <tr>
        <td>002</td>
        <td>John Robbert</td>
        <td>C</td>
    </tr>
    <!-- Creating the fourth row -->
    <tr>
        <td>007</td>
        <td>Chris Henderson</td>
        <td>B</td>
    </tr>
</table>
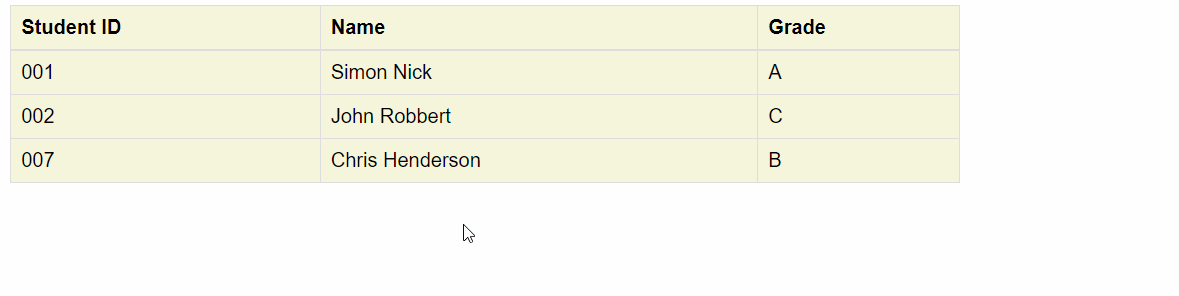
We can see the table cells separately by adding some styles to the table.
table {
    background-color: beige;
    font-family: arial, sans-serif;
    border-collapse: collapse;
    width: 50%;
}

td, th {
    border: 1px solid #dddddd;
    text-align: left;
    padding: 8px;
}
Now, our table looks more evident than before.
Our next step is to set editable cells. Let’s add contenteditable attributes to the relevant cells with relevant values as below.
<table>
    <!-- Creating the first row as table headers -->
    <tr>
        <th>Student ID</th>
        <th>Name</th>
        <th>Grade</th>
    </tr>
    <!-- Creating the first row as table headers -->
    <tr>
        <td contenteditable="false">001</td>
        <td contenteditable="true">Simon Nick</td>
        <td contenteditable="true">A</td>
    </tr>
    <!-- Creating the first row as table headers -->
    <tr>
        <td contenteditable="false">002</td>
        <td contenteditable="true">John Robbert</td>
        <td contenteditable="true">C</td>
    </tr>
    <!-- Creating the first row as table headers -->
    <tr>
        <td contenteditable="false">007</td>
        <td contenteditable="true">Chris Henderson</td>
        <td contenteditable="true">B</td>
    </tr>
</table>
As in the above code, we have set contenteditable attributes with the true values to all the cells related to Name and Grade.
Now, if we run the above code, all the cells except the Student ID cells will be editable as below.
Output When Editing the Names and Grades:
Output When Trying to Edit the Student ID Cells:
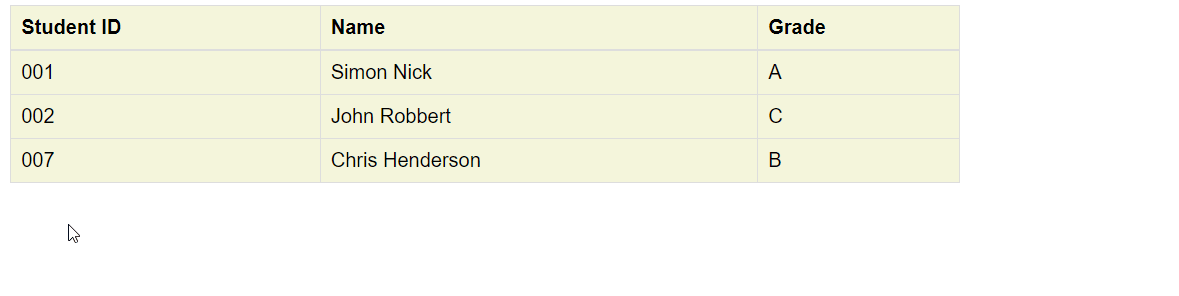
As you can see, we can’t edit the Student ID cells because the value of the contenteditable is false.
Conclusion
In this article, we have discussed how to create an HTML table and how to make that table editable using some examples. Also, we learned how to use contenteditable attributes along with the values: true and false.
If you want an editable cell, assign true as the value, and if you don’t need that feature, set false as the value or remove the attribute.
We can make cells editable using JavaScript, but this is a simple way to achieve the goal.

Nimesha is a Full-stack Software Engineer for more than five years, he loves technology, as technology has the power to solve our many problems within just a minute. He have been contributing to various projects over the last 5+ years and working with almost all the so-called 03 tiers(DB, M-Tier, and Client). Recently, he has started working with DevOps technologies such as Azure administration, Kubernetes, Terraform automation, and Bash scripting as well.