How to Add Items to ListView in C#

This article is about the use of ListView control in a Windows Forms Application. For that, we will first have a brief introduction to the Windows Forms Applications.
Windows Forms Application
Windows Forms Applications are desktop-based applications that run in the Windows operating system. These applications have a set of interconnected screens that can contain different controls based on our needs and requirements.
ListView is also one control used to display some data on the screen. Let’s look at a ListView and its functions.
the ListView in Windows Forms
A list of items can be displayed using a variety of views, including text, small images, and large images, using the C# ListView control. The creation and application of ListView control in C# will be covered in this tutorial.
There are two approaches to creating a ListView.
- Through the
Forms Designertoolbox - Through coding steps
For any of these approaches, we will first create a Windows Forms Application and add a Form to it.
Through Forms Designer Toolbox
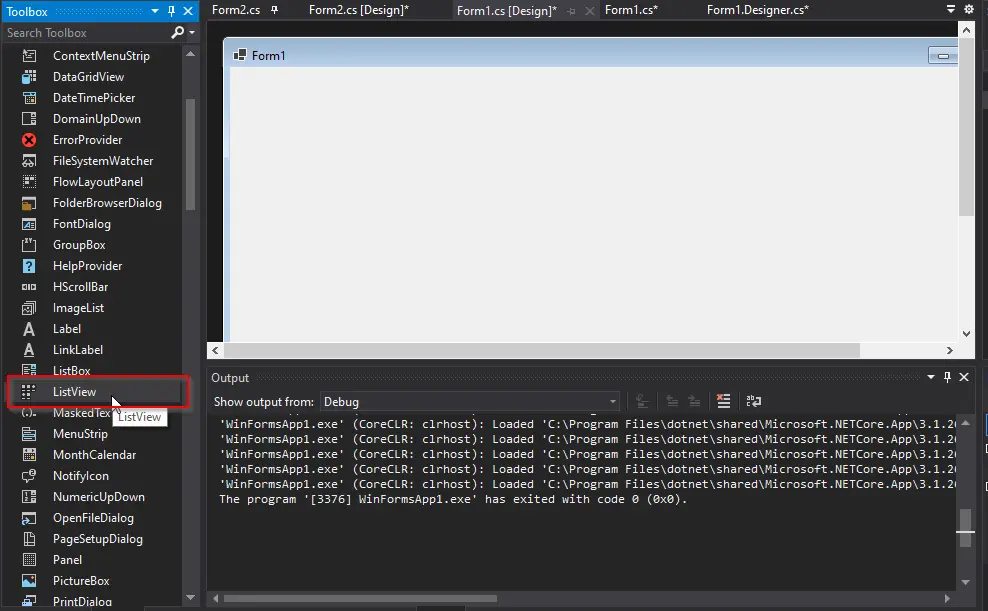
After that, we will open the form in designer view and drag the ListView control from the Tool Box on the left, as shown in the image below.
When we drag this control on the form, a ListView will be created, as shown in the image below.
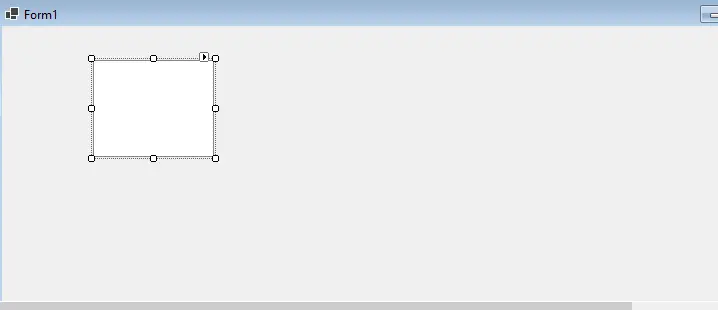
We can adjust the size of the ListView and set its different properties like color, name, columns, etc.
To add the columns to the ListView, click on the small triangular icon on the top right of the ListView control.
When you click on this icon, a property pop-up box will appear, showing you the following options.
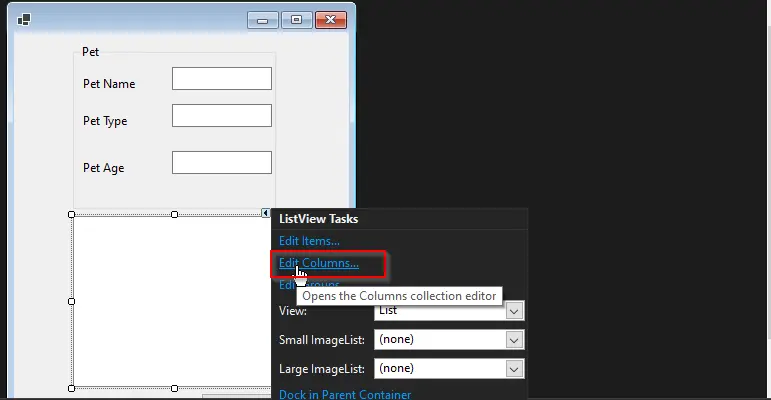
You must select Edit Columns to add columns in the ListView. After you select to edit columns, the following window will appear.
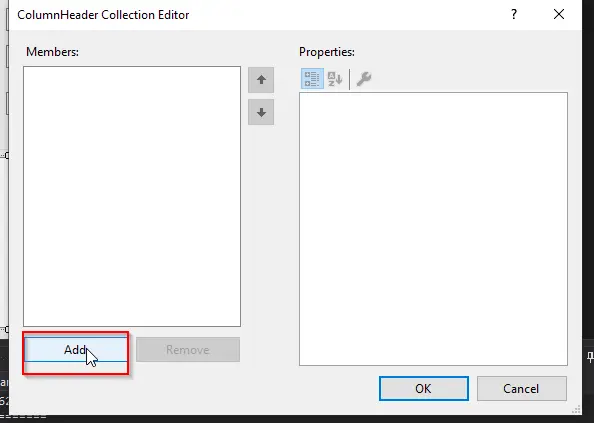
We will add columns from the left pane window with the Add button in this property window. After you click the Add button, the window’s right pane will show the properties of that column.
You can set the properties from there.
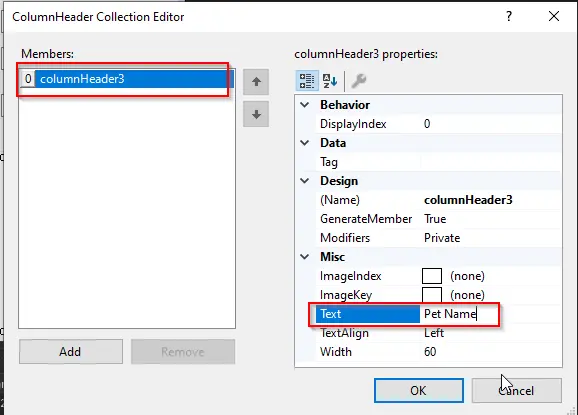
We can change the display name of the column. This way, we can add three columns in this ListView and click OK.
After that, you need to change the display style of the ListView in the pop-up window shown below.
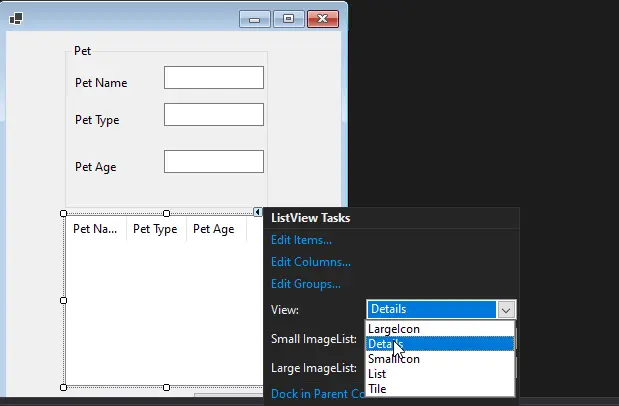
We will select the Details type of view so that it can display our columns. Our ListView is now ready with all the columns.
We will add data in these columns later when we write the event handler for the button.
Through Coding Steps
The second way to create a ListView is through code in the corresponding cs file.
ListView listView1 = new ListView();
After we have created a ListView, we can add columns to it in the code like this:
private void Form2_Load_1(object sender, EventArgs e) {
  listView1.View = View.Details;
  listView1.GridLines = true;
  listView1.Columns.Add("Pet Name");
  listView1.Columns.Add("Pet Type");
  listView1.Columns.Add("Pet Age");
}
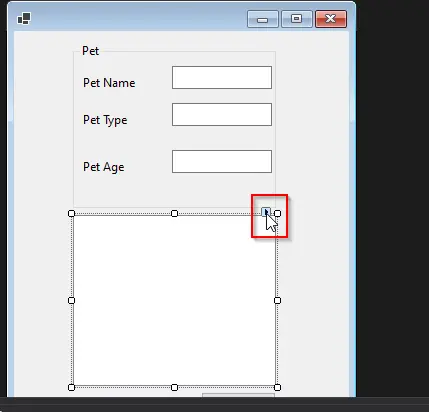
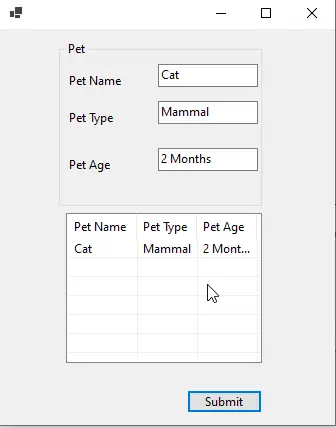
We have created the following view for our screen.
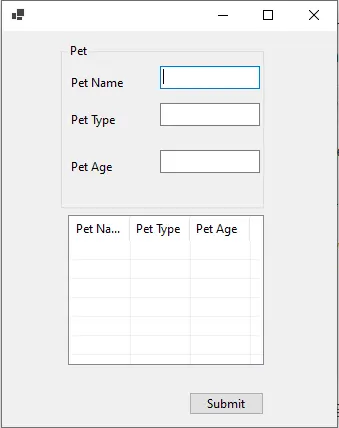
On this screen, we have three textboxes and a ListView. When the text is entered in the text boxes, it will be populated in the ListView with the click of the Submit button.
So we will write the code for populating ListView in the event handler of the Submit button.
private void button1_Click(object sender, EventArgs e) {
  string[] data = { textBox1.Text, textBox2.Text, textBox3.Text };
  var ls = new ListViewItem(data);
  listView1.Items.Add(ls);
}
In this code snippet, we can see that we have created a string array that is initialized by the text entered in the text boxes. After that, we created a ListViewItem object with that array and added it to the listView1.
This will give the following output.
We can see from the code that we can easily enumerate a ListView and add multiple items.