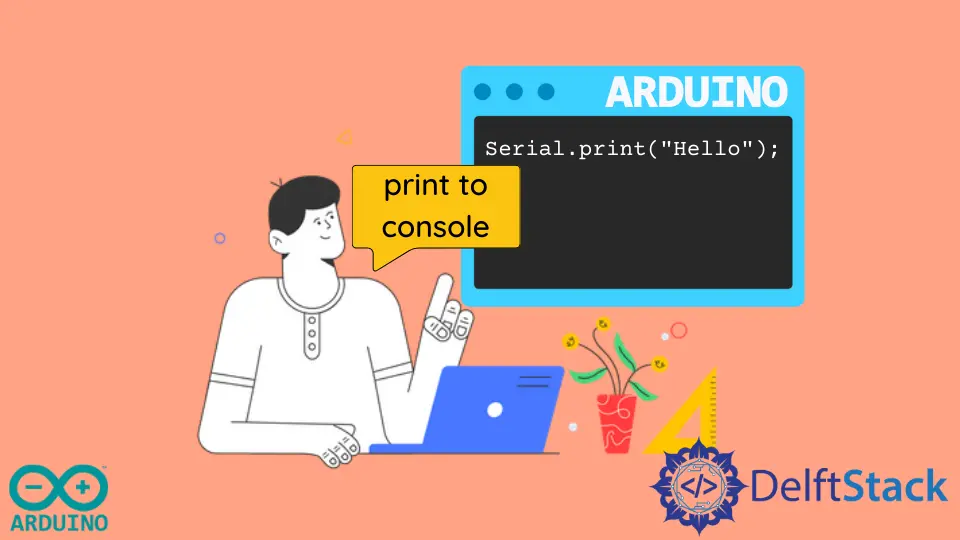
How to Print to Console in Arduino
The console, often called the Serial Monitor, serves as a virtual window into the operation of your Arduino.
It lets you send information from your microcontroller to your computer and receive data in return. This two-way communication is a powerful tool for beginners and experienced Arduino enthusiasts.
This tutorial will discuss printing text or variables on the console using the Serial Monitor of Arduino IDE. Starting with the basics of using Serial.print() and Serial.println(), we will progress to more advanced strategies like utilizing Serial.write() for binary data transmission.
Print to Console Using Serial Monitor in Arduino
The Arduino IDE has a console at the bottom, but we cannot print anything on it. The console is only to show the information in code verification and compilation.
The console shows the code’s memory usage in bytes and the errors while verifying or uploading the code. To print or show the value stored inside a variable, we can use the Serial Monitor of Arduino IDE.
The Serial Monitor is a built-in tool in the Arduino IDE that allows you to communicate with your Arduino board. It provides a convenient way to send data from your Arduino to your computer and receive data from your computer to your Arduino.
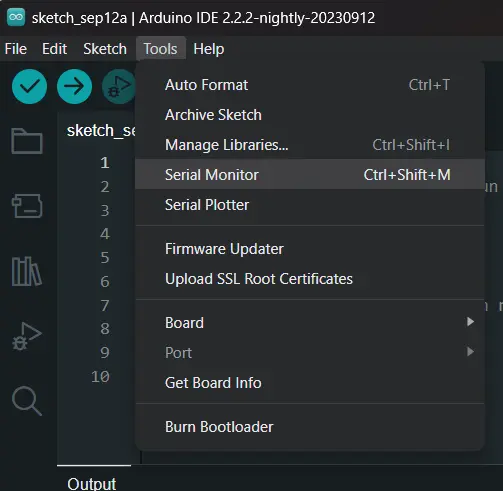
We can start the Serial Monitor using the Tools tab on the Arduino IDE toolbar.
Use the Serial.print() and Serial.println() Functions on the Serial Monitor
We can use the Serial.begin() function to begin the serial with a specific baud rate or speed. We can use the Serial.print() and Serial.println() functions to print text and variables on the Serial Monitor.
Syntax of Serial.print() and Serial.println():
Serial.print(data);
Serial.println(data);
Parameters:
data: The data you want to send to the serial port. This can be of various types, including integers, floats, characters, and strings.
Additional Parameters (optional):
format: This parameter allows you to specify the format in which to print the data. It can be one of the following:DEC: Print as a decimal number.BIN: Print as a binary number.OCT: Print as an octal number.HEX: Print as a hexadecimal number.
The difference between Serial.print() and Serial.println() is that the print() function will print the variable, and the cursor remains on the same line, while in the println() function the cursor moves to the next line after printing the variable.
For example, we want to print two variables on the same line and the third variable on the next line. In that case, we will use the print() function to print the first variable, then use the println() function to print the second variable and move the cursor to the next line, and then use the print() function again to print the third variable.
Let’s define some variables and print them on the Serial Monitor. See the code below.
Example:
int My_Int = 10;
unsigned long My_TimeStamp = 1416803716;
const char *My_CharArray = {"This is My_CharArray"};
float My_Float = 3.14159266759;

void setup() {
  Serial.begin(9600);
  Serial.println(My_Int);
  Serial.println(My_TimeStamp);
  Serial.println(My_CharArray);
  Serial.print(My_Float, 5);  // prints to five places right of the decimal
}
void loop() {
  // put your code here to run repeatedly
}
This code begins by declaring several variables of different data types. In setup(), serial communication is set up at a 9600 baud rate. It then prints the values of the variables using Serial.print() and Serial.println().
If we only want to print the variables once on the Serial Monitor, we can use the Serial.print() function inside the setup() function because it only runs once when the Arduino board is turned on.
If we want to print a variable continuously, we must print it inside the loop() function because the code inside it runs in a loop while the Arduino is on. We can print variables of all data types using the Serial Monitor.
Output:
10
1416803716
This is My_CharArray
3.14159
We can also define the second argument in the Serial.print() function (just like in the above example code), which is the format for printing the variable’s value.
For example, in the case of an integer or long data type, we can define which number system we want to display, like BIN for binary and DEC for decimal. By default, the number will be shown in the decimal number system.
In the case of a floating-point number, we can define the number of decimal places of the number we want to print on the Serial Monitor. Check this link for more details about the Serial.print() function.
Use Serial.write() Function to Send Binary Data to the Serial Monitor
The data inside the Serial.print() function will be converted into ASCII representation. If we want to send the data as a stream of bytes, we can use the Serial.write() function instead of the Serial.print() function.
In Arduino programming, the Serial.write() function is used to send binary data over the serial connection. It allows you to send a byte or a series of bytes directly without interpretation.
This is particularly useful when you need to transmit raw data or control codes.
Syntax:
Serial.write(data);
Parameters:
data: The byte or data array you want to send over the serial connection. It can be a single byte (unsignedchar) or an array of bytes.
Additional Parameters (optional):
length: The number of bytes to send from the array. This parameter is used when sending an array of data.
Serial.write() enables sending binary data to the console. It’s useful when working with non-text data or interfacing with other devices requiring binary communication.
Example:
void loop() {
  byte data[] = {0x48, 0x65, 0x6C, 0x6C, 0x6F};  // ASCII values of "Hello"
  Serial.write(data, sizeof(data));
  delay(1000);
}