How to Serve a File for Download in Angular
-
Serve a
.txtFile for Download Using Angular -
Serve File for Download With
ngx-filesaver -
Serve a
.jpgFile for Download Using Angular - Conclusion

Ignorant bliss is when you are looking to download a file, you log on to a site, search for the file, find it, click download, and you’re done without knowing the tasks and efforts behind serving those files up for download on that site. For web developers, serving a file for download can be such a task that you’ll find yourself envying these innocent users.
But how do we serve files up for download using the Angular framework? Let us consider some approaches.
Serve a .txt File for Download Using Angular
The first approach here is to convert a text into a .txt format and serve it for download. To serve up files for download, we need to utilize blob, which is virtual storage for serving documents directly to a browser.
The first thing to do is start a new Angular project. Then inside the app.component.html file, we will type in these codes:
Code Snippet- app.component.html:
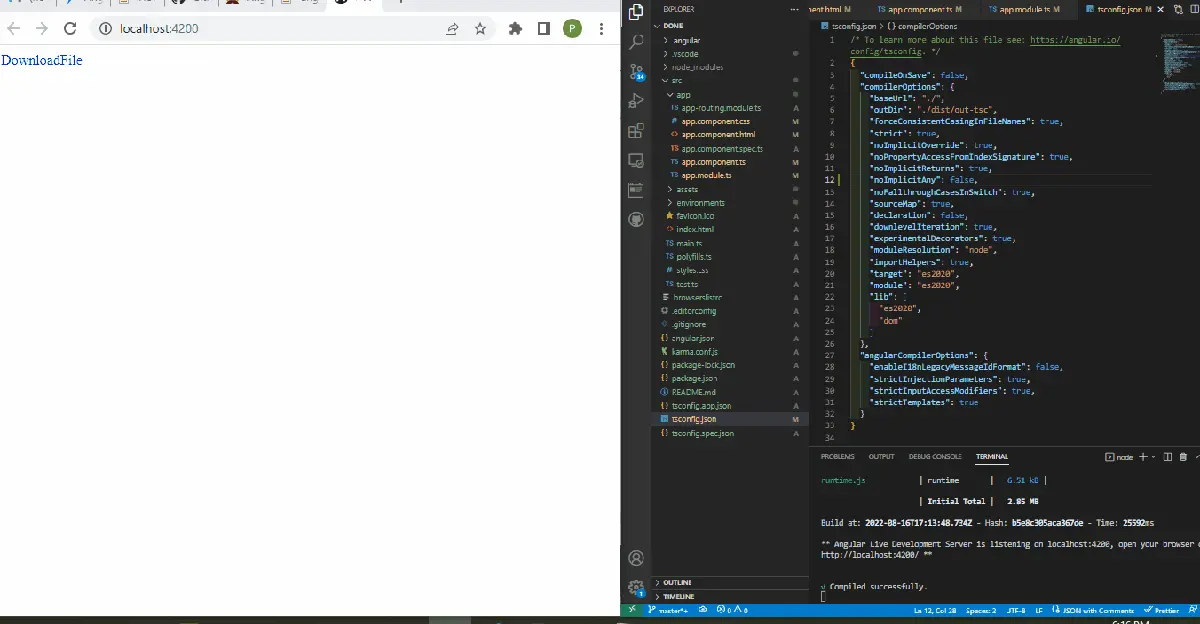
<a [href]="fileUrl" download="file.txt">DownloadFile</a>
This creates the webpage structure and the link that will be clicked on for download.
Then we need to create function and behavior for the app. We will do that inside the app.component.ts file, like below:
Code Snippet- app.component.ts:
import { Component } from '@angular/core';
import { DomSanitizer } from '@angular/platform-browser';

@Component({
  selector: 'app-root',
  templateUrl: './app.component.html',
  styleUrls: ['./app.component.css']
})
export class AppComponent {
  title = 'done';
  fileUrl;
  constructor(private sanitizer: DomSanitizer) {  }
  ngOnInit() {
    const data = 'some text';
    const blob = new Blob([data], { type: 'application/octet-stream' });
    this.fileUrl = this.sanitizer.bypassSecurityTrustResourceUrl(window.URL.createObjectURL(blob));
  }
}
We start by defining the data we wish to save; it is a text, some text. Then we define the Blob function and declare the data we want to save inside the function.
We will use the DomSanitizer module to enable the file that we serve for download to pass Angular’s safety test. Then we go to the app.module.ts file to import the modules we have used to create the app.
Code Snippet- app.module.ts:
import { NgModule } from '@angular/core';
import { BrowserModule } from '@angular/platform-browser';
import { FormsModule } from '@angular/forms';
import { AppRoutingModule } from './app-routing.module';
import { AppComponent } from './app.component';

@NgModule({
  declarations: [
    AppComponent
  ],
  imports: [
    BrowserModule,
    AppRoutingModule,
    FormsModule
  ],
  providers: [],
  bootstrap: [AppComponent]
})
export class AppModule { }
Output:
Serve File for Download With ngx-filesaver
Let us now look at how we can serve a file up for download using the ngx dependency in Angular. The ngx-filesaver is a secured and popular package that offers a simple way to serve files up for download.
The ngx-filesaver can be installed by typing npm i ngx-filesaver in the directory of the newly created project folder.
To proceed, we will navigate to the app.component.html file and write these codes to create the structure for the web application.
Code Snippet- app.component.html:
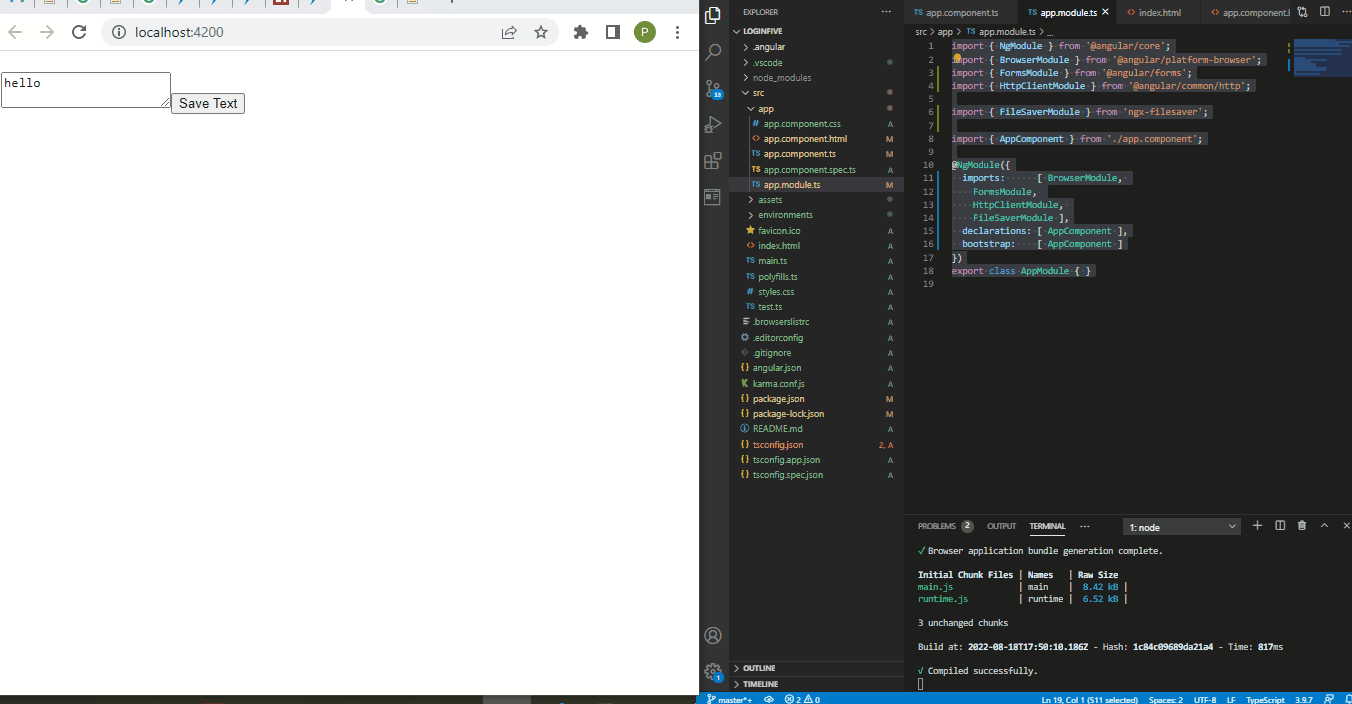
<h1></h1>
<textarea [(ngModel)]="text"></textarea>
<button type="button" (click)="onDown()">Save Text</button>
Here, we have created a button with the onDown event listener so that when the button is clicked, the file that we served is downloaded.
Now we must do the real work inside the app.component.ts file, like below:
Code Snippet- app.component.ts:
import { Component, OnInit } from '@angular/core';
import { HttpClient } from '@angular/common/http';
import { FileSaverService } from 'ngx-filesaver';

@Component({
  selector: 'app-root',
  templateUrl: './app.component.html',
  styleUrls: ['./app.component.css']
})

export class AppComponent implements OnInit{
  title = 'loginfive';
  public text = 'hello';
  constructor(
    private _httpClient: HttpClient,
    private _FileSaverService: FileSaverService
  ) {}

  ngOnInit() {}

  onDown() {
    const fileName = `save.txt`;
    const fileType = this._FileSaverService.genType(fileName);
    const txtBlob = new Blob([this.text], { type: fileType });
    this._FileSaverService.save(txtBlob, fileName);
    }
}
You will observe that in the app.component.ts file, we stated the onDown event listener inside the button tag. Here, we defined the functions for it.
First, we declared the data that will be served for download; it’s a text file. Then we utilized blob to serve the file for download on the browser.
The last part of this approach is importing the modules we used to develop the web app.
Code Snippet- app.module.ts:
import { NgModule } from '@angular/core';
import { BrowserModule } from '@angular/platform-browser';
import { FormsModule } from '@angular/forms';
import { HttpClientModule } from '@angular/common/http';
import { FileSaverModule } from 'ngx-filesaver';
import { AppComponent } from './app.component';

@NgModule({
  imports:      [ BrowserModule,
    FormsModule,
    HttpClientModule,
    FileSaverModule ],
  declarations: [ AppComponent ],
  bootstrap:    [ AppComponent ]
})
export class AppModule { }
Output:
Serve a .jpg File for Download Using Angular
So far, we’ve been looking at how to serve .txt files up for download. Now let us look at how we can serve a picture up for download.
We will fetch the picture from a URL, and the download will show a progress bar courtesy of Angular Material.
We should first create a new Angular project and install the Angular Material package, navigate to the project folder and type this: ng add @*angular/material.
After successful installation, we will move over to the app.component.html file to create the page structure to include the download progress slide.
Code Snippet- app.component.html:
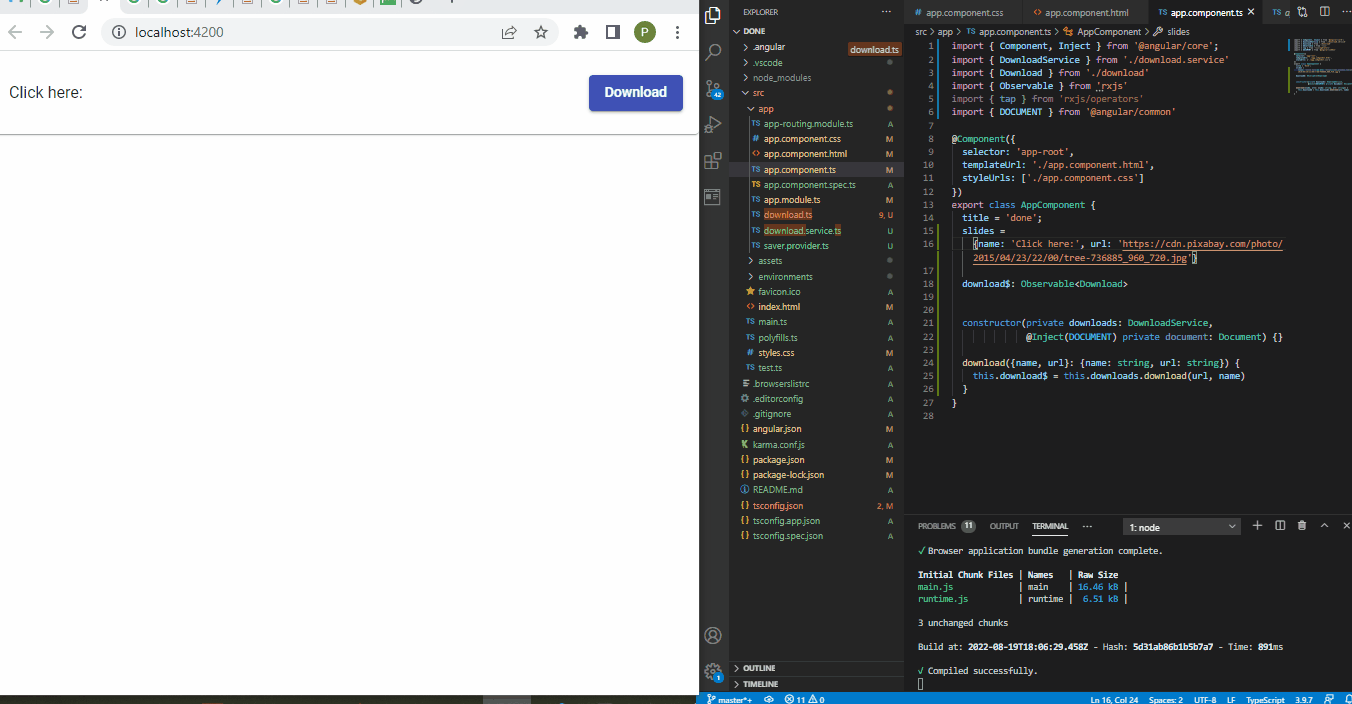
<mat-card>
    <div class="file">
        <p>{{ slides.name }}</p>
        <button (click)="download(slides)" mat-raised-button color="primary">Download</button>
    </div>
    <mat-progress-bar *ngIf="download$ | async as download"
        [mode]="download.state == 'PENDING' ? 'buffer' : 'determinate'"
    [value]="download.progress">
    </mat-progress-bar>
</mat-card>
We need to create a component where we will work on codes to observe the download progress, activating the material slide. We will create a file, name it download.ts, and work these codes inside.
Code Snippet- download.ts:
import {
    HttpEvent,
    HttpEventType,
    HttpProgressEvent,
    HttpResponse
  } from "@angular/common/http";
  import { Observable } from "rxjs";
  import { distinctUntilChanged, scan, map, tap } from "rxjs/operators";

  function isHttpResponse<T>(event: HttpEvent<T>): event is HttpResponse<T> {
    return event.type === HttpEventType.Response;
  }

  function isHttpProgressEvent(
    event: HttpEvent<unknown>
  ): event is HttpProgressEvent {
    return (
      event.type === HttpEventType.DownloadProgress ||
      event.type === HttpEventType.UploadProgress
    );
  }

  export interface Download {
    content: Blob | any;
    progress: number;
    state: "PENDING" | "IN_PROGRESS" | "DONE";
  }

  export function download(
    saver?: (b: Blob) => void
  ): (source: Observable<HttpEvent<Blob>>) => Observable<Download> {
    return (source: Observable<HttpEvent<Blob>>) =>
      source.pipe(
        scan(
          (download: Download, event): Download => {
            if (isHttpProgressEvent(event)) {
              return {
                progress: event.total
                  ? Math.round((100 * event.loaded) / event.total)
                  : download.progress,
                state: "IN_PROGRESS",
                content: null
              };
            }
            if (isHttpResponse(event)) {
              if (saver) {
                saver(event.body);
              }
              return {
                progress: 100,
                state: "DONE",
                content: event.body
              };
            }
            return download;
          },
          { state: "PENDING", progress: 0, content: null }
        ),
        distinctUntilChanged((a, b) => a.state === b.state
          && a.progress === b.progress
          && a.content === b.content
        )
      );
  }
Since we need to observe the download progress of the file we serve for download, we use the Observable function to monitor the download progress and then translate it to the material slider. Next is to create a service file that will handle the file fetching from the URL and then show it with the progress slide.
Let’s create a service file, name it download.service.ts, and type these codes:
Code Snippet- download.service.ts:
import { Injectable, Inject } from '@angular/core'
import { HttpClient, HttpRequest } from '@angular/common/http'
import { download, Download } from './download'
import { map } from 'rxjs/operators'
import { Observable } from 'rxjs'
import { SAVER, Saver } from './saver.provider'

@Injectable({providedIn: 'root'})
export class DownloadService {

  constructor(
    private http: HttpClient,
    @Inject(SAVER) private save: Saver
  ) {
  }

  download(url: string, filename?: string): Observable<Download> {
    return this.http.get(url, {
      reportProgress: true,
      observe: 'events',
      responseType: 'blob'
    }).pipe(download(blob => this.save(blob, filename)))
  }

  blob(url: string, filename?: string): Observable<Blob> {
    return this.http.get(url, {
      responseType: 'blob'
    })
  }
}
To provide these services to our application, we need a provider, create a new file, name it saver.provider.ts, and put the codes in it.
Code Snippet- saver.provider.ts:
import {InjectionToken} from '@angular/core'
import { saveAs } from 'file-saver';

export type Saver = (blob: Blob, filename?: string) => void
export const SAVER = new InjectionToken<Saver>('saver')
export function getSaver(): Saver {
  return saveAs;
}
Next is to get the URL of the picture we want to serve for download. We will do that inside the app.component.ts file and type these codes.
Code Snippet- app.component.ts:
import { Component, Inject } from '@angular/core';
import { DownloadService } from './download.service'
import { Download } from './download'
import { Observable } from 'rxjs'
import { tap } from 'rxjs/operators'
import { DOCUMENT } from '@angular/common'

@Component({
  selector: 'app-root',
  templateUrl: './app.component.html',
  styleUrls: ['./app.component.css']
})
export class AppComponent {
  title = 'done';
  slides =
    {name: 'Click here:', url: 'https://cdn.pixabay.com/photo/2015/04/23/22/00/tree-736885_960_720.jpg'}
  download$: Observable<Download>

  constructor(private downloads: DownloadService,
              @Inject(DOCUMENT) private document: Document) {}

  download({name, url}: {name: string, url: string}) {
    this.download$ = this.downloads.download(url, name)
  }
}
We need tons of modules to get the app running. We need to import these modules inside the app.module.ts file.
Code Snippet- app.module.ts:
import { NgModule } from '@angular/core';
import { BrowserModule } from '@angular/platform-browser';
import { FormsModule } from '@angular/forms';
import { HttpClientModule } from '@angular/common/http'
import {MatButtonModule} from '@angular/material/button';
import {MatProgressBarModule} from '@angular/material/progress-bar';
import {MatCardModule} from '@angular/material/card';
import { BrowserAnimationsModule} from '@angular/platform-browser/animations'
import { AppComponent } from './app.component';
import { SAVER, getSaver } from './saver.provider'

@NgModule({
  imports:      [
    BrowserModule,
    FormsModule,
    BrowserAnimationsModule,
    HttpClientModule,
    MatButtonModule,
    MatProgressBarModule,
    MatCardModule
  ],
  providers: [{provide: SAVER, useFactory: getSaver}],
  declarations: [ AppComponent ],
  bootstrap:    [ AppComponent ]
})
export class AppModule { }
We then need to beautify the page with some stylings. We will add this little snippet inside the app.component.css file.
Code Snippet- app.component.css:
mat-card {
    display: flex;
    flex-direction: column;
  }

  .file {
    display: flex;
    justify-content: space-between;
    align-items: center;
  }
Output:
Conclusion
Depending on what file we want to serve up for download, there are various approaches we can adopt to implement this inside our Angular application, using Angular blob to save the files.

Fisayo is a tech expert and enthusiast who loves to solve problems, seek new challenges and aim to spread the knowledge of what she has learned across the globe.
LinkedIn