Angular에서 다운로드할 파일 제공

무식한 행복은 파일을 다운로드하려고 할 때, 사이트에 로그온하고, 파일을 검색하고, 찾아서 다운로드를 클릭하고, 해당 파일을 다운로드하기 위해 제공하는 작업과 노력을 모른 채 작업을 완료하는 것입니다. 대지. 웹 개발자에게 다운로드용 파일을 제공하는 것은 순진한 사용자들이 부러워할 정도의 작업이 될 수 있습니다.
그러나 Angular 프레임워크를 사용하여 다운로드할 파일을 어떻게 제공합니까? 몇 가지 접근 방식을 고려해 보겠습니다.
Angular를 사용하여 다운로드할 .txt 파일 제공
여기서 첫 번째 접근 방식은 텍스트를 .txt 형식으로 변환하고 다운로드용으로 제공하는 것입니다. 다운로드할 파일을 제공하려면 문서를 브라우저에 직접 제공하기 위한 가상 저장소인 Blob을 활용해야 합니다.
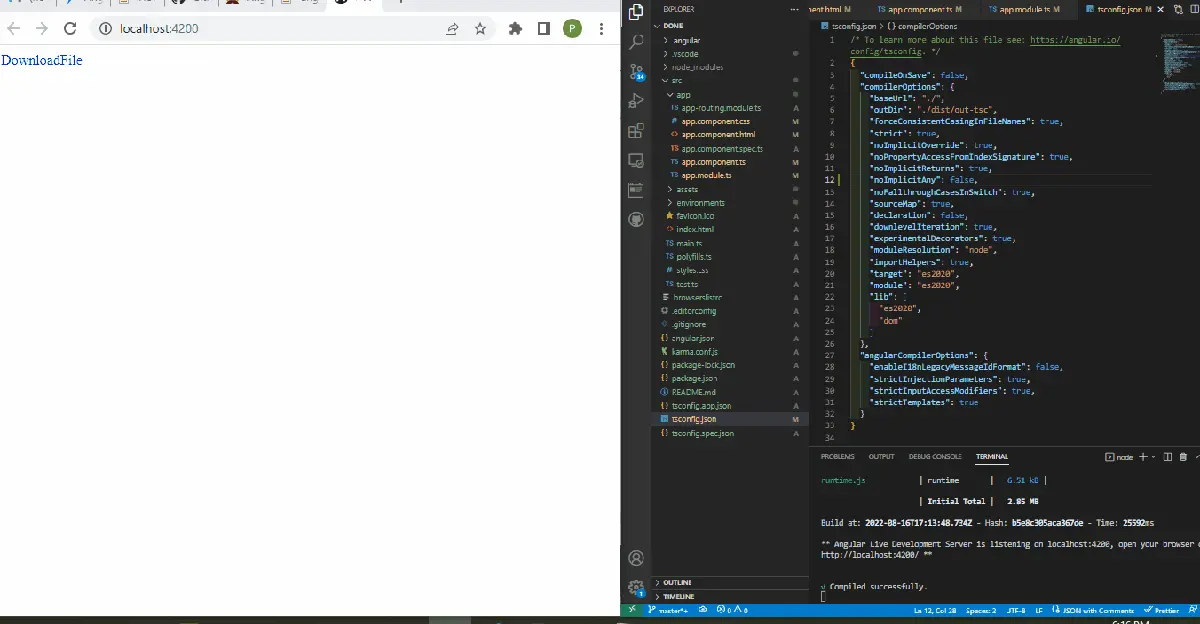
가장 먼저 할 일은 새로운 Angular 프로젝트를 시작하는 것입니다. 그런 다음 app.component.html 파일에 다음 코드를 입력합니다.
코드 스니펫 - app.component.html:
<a [href]="fileUrl" download="file.txt">DownloadFile</a>
이렇게 하면 다운로드를 위해 클릭할 웹 페이지 구조와 링크가 생성됩니다.
그런 다음 앱의 기능과 동작을 만들어야 합니다. 아래와 같이 app.component.ts 파일 내에서 수행합니다.
코드 스니펫 - app.component.ts:
import { Component } from '@angular/core';
import { DomSanitizer } from '@angular/platform-browser';

@Component({
  selector: 'app-root',
  templateUrl: './app.component.html',
  styleUrls: ['./app.component.css']
})
export class AppComponent {
  title = 'done';
  fileUrl;
  constructor(private sanitizer: DomSanitizer) {  }
  ngOnInit() {
    const data = 'some text';
    const blob = new Blob([data], { type: 'application/octet-stream' });
    this.fileUrl = this.sanitizer.bypassSecurityTrustResourceUrl(window.URL.createObjectURL(blob));
  }
}
저장하려는 데이터를 정의하는 것으로 시작합니다. 그것은 텍스트, 어떤 텍스트입니다. 그런 다음 Blob 함수를 정의하고 함수 내부에 저장하려는 데이터를 선언합니다.
DomSanitizer 모듈을 사용하여 다운로드용으로 제공하는 파일이 Angular의 안전 테스트를 통과할 수 있도록 합니다. 그런 다음 app.module.ts 파일로 이동하여 앱을 만드는 데 사용한 모듈을 가져옵니다.
코드 스니펫 - app.module.ts:
import { NgModule } from '@angular/core';
import { BrowserModule } from '@angular/platform-browser';
import { FormsModule } from '@angular/forms';
import { AppRoutingModule } from './app-routing.module';
import { AppComponent } from './app.component';

@NgModule({
  declarations: [
    AppComponent
  ],
  imports: [
    BrowserModule,
    AppRoutingModule,
    FormsModule
  ],
  providers: [],
  bootstrap: [AppComponent]
})
export class AppModule { }
출력:
ngx-filesaver로 다운로드할 파일 제공
이제 Angular에서 ngx 종속성을 사용하여 다운로드용 파일을 제공하는 방법을 살펴보겠습니다. ngx-filesaver는 파일을 다운로드할 수 있는 간단한 방법을 제공하는 안전하고 인기 있는 패키지입니다.
ngx-filesaver는 새로 생성된 프로젝트 폴더의 디렉토리에 npm i ngx-filesaver를 입력하여 설치할 수 있습니다.
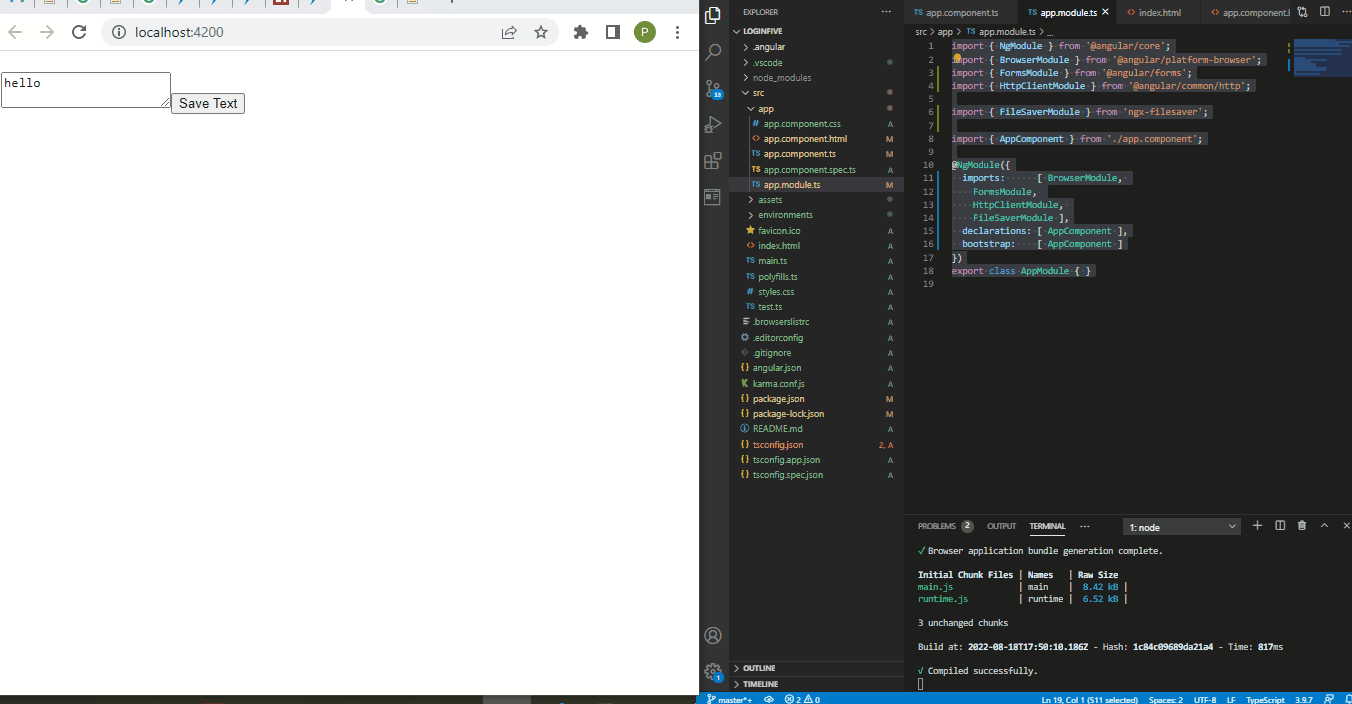
계속 진행하려면 app.component.html 파일로 이동하고 이러한 코드를 작성하여 웹 애플리케이션의 구조를 생성합니다.
코드 스니펫 - app.component.html:
<h1></h1>
<textarea [(ngModel)]="text"></textarea>
<button type="button" (click)="onDown()">Save Text</button>
여기서 onDown 이벤트 리스너가 있는 버튼을 생성하여 버튼을 클릭하면 제공한 파일이 다운로드됩니다.
이제 아래와 같이 app.component.ts 파일 내에서 실제 작업을 수행해야 합니다.
코드 스니펫 - app.component.ts:
import { Component, OnInit } from '@angular/core';
import { HttpClient } from '@angular/common/http';
import { FileSaverService } from 'ngx-filesaver';

@Component({
  selector: 'app-root',
  templateUrl: './app.component.html',
  styleUrls: ['./app.component.css']
})

export class AppComponent implements OnInit{
  title = 'loginfive';
  public text = 'hello';
  constructor(
    private _httpClient: HttpClient,
    private _FileSaverService: FileSaverService
  ) {}

  ngOnInit() {}

  onDown() {
    const fileName = `save.txt`;
    const fileType = this._FileSaverService.genType(fileName);
    const txtBlob = new Blob([this.text], { type: fileType });
    this._FileSaverService.save(txtBlob, fileName);
    }
}
app.component.ts 파일에서 button 태그 안에 onDown 이벤트 리스너를 지정했음을 알 수 있습니다. 여기에서 함수를 정의했습니다.
먼저 다운로드를 위해 제공될 데이터를 선언했습니다. 텍스트 파일입니다. 그런 다음 Blob을 사용하여 브라우저에서 다운로드할 파일을 제공했습니다.
이 접근 방식의 마지막 부분은 웹 앱 개발에 사용한 모듈을 가져오는 것입니다.
코드 스니펫 - app.module.ts:
import { NgModule } from '@angular/core';
import { BrowserModule } from '@angular/platform-browser';
import { FormsModule } from '@angular/forms';
import { HttpClientModule } from '@angular/common/http';
import { FileSaverModule } from 'ngx-filesaver';
import { AppComponent } from './app.component';

@NgModule({
  imports:      [ BrowserModule,
    FormsModule,
    HttpClientModule,
    FileSaverModule ],
  declarations: [ AppComponent ],
  bootstrap:    [ AppComponent ]
})
export class AppModule { }
출력:
Angular를 사용하여 다운로드할 .jpg 파일 제공
지금까지 .txt 파일을 다운로드용으로 제공하는 방법을 살펴보았습니다. 이제 다운로드용으로 사진을 제공하는 방법을 살펴보겠습니다.
URL에서 사진을 가져오면 Angular Material의 진행률 표시줄이 다운로드에 표시됩니다.
먼저 새 Angular 프로젝트를 만들고 Angular Material 패키지를 설치하고 프로젝트 폴더로 이동하여 ng add @*angular/material을 입력해야 합니다.
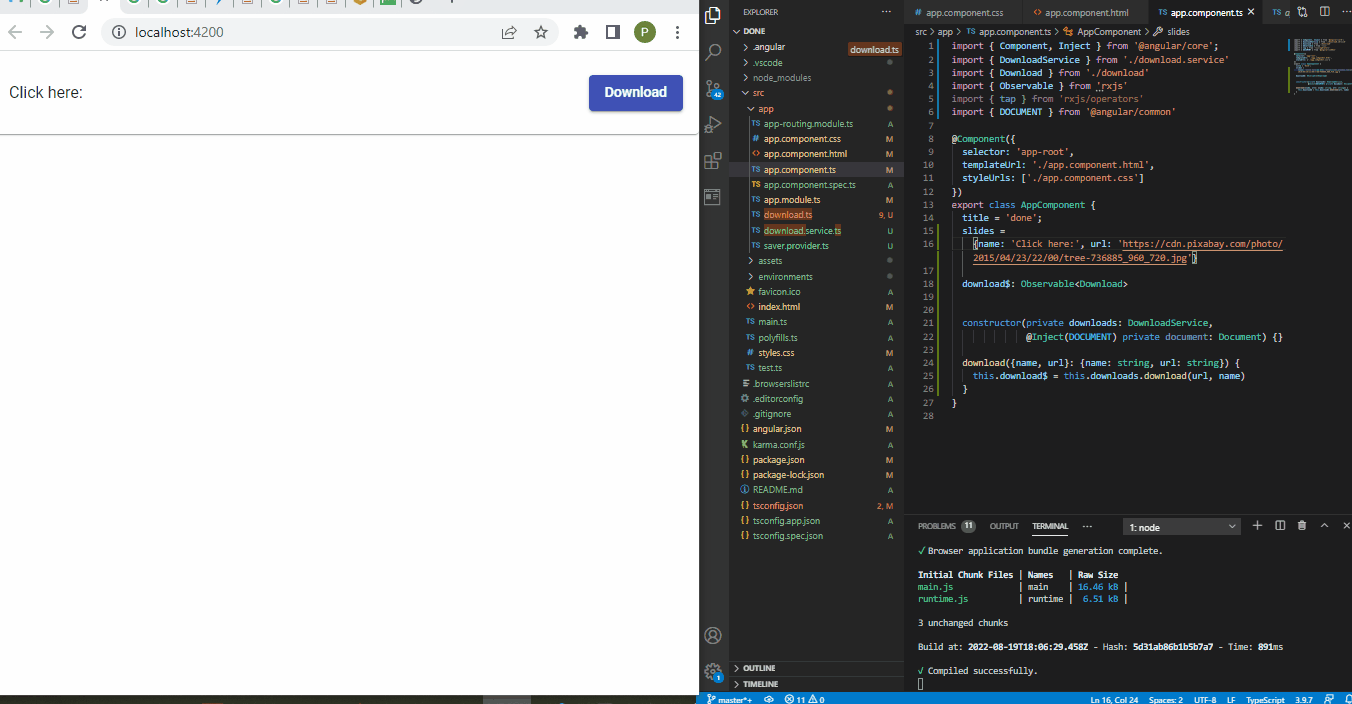
성공적으로 설치한 후 app.component.html 파일로 이동하여 다운로드 진행 슬라이드를 포함하는 페이지 구조를 생성합니다.
코드 스니펫 - app.component.html:
<mat-card>
    <div class="file">
        <p>{{ slides.name }}</p>
        <button (click)="download(slides)" mat-raised-button color="primary">Download</button>
    </div>
    <mat-progress-bar *ngIf="download$ | async as download"
        [mode]="download.state == 'PENDING' ? 'buffer' : 'determinate'"
    [value]="download.progress">
    </mat-progress-bar>
</mat-card>
재료 슬라이드를 활성화하여 다운로드 진행률을 관찰하기 위해 코드 작업을 할 구성 요소를 만들어야 합니다. 파일을 만들고 download.ts라는 이름을 지정하고 내부에서 이러한 코드를 작업합니다.
코드 스니펫 - download.ts:
import {
    HttpEvent,
    HttpEventType,
    HttpProgressEvent,
    HttpResponse
  } from "@angular/common/http";
  import { Observable } from "rxjs";
  import { distinctUntilChanged, scan, map, tap } from "rxjs/operators";

  function isHttpResponse<T>(event: HttpEvent<T>): event is HttpResponse<T> {
    return event.type === HttpEventType.Response;
  }

  function isHttpProgressEvent(
    event: HttpEvent<unknown>
  ): event is HttpProgressEvent {
    return (
      event.type === HttpEventType.DownloadProgress ||
      event.type === HttpEventType.UploadProgress
    );
  }

  export interface Download {
    content: Blob | any;
    progress: number;
    state: "PENDING" | "IN_PROGRESS" | "DONE";
  }

  export function download(
    saver?: (b: Blob) => void
  ): (source: Observable<HttpEvent<Blob>>) => Observable<Download> {
    return (source: Observable<HttpEvent<Blob>>) =>
      source.pipe(
        scan(
          (download: Download, event): Download => {
            if (isHttpProgressEvent(event)) {
              return {
                progress: event.total
                  ? Math.round((100 * event.loaded) / event.total)
                  : download.progress,
                state: "IN_PROGRESS",
                content: null
              };
            }
            if (isHttpResponse(event)) {
              if (saver) {
                saver(event.body);
              }
              return {
                progress: 100,
                state: "DONE",
                content: event.body
              };
            }
            return download;
          },
          { state: "PENDING", progress: 0, content: null }
        ),
        distinctUntilChanged((a, b) => a.state === b.state
          && a.progress === b.progress
          && a.content === b.content
        )
      );
  }
다운로드를 위해 제공하는 파일의 다운로드 진행 상황을 관찰해야 하므로 Observable 기능을 사용하여 다운로드 진행 상황을 모니터링한 다음 이를 자료 슬라이더로 변환합니다. 다음은 URL에서 파일 가져오기를 처리한 다음 진행률 슬라이드와 함께 표시할 서비스 파일을 만드는 것입니다.
서비스 파일을 생성하고 이름을 download.service.ts로 지정하고 다음 코드를 입력합니다.
코드 스니펫 - download.service.ts:
import { Injectable, Inject } from '@angular/core'
import { HttpClient, HttpRequest } from '@angular/common/http'
import { download, Download } from './download'
import { map } from 'rxjs/operators'
import { Observable } from 'rxjs'
import { SAVER, Saver } from './saver.provider'

@Injectable({providedIn: 'root'})
export class DownloadService {

  constructor(
    private http: HttpClient,
    @Inject(SAVER) private save: Saver
  ) {
  }

  download(url: string, filename?: string): Observable<Download> {
    return this.http.get(url, {
      reportProgress: true,
      observe: 'events',
      responseType: 'blob'
    }).pipe(download(blob => this.save(blob, filename)))
  }

  blob(url: string, filename?: string): Observable<Blob> {
    return this.http.get(url, {
      responseType: 'blob'
    })
  }
}
애플리케이션에 이러한 서비스를 제공하려면 공급자가 필요하고 새 파일을 만들고 saver.provider.ts라는 이름을 지정하고 코드를 넣습니다.
코드 스니펫 - saver.provider.ts:
import {InjectionToken} from '@angular/core'
import { saveAs } from 'file-saver';

export type Saver = (blob: Blob, filename?: string) => void
export const SAVER = new InjectionToken<Saver>('saver')
export function getSaver(): Saver {
  return saveAs;
}
다음은 다운로드를 위해 제공하려는 사진의 URL을 얻는 것입니다. app.component.ts 파일 내에서 이 작업을 수행하고 이 코드를 입력합니다.
코드 스니펫 - app.component.ts:
import { Component, Inject } from '@angular/core';
import { DownloadService } from './download.service'
import { Download } from './download'
import { Observable } from 'rxjs'
import { tap } from 'rxjs/operators'
import { DOCUMENT } from '@angular/common'

@Component({
  selector: 'app-root',
  templateUrl: './app.component.html',
  styleUrls: ['./app.component.css']
})
export class AppComponent {
  title = 'done';
  slides =
    {name: 'Click here:', url: 'https://cdn.pixabay.com/photo/2015/04/23/22/00/tree-736885_960_720.jpg'}
  download$: Observable<Download>

  constructor(private downloads: DownloadService,
              @Inject(DOCUMENT) private document: Document) {}

  download({name, url}: {name: string, url: string}) {
    this.download$ = this.downloads.download(url, name)
  }
}
앱을 실행하려면 수많은 모듈이 필요합니다. app.module.ts 파일 내에서 이러한 모듈을 가져와야 합니다.
코드 스니펫 - app.module.ts:
import { NgModule } from '@angular/core';
import { BrowserModule } from '@angular/platform-browser';
import { FormsModule } from '@angular/forms';
import { HttpClientModule } from '@angular/common/http'
import {MatButtonModule} from '@angular/material/button';
import {MatProgressBarModule} from '@angular/material/progress-bar';
import {MatCardModule} from '@angular/material/card';
import { BrowserAnimationsModule} from '@angular/platform-browser/animations'
import { AppComponent } from './app.component';
import { SAVER, getSaver } from './saver.provider'

@NgModule({
  imports:      [
    BrowserModule,
    FormsModule,
    BrowserAnimationsModule,
    HttpClientModule,
    MatButtonModule,
    MatProgressBarModule,
    MatCardModule
  ],
  providers: [{provide: SAVER, useFactory: getSaver}],
  declarations: [ AppComponent ],
  bootstrap:    [ AppComponent ]
})
export class AppModule { }
그런 다음 일부 스타일을 사용하여 페이지를 아름답게 해야 합니다. app.component.css 파일에 이 작은 스니펫을 추가합니다.
코드 스니펫 - app.component.css:
mat-card {
    display: flex;
    flex-direction: column;
  }

  .file {
    display: flex;
    justify-content: space-between;
    align-items: center;
  }
출력:
결론
다운로드를 위해 제공하려는 파일에 따라 파일을 저장하기 위해 Angular blob을 사용하여 Angular 애플리케이션 내에서 이를 구현하기 위해 채택할 수 있는 다양한 접근 방식이 있습니다.

Fisayo is a tech expert and enthusiast who loves to solve problems, seek new challenges and aim to spread the knowledge of what she has learned across the globe.
LinkedIn