Angular でダウンロードするファイルを提供する
-
Angular を使用してダウンロード用の
.txtファイルを提供する -
ngx-filesaverを使用してダウンロード用にファイルを提供する -
Angular を使用してダウンロード用に
.jpgファイルを提供する - まとめ

無知な至福とは、ファイルをダウンロードしようとしてサイトにログオンし、ファイルを検索して見つけ、ダウンロードをクリックしたときに、それらのファイルをダウンロード用に提供する背後にあるタスクや労力を知らずに完了した場合です。 サイト。 Web 開発者にとって、ダウンロード用のファイルを提供することは、これらの罪のないユーザーをうらやましく思うほどの作業になる可能性があります。
しかし、Angular フレームワークを使用してダウンロード用にファイルを提供するにはどうすればよいでしょうか? いくつかのアプローチを考えてみましょう。
Angular を使用してダウンロード用の .txt ファイルを提供する
ここでの最初のアプローチは、テキストを .txt 形式に変換し、ダウンロード用に提供することです。 ダウンロード用のファイルを提供するには、ドキュメントをブラウザーに直接提供するための仮想ストレージである blob を利用する必要があります。
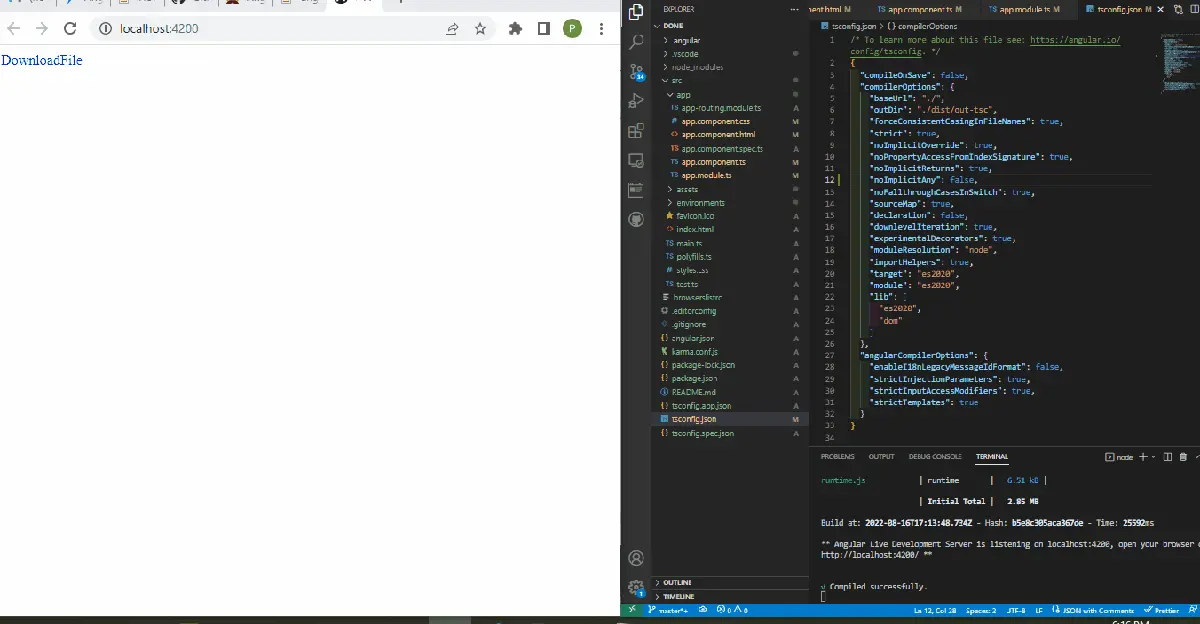
最初に行うことは、新しい Angular プロジェクトを開始することです。 次に、app.component.html ファイル内に、次のコードを入力します。
コード スニペット - app.component.html:
<a [href]="fileUrl" download="file.txt">DownloadFile</a>
これにより、Web ページ構造とダウンロードのためにクリックされるリンクが作成されます。
次に、アプリの機能と動作を作成する必要があります。 以下のように、app.component.ts ファイル内でこれを行います。
コード スニペット - app.component.ts:
import { Component } from '@angular/core';
import { DomSanitizer } from '@angular/platform-browser';

@Component({
  selector: 'app-root',
  templateUrl: './app.component.html',
  styleUrls: ['./app.component.css']
})
export class AppComponent {
  title = 'done';
  fileUrl;
  constructor(private sanitizer: DomSanitizer) {  }
  ngOnInit() {
    const data = 'some text';
    const blob = new Blob([data], { type: 'application/octet-stream' });
    this.fileUrl = this.sanitizer.bypassSecurityTrustResourceUrl(window.URL.createObjectURL(blob));
  }
}
保存したいデータを定義することから始めます。 それはテキスト、何らかのテキストです。 次に、Blob 関数を定義し、関数内で保存するデータを宣言します。
DomSanitizer モジュールを使用して、ダウンロード用に提供するファイルが Angular の安全性テストに合格できるようにします。 次に、app.module.ts ファイルに移動して、アプリの作成に使用したモジュールをインポートします。
コード スニペット - app.module.ts:
import { NgModule } from '@angular/core';
import { BrowserModule } from '@angular/platform-browser';
import { FormsModule } from '@angular/forms';
import { AppRoutingModule } from './app-routing.module';
import { AppComponent } from './app.component';

@NgModule({
  declarations: [
    AppComponent
  ],
  imports: [
    BrowserModule,
    AppRoutingModule,
    FormsModule
  ],
  providers: [],
  bootstrap: [AppComponent]
})
export class AppModule { }
出力:
ngx-filesaver を使用してダウンロード用にファイルを提供する
Angular で ngx 依存関係を使用してダウンロード用にファイルを提供する方法を見てみましょう。 ngx-filesaver は安全で人気のあるパッケージで、ダウンロード用にファイルを提供する簡単な方法を提供します。
ngx-filesaver は、新しく作成されたプロジェクト フォルダーのディレクトリに npm i ngx-filesaver と入力してインストールできます。
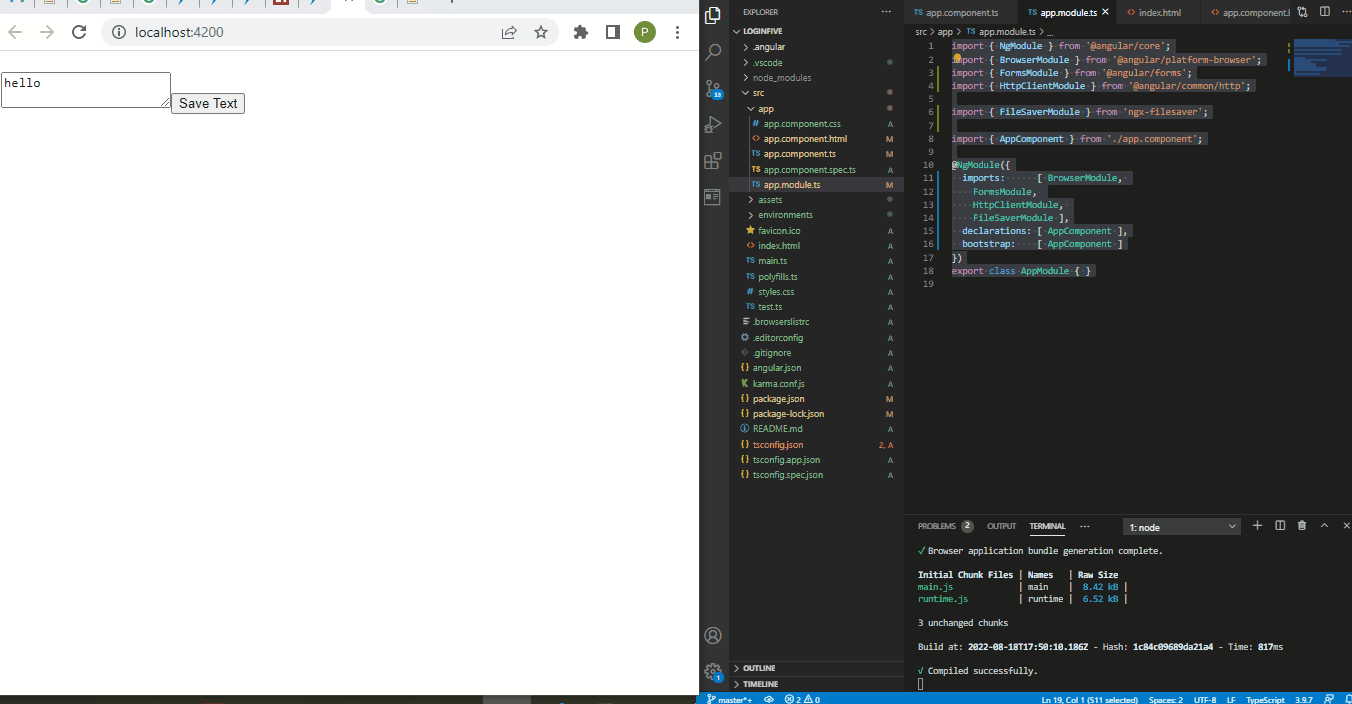
続行するには、app.component.html ファイルに移動し、これらのコードを記述して Web アプリケーションの構造を作成します。
コード スニペット - app.component.html:
<h1></h1>
<textarea [(ngModel)]="text"></textarea>
<button type="button" (click)="onDown()">Save Text</button>
ここでは、onDown イベント リスナーを使用してボタンを作成し、ボタンをクリックすると、提供したファイルがダウンロードされるようにしました。
次のように、app.component.ts ファイル内で実際の作業を行う必要があります。
コード スニペット - app.component.ts:
import { Component, OnInit } from '@angular/core';
import { HttpClient } from '@angular/common/http';
import { FileSaverService } from 'ngx-filesaver';

@Component({
  selector: 'app-root',
  templateUrl: './app.component.html',
  styleUrls: ['./app.component.css']
})

export class AppComponent implements OnInit{
  title = 'loginfive';
  public text = 'hello';
  constructor(
    private _httpClient: HttpClient,
    private _FileSaverService: FileSaverService
  ) {}

  ngOnInit() {}

  onDown() {
    const fileName = `save.txt`;
    const fileType = this._FileSaverService.genType(fileName);
    const txtBlob = new Blob([this.text], { type: fileType });
    this._FileSaverService.save(txtBlob, fileName);
    }
}
app.component.ts ファイルで、button タグ内に onDown イベント リスナーを記述していることがわかります。 ここでは、そのための関数を定義しました。
まず、ダウンロード用に提供されるデータを宣言しました。 それはテキストファイルです。 次に、blob を使用して、ブラウザーでダウンロードするファイルを提供しました。
このアプローチの最後の部分は、Web アプリの開発に使用したモジュールをインポートすることです。
コード スニペット - app.module.ts:
import { NgModule } from '@angular/core';
import { BrowserModule } from '@angular/platform-browser';
import { FormsModule } from '@angular/forms';
import { HttpClientModule } from '@angular/common/http';
import { FileSaverModule } from 'ngx-filesaver';
import { AppComponent } from './app.component';

@NgModule({
  imports:      [ BrowserModule,
    FormsModule,
    HttpClientModule,
    FileSaverModule ],
  declarations: [ AppComponent ],
  bootstrap:    [ AppComponent ]
})
export class AppModule { }
出力:
Angular を使用してダウンロード用に .jpg ファイルを提供する
これまでのところ、.txt ファイルをダウンロード用に提供する方法を検討してきました。 次に、ダウンロード用に画像を提供する方法を見てみましょう。
URL から画像を取得すると、Angular Material のおかげでダウンロードの進行状況バーが表示されます。
最初に新しい Angular プロジェクトを作成し、Angular Material パッケージをインストールし、プロジェクト フォルダーに移動して、ng add @*angular/materialと入力します。
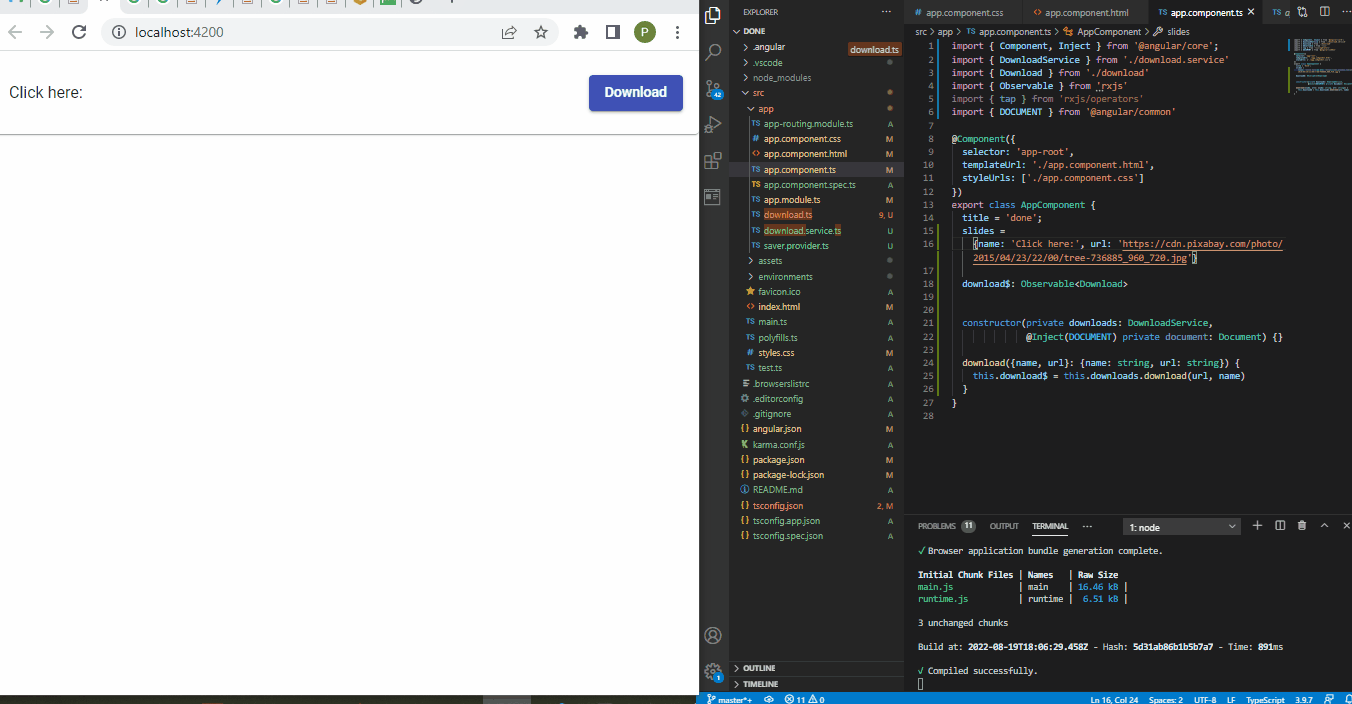
インストールが成功したら、app.component.html ファイルに移動して、ダウンロードの進行状況のスライドを含むページ構造を作成します。
コード スニペット - app.component.html:
<mat-card>
    <div class="file">
        <p>{{ slides.name }}</p>
        <button (click)="download(slides)" mat-raised-button color="primary">Download</button>
    </div>
    <mat-progress-bar *ngIf="download$ | async as download"
        [mode]="download.state == 'PENDING' ? 'buffer' : 'determinate'"
    [value]="download.progress">
    </mat-progress-bar>
</mat-card>
ダウンロードの進行状況を観察し、マテリアル スライドをアクティブ化するコードに取り組むコンポーネントを作成する必要があります。 ファイルを作成し、download.ts という名前を付けて、これらのコードを内部で処理します。
コード スニペット - download.ts:
import {
    HttpEvent,
    HttpEventType,
    HttpProgressEvent,
    HttpResponse
  } from "@angular/common/http";
  import { Observable } from "rxjs";
  import { distinctUntilChanged, scan, map, tap } from "rxjs/operators";

  function isHttpResponse<T>(event: HttpEvent<T>): event is HttpResponse<T> {
    return event.type === HttpEventType.Response;
  }

  function isHttpProgressEvent(
    event: HttpEvent<unknown>
  ): event is HttpProgressEvent {
    return (
      event.type === HttpEventType.DownloadProgress ||
      event.type === HttpEventType.UploadProgress
    );
  }

  export interface Download {
    content: Blob | any;
    progress: number;
    state: "PENDING" | "IN_PROGRESS" | "DONE";
  }

  export function download(
    saver?: (b: Blob) => void
  ): (source: Observable<HttpEvent<Blob>>) => Observable<Download> {
    return (source: Observable<HttpEvent<Blob>>) =>
      source.pipe(
        scan(
          (download: Download, event): Download => {
            if (isHttpProgressEvent(event)) {
              return {
                progress: event.total
                  ? Math.round((100 * event.loaded) / event.total)
                  : download.progress,
                state: "IN_PROGRESS",
                content: null
              };
            }
            if (isHttpResponse(event)) {
              if (saver) {
                saver(event.body);
              }
              return {
                progress: 100,
                state: "DONE",
                content: event.body
              };
            }
            return download;
          },
          { state: "PENDING", progress: 0, content: null }
        ),
        distinctUntilChanged((a, b) => a.state === b.state
          && a.progress === b.progress
          && a.content === b.content
        )
      );
  }
ダウンロード用に提供するファイルのダウンロードの進行状況を監視する必要があるため、Observable 関数を使用してダウンロードの進行状況を監視し、それをマテリアル スライダーに変換します。 次に、URL からのファイル フェッチを処理するサービス ファイルを作成し、進行状況のスライドと共に表示します。
サービス ファイルを作成し、download.service.ts という名前を付けて、次のコードを入力します。
コード スニペット - download.service.ts:
import { Injectable, Inject } from '@angular/core'
import { HttpClient, HttpRequest } from '@angular/common/http'
import { download, Download } from './download'
import { map } from 'rxjs/operators'
import { Observable } from 'rxjs'
import { SAVER, Saver } from './saver.provider'

@Injectable({providedIn: 'root'})
export class DownloadService {

  constructor(
    private http: HttpClient,
    @Inject(SAVER) private save: Saver
  ) {
  }

  download(url: string, filename?: string): Observable<Download> {
    return this.http.get(url, {
      reportProgress: true,
      observe: 'events',
      responseType: 'blob'
    }).pipe(download(blob => this.save(blob, filename)))
  }

  blob(url: string, filename?: string): Observable<Blob> {
    return this.http.get(url, {
      responseType: 'blob'
    })
  }
}
これらのサービスをアプリケーションに提供するには、プロバイダーが必要です。新しいファイルを作成し、saver.provider.ts という名前を付けて、その中にコードを配置します。
コード スニペット - saver.provider.ts:
import {InjectionToken} from '@angular/core'
import { saveAs } from 'file-saver';

export type Saver = (blob: Blob, filename?: string) => void
export const SAVER = new InjectionToken<Saver>('saver')
export function getSaver(): Saver {
  return saveAs;
}
次に、ダウンロード用に提供する画像の URL を取得します。 app.component.ts ファイル内でこれを行い、これらのコードを入力します。
コード スニペット - app.component.ts:
import { Component, Inject } from '@angular/core';
import { DownloadService } from './download.service'
import { Download } from './download'
import { Observable } from 'rxjs'
import { tap } from 'rxjs/operators'
import { DOCUMENT } from '@angular/common'

@Component({
  selector: 'app-root',
  templateUrl: './app.component.html',
  styleUrls: ['./app.component.css']
})
export class AppComponent {
  title = 'done';
  slides =
    {name: 'Click here:', url: 'https://cdn.pixabay.com/photo/2015/04/23/22/00/tree-736885_960_720.jpg'}
  download$: Observable<Download>

  constructor(private downloads: DownloadService,
              @Inject(DOCUMENT) private document: Document) {}

  download({name, url}: {name: string, url: string}) {
    this.download$ = this.downloads.download(url, name)
  }
}
アプリを実行するには、大量のモジュールが必要です。 app.module.ts ファイル内にこれらのモジュールをインポートする必要があります。
コード スニペット - app.module.ts:
import { NgModule } from '@angular/core';
import { BrowserModule } from '@angular/platform-browser';
import { FormsModule } from '@angular/forms';
import { HttpClientModule } from '@angular/common/http'
import {MatButtonModule} from '@angular/material/button';
import {MatProgressBarModule} from '@angular/material/progress-bar';
import {MatCardModule} from '@angular/material/card';
import { BrowserAnimationsModule} from '@angular/platform-browser/animations'
import { AppComponent } from './app.component';
import { SAVER, getSaver } from './saver.provider'

@NgModule({
  imports:      [
    BrowserModule,
    FormsModule,
    BrowserAnimationsModule,
    HttpClientModule,
    MatButtonModule,
    MatProgressBarModule,
    MatCardModule
  ],
  providers: [{provide: SAVER, useFactory: getSaver}],
  declarations: [ AppComponent ],
  bootstrap:    [ AppComponent ]
})
export class AppModule { }
次に、いくつかのスタイリングでページを美しくする必要があります。 この小さなスニペットを app.component.css ファイル内に追加します。
コード スニペット - app.component.css:
mat-card {
    display: flex;
    flex-direction: column;
  }

  .file {
    display: flex;
    justify-content: space-between;
    align-items: center;
  }
出力:
まとめ
ダウンロード用に提供するファイルに応じて、Angular blob を使用してファイルを保存し、Angular アプリケーション内でこれを実装するために採用できるさまざまなアプローチがあります。

Fisayo is a tech expert and enthusiast who loves to solve problems, seek new challenges and aim to spread the knowledge of what she has learned across the globe.
LinkedIn