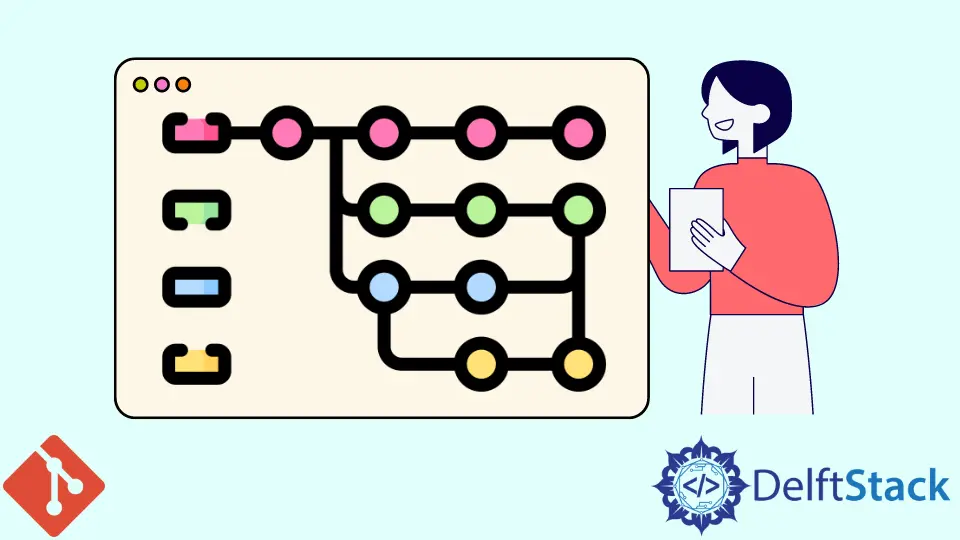
Git Tutorial - Branches
- Why Branch Is Needed?
- Create a New Branch in Git
- Delete a Branch in Git
- Create and Check Out a New Branch Simultaneously in Git
In this tutorial, we will learn about one of the most important features in the git version control system - branch.
Why Branch Is Needed?
Until now, we’ve only been working on one branch - the master branch. It is the default branch when we create a new repository.
Generally speaking, the master branch represents the stable version of your codes and is intended to be released or published. For that reason, we don’t want to try out new features on the new code on the master branch to avoid that it messes the code up.
What we need when we want to add a new feature to our application, is to create some isolated environment right to try out this new feature, and if we finish and test it, we can merge this new feature into the master branch. Instead of adding more commits to the master branch, we make a new branch to work as an isolated environment and to test the new feature out.
Create a New Branch in Git
$ git branch test_branch
What we’re doing here when we make this branch test_branch is that we’re copying the state of the code of the master branch onto this branch, and then we can work in this test_branch branch.
You could list the available branches on your PC by typing,
$ git branch
* master
  test_branch
The newly created test_branch and the master branch are listed here.
Now you are still on the master branch although you just created the new branch. You need to check out the new branch to work on it.
$ git checkout test_branch
Switched to branch 'test_branch'
D       test1_rename.txt
It says now it is switched to branch test_branch, and if you do git branch again,
$ git branch
  master
* test_branch
Then we’re going to see that we’re now on test_branch branch because asterisk * is before test_branch but not master anymore.
Let’s add append some text to the file test3.txt, like This is the added line in branch test_branch.. Now, if you do git status, you will see that you have changed this file.
$ git status
On branch test_branch
Changes not staged for commit:
  (use "git add <file>..." to update what will be committed)
  (use "git checkout -- <file>..." to discard changes in working directory)

	modified:   test3.txt

no changes added to commit (use "git add" and/or "git commit -a")
We could commit the changes to this branch as we have learned in the last chapters.
What we have done is that we created this new branch and made some changes that are isolated from the master branch. The codes in the master branch keep unchanged and stable.
Delete a Branch in Git
After we are happy with the new feature added to the branch, we could delete it.
$ git checkout master
$ git branch -d test_branch
error: The branch 'test_branch' is not fully merged.
If you are sure you want to delete it, run 'git branch -D test_branch'.
-d parameter after branch means it will delete the specified branch.
We’ve got an error saying The branch 'test_branch' is not fully merged. If you are sure you want to delete it, run 'git branch -D test_branch'.. The lowercase d only works once we’ve merged the branch but uppercase D could forcibly delete the branch. We will introduce how to merge the branch in the next chapters, but for now, let’s just use uppercase D to delete this branch.
$ git branch -D test_branch
Deleted branch test_branch (was 7d6bca6).
If you check branches now, it only shows the master branch now.
$ git branch
* master
Create and Check Out a New Branch Simultaneously in Git
The workflow shown above first creates a branch by using git branch and then check out this branch by using git checkout.
It has a quicker way to combine these two steps to one.
$ git checkout -b new_test_branch
Switched to a new branch 'new_test_branch'
M       test3.txt
What it does is that it creates a branch and it checks it out as well. So we don’t have to perform those two steps separately.

Founder of DelftStack.com. Jinku has worked in the robotics and automotive industries for over 8 years. He sharpened his coding skills when he needed to do the automatic testing, data collection from remote servers and report creation from the endurance test. He is from an electrical/electronics engineering background but has expanded his interest to embedded electronics, embedded programming and front-/back-end programming.
LinkedIn Facebook