jQuery를 사용하여 요소 이동
-
appendTo및prependTo를 사용하여 jQuery를 사용하여 요소 이동 -
insertBefore()및insertAfter()를 사용하여 jQuery를 사용하여 요소 이동

이 튜토리얼은 다른 방법을 사용하여 jQuery에서 요소를 이동하는 방법을 보여줍니다.
jQuery에는 HTML 문서의 특정 위치에 요소를 이동하거나 삽입하는 데 사용할 수 있는 다양한 메서드가 있습니다. 이러한 메서드에는 appendTo(), prependTo(), insertBefore(), insertAfter() 및 기타 메서드가 포함됩니다.
방법에 대해 논의하고 몇 가지 예를 보여 드리겠습니다.
appendTo 및 prependTo를 사용하여 jQuery를 사용하여 요소 이동
appendTo() 및 prependTo() 메소드는 jQuery에서 요소를 다른 요소로 이동하는 데 사용됩니다.
예를 들어 div에 세 개의 단락이 포함되어 있고 div로 하나의 단락을 더 이동하려고 한다고 가정합니다. 이 경우 appendTo() 메서드는 새 단락을 세 단락 뒤의 div로 이동하고 prependTo() 메서드는 단락을 세 단락 앞의 div로 이동합니다.
두 메서드의 구문은 다음과 같습니다.
$("content").appendTo("target");

$("content").prependTo("target");
어디에:
content는 이동할 컨텐츠입니다.target은 요소가 이동할 위치입니다.
appendTo() 메서드의 예를 살펴보겠습니다.
<!DOCTYPE html>
<html lang="en">
<head>
    <meta charset="utf-8">
    <title>jQuery appendTo</title>
    <style>
    #TargetDiv{
        padding: 30px;
        background: lightblue;
    }
    #ContentDiv{
        padding: 30px;
        margin: 40px 0;
        border: 3px solid;
    }
    </style>
    <script src="https://code.jquery.com/jquery-3.5.1.min.js"></script>
    <script>
    $(document).ready(function(){
        $("button").click(function(){
            $("#ContentDiv").appendTo("#TargetDiv");
            $(this).hide();
        });
    });
    </script>
</head>
<body>

    <div id="ContentDiv">
        <h1>Hello Delftstack</h1>
        <p>This is delftstack.com the best site for tutorials.</p>
        <button type="button">Move Element</button>
    </div>
    <div id="TargetDiv">
        <h1>DELFTSTACK</h1>
    </div>
</body>
</html>
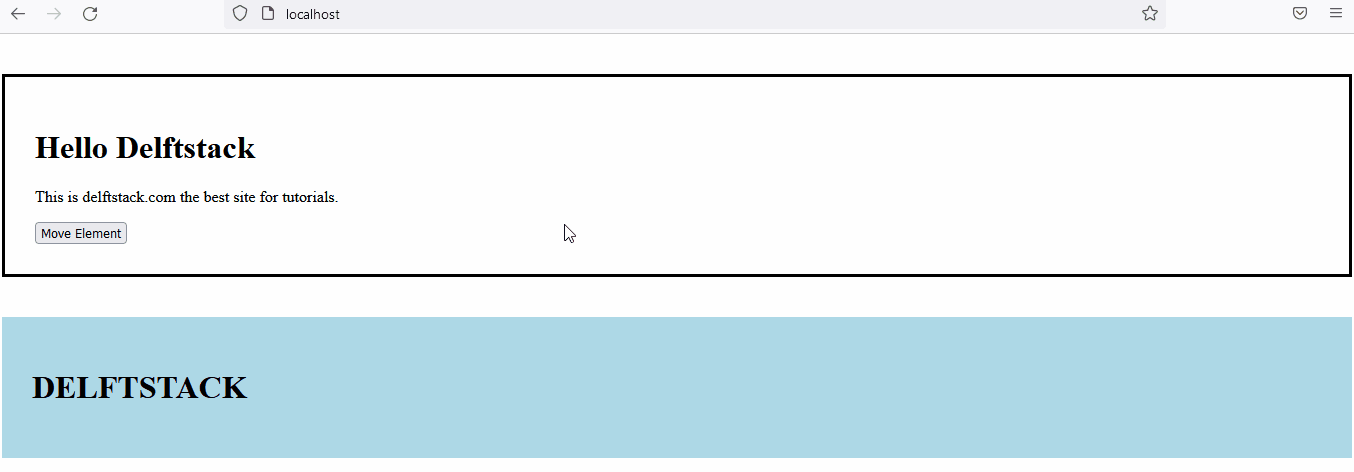
위의 코드는 ContentDiv를 div의 다른 요소 다음에 있는 TargetDiv로 이동합니다. 출력 참조:
이제 prependTo() 메서드에 대해 동일한 예제를 구현해 보겠습니다. 예를 참조하십시오.
<!DOCTYPE html>
<html lang="en">
<head>
    <meta charset="utf-8">
    <title>jQuery prependTo</title>
    <style>
    #TargetDiv{
        padding: 30px;
        background: lightblue;
    }
    #ContentDiv{
        padding: 30px;
        margin: 40px 0;
        border: 3px solid;
    }
    </style>
    <script src="https://code.jquery.com/jquery-3.5.1.min.js"></script>
    <script>
    $(document).ready(function(){
        $("button").click(function(){
            $("#ContentDiv").prependTo("#TargetDiv");
            $(this).hide();
        });
    });
    </script>
</head>
<body>

    <div id="ContentDiv">
        <h1>Hello Delftstack</h1>
        <p>This is delftstack.com the best site for tutorials.</p>
        <button type="button">Move Element</button>
    </div>
    <div id="TargetDiv">
        <h1>DELFTSTACK</h1>
    </div>
</body>
</html>
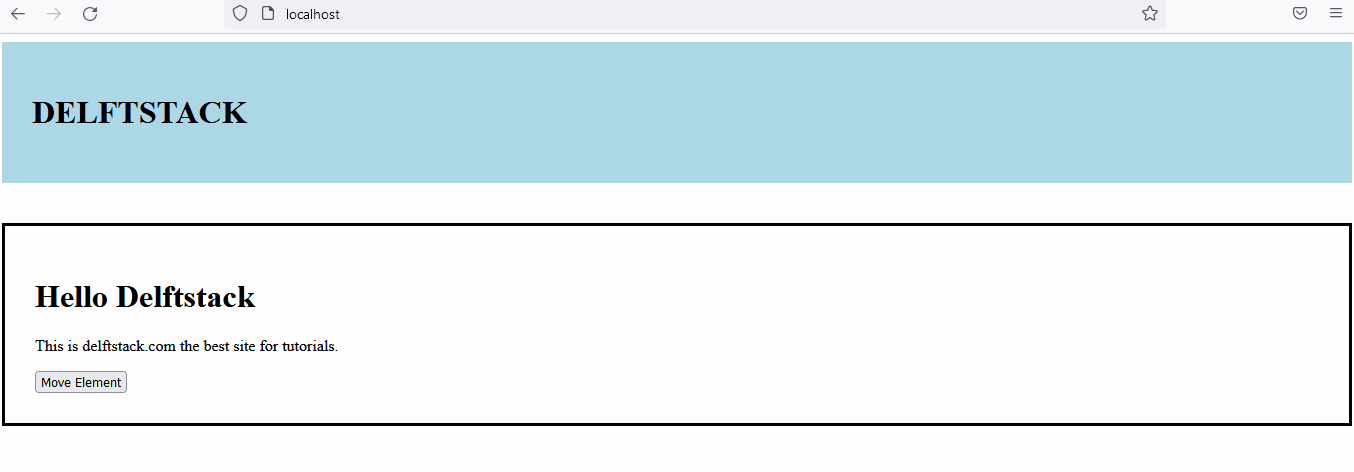
위의 코드는 ContentDiv를 div의 다른 요소보다 먼저 TargetDiv로 이동합니다. 출력 참조:

insertBefore() 및 insertAfter()를 사용하여 jQuery를 사용하여 요소 이동
insertBefore() 및 insertAfter() 메서드는 다른 요소의 앞뒤로 요소를 이동하는 데 사용됩니다. 이러한 메서드의 구문은 다음과 같습니다.
$("content").insertBefore("target");

$("content").insertAfter("target");
어디에:
content는 이동할 컨텐츠입니다.target은 콘텐츠가 이동할 전후 위치입니다.
insertBefore() 메소드의 예를 살펴보겠습니다.
<!DOCTYPE html>
<html lang="en">
<head>
    <meta charset="utf-8">
    <title>jQuery insertBefore</title>
    <style>
    #TargetDiv{
        padding: 30px;
        background: lightblue;
    }
    #ContentDiv{
        padding: 30px;
        margin: 40px 0;
        border: 3px solid;
    }
    </style>
    <script src="https://code.jquery.com/jquery-3.5.1.min.js"></script>
    <script>
    $(document).ready(function(){
        $("button").click(function(){
            $("#ContentDiv").insertBefore("#TargetDiv");
            $(this).hide();
        });
    });
    </script>
</head>
<body>
    <div id="TargetDiv">
        <h1>DELFTSTACK</h1>
    </div>
    <div id="ContentDiv">
        <h1>Hello Delftstack</h1>
        <p>This is delftstack.com the best site for tutorials.</p>
        <button type="button">Move Element</button>
    </div>

</body>
</html>
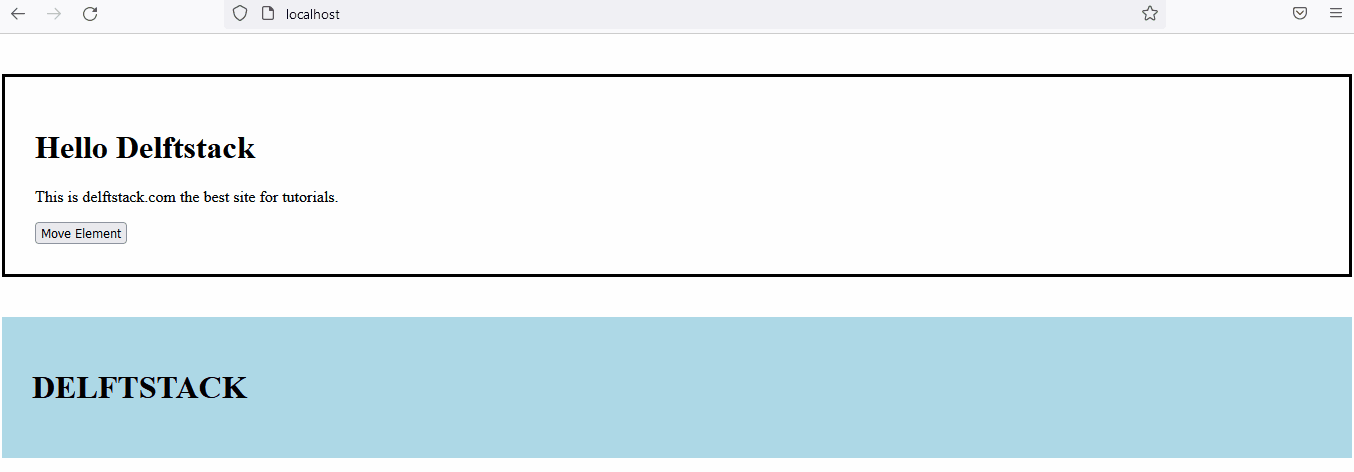
위의 코드는 콘텐츠 요소를 대상 요소 앞으로 이동합니다. 출력 참조:
이제 insertAfter() 메서드에 대한 예제를 시도해 보겠습니다.
<!DOCTYPE html>
<html lang="en">
<head>
    <meta charset="utf-8">
    <title>jQuery insertAfter</title>
    <style>
    #TargetDiv{
        padding: 30px;
        background: lightblue;
    }
    #ContentDiv{
        padding: 30px;
        margin: 40px 0;
        border: 3px solid;
    }
    </style>
    <script src="https://code.jquery.com/jquery-3.5.1.min.js"></script>
    <script>
    $(document).ready(function(){
        $("button").click(function(){
            $("#ContentDiv").insertAfter("#TargetDiv");
            $(this).hide();
        });
    });
    </script>
</head>
<body>

    <div id="ContentDiv">
        <h1>Hello Delftstack</h1>
        <p>This is delftstack.com the best site for tutorials.</p>
        <button type="button">Move Element</button>
    </div>
    <div id="TargetDiv">
        <h1>DELFTSTACK</h1>
    </div>
</body>
</html>
위의 코드는 대상 뒤에 내용을 이동합니다. 출력 참조:

Sheeraz is a Doctorate fellow in Computer Science at Northwestern Polytechnical University, Xian, China. He has 7 years of Software Development experience in AI, Web, Database, and Desktop technologies. He writes tutorials in Java, PHP, Python, GoLang, R, etc., to help beginners learn the field of Computer Science.
LinkedIn Facebook