JavaFX 메시지 상자 만들기
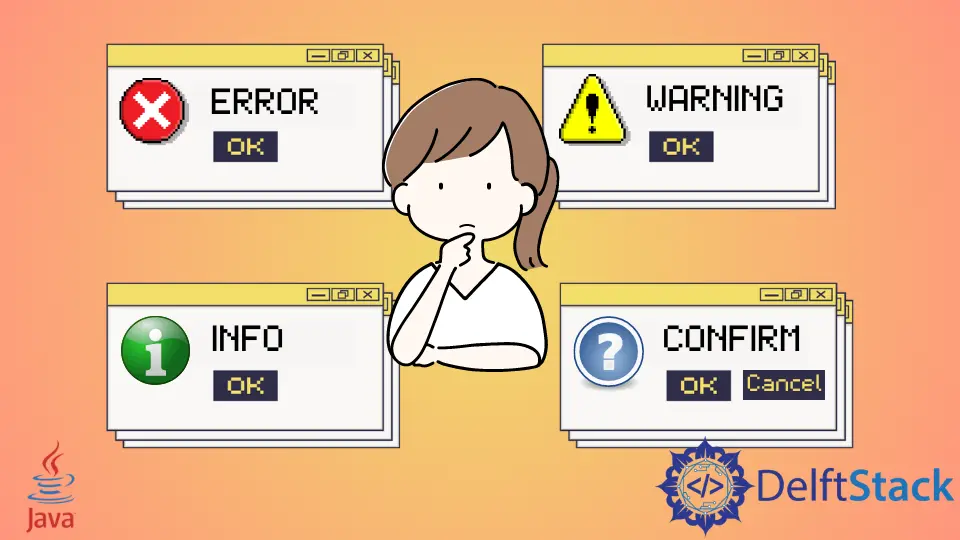
오늘의 튜토리얼은 Java 애플리케이션에서 JavaFX 메시지 상자를 만드는 방법을 보여줍니다. 메시지 상자는 확인, 경고, 정보 또는 오류 경고일 수 있습니다.
JavaFX 메시지 상자 만들기
다음 예제 코드를 수행하기 위해 Java 버전 18, JavaFX 버전 13 및 Netbeans IDE 버전 13을 사용합니다.
예제 코드:
// write your package name
package com.mycompany.javafx_messagebox;

// import required libraries
import javafx.application.Application;
import javafx.event.ActionEvent;
import javafx.geometry.Insets;
import javafx.scene.Scene;
import javafx.scene.control.Alert;
import javafx.scene.control.Alert.AlertType;
import javafx.scene.control.Button;
import javafx.scene.layout.TilePane;
import javafx.stage.Stage;

/**
 * JavaFX App
 */
public class App extends Application {
  @Override
  public void start(Stage stage) {
    // create a tile pane
    TilePane r = new TilePane();
    // add padding
    r.setPadding(new Insets(10, 10, 10, 10));

    // an array of button names
    String[] buttonNames = {"Confirmation MessageBox", "Error MessageBox", "Information MessageBox",
        "Warning MessageBox"};

    // Show no alert at the startup of the program
    Alert alert = new Alert(AlertType.NONE);

    /*
    a loop to create buttons, define actions when
    they are pressed and add them to the tile pane
    */
    for (String s : buttonNames) {
      Button button = new Button(s);

      button.setOnAction((ActionEvent event) -> {
        if (null != button.getText()) {
          switch (button.getText()) {
            case "Confirmation MessageBox":
              // set alert type, title, content text and then show it
              alert.setAlertType(AlertType.CONFIRMATION);
              alert.setTitle("Confirmation MessageBox");
              alert.setContentText("This is a CONFIRMATION "
                  + "message for you!");
              alert.show();
              break;
            case "Error MessageBox":
              // set alert type, title, content text and then show it
              alert.setAlertType(AlertType.ERROR);
              alert.setTitle("Error MessageBox");
              alert.setContentText("This is an ERROR message for you!");
              alert.show();
              break;
            case "Information MessageBox":
              // set alert type, title, content text and then show it
              alert.setAlertType(AlertType.INFORMATION);
              alert.setTitle("Information MessageBox");
              alert.setContentText("This is a INFORMATION "
                  + "message for you!");
              alert.show();
              break;
            case "Warning MessageBox":
              // set alert type, title, content text and then show it
              alert.setAlertType(AlertType.WARNING);
              alert.setTitle("Warning MessageBox");
              alert.setContentText("This is a WARNING message for you!");
              alert.show();
              break;
            default:
              break;
          }
        }
      });

      // add button
      r.getChildren().add(button);
    }

    // create a scene
    Scene sc = new Scene(r, 640, 50);

    // set the scene
    stage.setScene(sc);

    // show the stage
    stage.show();

  } // end start method

  // main method
  public static void main(String[] args) {
    launch(args);
  } // end main

} // end App class
출력(메인 창):

출력(확인 메시지 상자, Confirmation MessageBox 버튼을 클릭하면 표시됨):

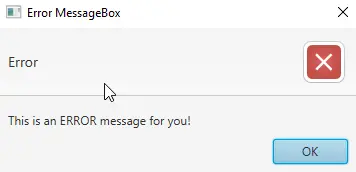
출력(오류 메시지 상자, Error MessageBox 버튼을 클릭하면 표시됨):
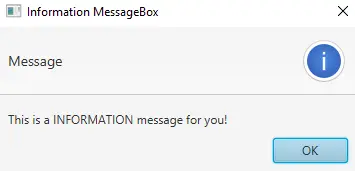
출력(정보 메시지 상자, Information MessageBox 버튼을 클릭하면 표시됨):
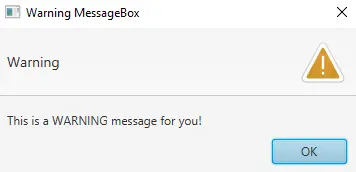
OUTPUT(경고 메시지 상자, Warning MessageBox 버튼을 클릭하면 표시됨):
이 튜토리얼에서는 module-info.java 및 pom.xml 파일을 변경할 필요가 없습니다. JavaFX 프로젝트를 만들고 위에 주어진 코드를 연습하십시오.
Application 클래스(Java의 표준)를 확장하는 App이라는 기본 클래스가 있습니다. 기본 시작 클래스(App)의 이름을 지정할 수 있습니다.
다음으로 App이 Application 클래스의 자식 클래스이기 때문에 start() 메서드를 재정의합니다. 자식 클래스는 부모 클래스의 모든 추상 기능/메서드를 구현해야 함을 기억하십시오.
그 후에 Stage 유형의 매개변수 하나를 사용하는 start() 메소드가 있습니다. Stage 유형 매개변수를 사용하는 이유는 이것이 모든 시각적 구성 요소 JavaFX 응용 프로그램이 표시되는 위치이기 때문입니다.
JavaFX 런타임이 생성하기 때문에 Stage 유형 객체를 생성할 필요가 없습니다. 다음은 start() 메소드 내부에 있는 내용에 대한 단계별 설명입니다.
-
레이아웃 구성 요소인 JavaFX
TilePane의 개체를 만들고 모든 자식 구성 요소를 동일한 크기의 셀 그리드에 배치합니다. -
전체 그리드(
위쪽/오른쪽/아래쪽/왼쪽) 주위에 여백을 추가합니다. -
이 응용 프로그램에 필요한 모든 버튼의 이름으로 배열을 만듭니다.
-
프로그램 시작 시 메시지 상자를 표시하지 않기 때문에
NONE유형의 경고 메시지 상자를 만듭니다. -
다음으로 모든 버튼 이름을 반복하는
for루프가 있습니다.- 루프 내부에서 현재 이름의 버튼을 생성합니다.
- 조건에 따라 특정 버튼에 대한 동작을 설정합니다. 버튼 텍스트를 얻고
switch문을 사용하여 버튼 이름을 기반으로 메시지 상자를 표시합니다.
-
TilePane에 버튼을 추가합니다. -
Scene클래스를 사용하여 장면을 만듭니다. -
장면을 설정합니다.
-
마지막으로 무대를 보여줍니다.
이제 main 메소드 차례입니다. main 메소드 없이 JavaFX 애플리케이션을 시작할 수 있지만 명령줄을 사용하여 애플리케이션에 전달되는 매개변수를 사용해야 할 때 유용합니다.
