HOWTO · Java
JavaFX 表示テキスト
このチュートリアルでは、JavaFX でテキストを表示する方法を示します。
このページの内容
テキストは、JavaFX.scene.text.Text クラスを使用して作成および表示できます。このチュートリアルでは、JavaFX で単一行および複数行のテキストを表示する方法を示します。
JavaFX 表示テキスト
JavaFX.scene,text.Text は、JavaFX でテキストを作成および表示するために使用されます。テキストノードは、Text クラスをインスタンス化してシーンに表示することで作成できます。
構文:
Text text = new Text(text);
ここで、パラメータとしての text はテキスト値です。テキストの x 位置と y 位置の値を設定するには、次の方法を使用します。
text.setX(30);
text.setY(30);
上記のメソッドは、メソッドで指定された x 位置と y 位置に従ってテキストの位置を設定します。以下の手順に従って、JavaFX でテキストを作成および表示します。
Applicationクラスを拡張し、start()メソッドを実装してクラスを作成します。- クラス
Textをインスタンス化してテキストを作成します。次に、setX()およびsetY()メソッドを使用して、xおよびyの位置を設定します。 groupクラスを作成します。- シーンオブジェクトを作成し、
sceneクラスをインスタンス化し、groupオブジェクトをsceneに渡します。 setTitleメソッドを使用してステージにタイトルを追加し、setScene()メソッドを使用してシーンをステージに追加します。show()メソッドを使用してステージを表示し、アプリケーションを起動します。
上記の手順に基づいて例を実装してみましょう。
サンプルコード:
package delftstack;

import javafx.application.Application;
import javafx.scene.Group;
import javafx.scene.Scene;
import javafx.scene.text.Text;
import javafx.stage.Stage;

public class JavaFX_Display_Text extends Application {
  @Override
  public void start(Stage Demo_Stage) {
    // Create a Text object
    Text Demo_Text = new Text();

    // Set the text to be added.
    Demo_Text.setText("Hello, This is delftstack.com");

    // set the position of the text
    Demo_Text.setX(80);
    Demo_Text.setY(80);

    // Create a Group object
    Group Group_Root = new Group(Demo_Text);

    // Create a scene object
    Scene Demo_Scene = new Scene(Group_Root, 600, 300);

    // Set title to the Stage
    Demo_Stage.setTitle("Text Display");

    // Add scene to the stage
    Demo_Stage.setScene(Demo_Scene);

    // Display the contents of the stage
    Demo_Stage.show();
  }
  public static void main(String args[]) {
    launch(args);
  }
}
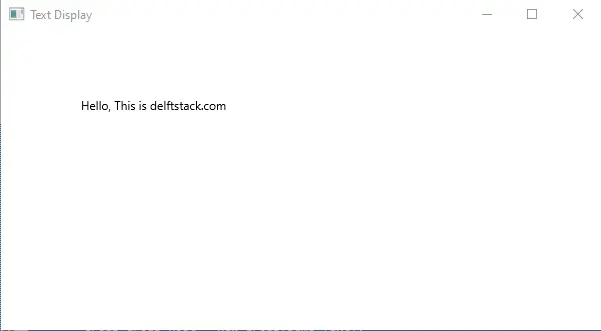
上記のコードは、シーンにテキストを作成して表示します。
出力:
Text の代わりに Label を使用して、複数行のテキストを表示することができます。Label を作成して、そこに Text を渡します。
テキストを複数行のテキストとして表示するには、Text を Label で囲む必要があります。
サンプルコード:
package delftstack;

import javafx.application.Application;
import javafx.scene.Group;
import javafx.scene.Scene;
import javafx.scene.control.Label;
import javafx.scene.paint.Color;
import javafx.stage.Stage;

public class JavaFX_Display_Text extends Application {
  @Override
  public void start(Stage Demo_Stage) {
    String Content = "DelftStack is a resource for everyone interested in programming, "
        + "embedded software, and electronics. It covers the programming languages "
        + "like Python, C/C++, C#, and so on in this website's first development stage. "
        + "Open-source hardware also falls in the website's scope, like Arduino, "
        + "Raspberry Pi, and BeagleBone. DelftStack aims to provide tutorials, "
        + "how-to's, and cheat sheets to different levels of developers and hobbyists..";
    // Create a Label
    Label Demo_Text = new Label(Content);
    // wrap the label
    Demo_Text.setWrapText(true);
    // Set the maximum width of the label
    Demo_Text.setMaxWidth(300);
    // Set the position of the label
    Demo_Text.setTranslateX(30);
    Demo_Text.setTranslateY(30);
    Group Text_Root = new Group();
    Text_Root.getChildren().add(Demo_Text);
    // Set the stage
    Scene Text_Scene = new Scene(Text_Root, 595, 150, Color.BEIGE);
    Demo_Stage.setTitle("Display Multiline Text");
    Demo_Stage.setScene(Text_Scene);
    Demo_Stage.show();
  }
  public static void main(String args[]) {
    launch(args);
  }
}
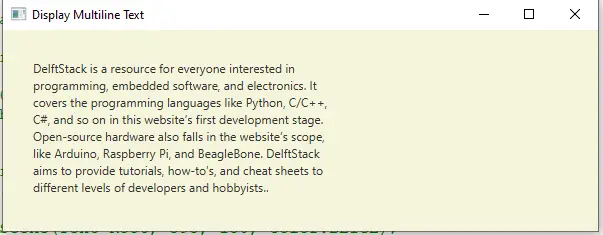
上記のコードは、ラベルでラップされたテキストを複数行として表示します。
出力: