How to Delete All Records From Table in SQLite With Android
In the android operating system, we develop android applications for different purposes. We use the SQLite database to store the records locally on android phones.
The SQLite database is an open-source database in the android operating system used to store data locally in plain text form. We can perform the CRUD operations on the SQLite database, for example, creating, reading, updating and deleting the record.
This article discusses how we can delete all records from the SQLite database by supposing that the data is already stored inside.
Use the execSQL() Method
Syntax of the execSQL() method:
db.execSQL(query)
Parameter:
query |
This parameter takes the required SQL query to delete the record. |
This method does not return anything; instead, it executes the SQL statement inside the provided parameter. It returns the error if the SQL statement is incorrect.
Delete All Rows or Records From Table in the SQLite Database With Android
In the android operating system, we use the SQLite database to store, delete and update records in plain text. In android, we develop the UI (user interface) using XML (Extensible Markup Language) by creating the filename.xml extension.
To make the UI functionality workable, we create and connect the Java file with the XML file.
Let’s create an Android XML file with the following code.
XML File (mainActivity.xml):
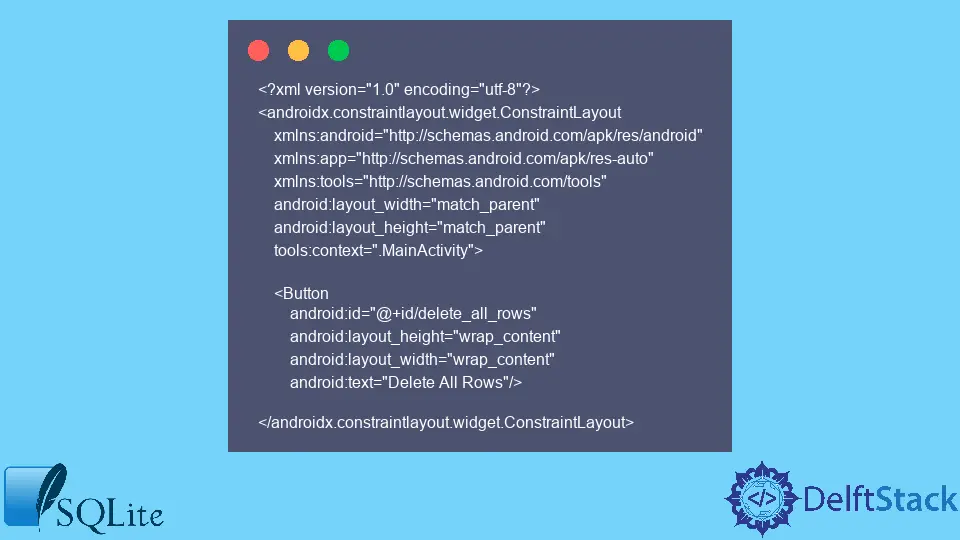
<?xml version="1.0" encoding="utf-8"?>
<androidx.constraintlayout.widget.ConstraintLayout
    xmlns:android="http://schemas.android.com/apk/res/android"
    xmlns:app="http://schemas.android.com/apk/res-auto"
    xmlns:tools="http://schemas.android.com/tools"
    android:layout_width="match_parent"
    android:layout_height="match_parent"
    tools:context=".MainActivity">

    <Button
        android:id="@+id/delete_all_rows"
        android:layout_height="wrap_content"
        android:layout_width="wrap_content"
        android:text="Delete All Rows"/>

</androidx.constraintlayout.widget.ConstraintLayout>
Explanation of the mainActivity.xml file:
In android, we create layouts using widgets like Linear Layout, Relative Layout, Constraint Layout, etc. In this example, we use the constraintLayout to create the layout in the XML.
This layout allows you to size and flexibly position the widget in a ViewGroup. This constraintLayout is available on Android API version 9 (Gingerbread) and above.
Inside the constraintLayout, two properties, android:layout_width and android:layout_height, are used to set the width and height of the layout, respectively. The value for both properties is set to match_parent, which shows that the main (parent) layout takes 100 percent of the available width and height of the screen.
Later, we need a button to perform the delete functionality. We need to import the Button inside the main (parent) layout, which is constraintLayout.
For the Button widget, we use different properties: the layout’s width and height. The value wrap_content for width and height shows that the Button layout takes the width the same as the length of the text written on the Button layout.
The default text on the Button widget is button, so we can replace it with our text, Delete All Rows, using the property android:text. For each widget inside the constraintLayout, we need to set the unique id by using the property android:id.
This id differentiates between different widgets when communicating with the Java source file.
Now, create a java file named mainActivity.java to connect the UI (xml file) to the functionality by connecting the widgets.
Java File (mainActivity.java):
package com.example.android;

import android.os.Bundle;
import android.support.v7.app.AppCompatActivity;
import android.view.View;
import android.widget.Button;
import android.widget.Toast;

public class MainActivity extends AppCompatActivity {
  private Button deleteButton;

  @Override
  protected void onCreate(Bundle savedInstanceState) {
    super.onCreate(savedInstanceState);
    setContentView(R.layout.mainActivity);
    addListenerOnButton();
  }

  public void addListenerOnButton() {
    deleteButton = (Button) findViewById(R.id.delete_all_rows);

    deleteButton.setOnClickListener(new View.OnClickListener() {
      @Override
      public void onClick(View view) {
        SQLiteDatabase db = this.getWritableDatabase();
        // change the TABLE_NAME here to your SQLite table
        db.execSQL("delete from " + TABLE_NAME);
        db.close();
        Toast
            .makeText(getApplicationContext(),
                "All records are deleted in SQLite database successfully.", Toast.LENGTH_LONG)
            .show();
      }
    });
  }
}
After pressing the button on the screen, the Toast shows the following:
All records are deleted in SQLite database successfully.
Explanation of the mainActivity.java file:
The package name com.example.android shows the unique identity of the application. We select the package name when creating the application at the start.
After creating, the package name automatically shows at the top of each Java source file. Then we have five different imports, each for a different purpose.
Whenever we use a built-in class in the user class, we must import it before using it. The extends keyword shows the inheritance of the AppCompatActivity class, which has an onCreate() method to output when the activity is first created.
Inside the onCreate() method, we connect the Java source file with the layout using the setContentView() method. Similarly, in android, we have built-in classes for each widget.
To use any widget inside the Java source file, we must import the widget at the start. For the Button widget to listen to the click listener, we need to implement its setOnClickListener() method.
Inside this method, we can write whatever lines of code to perform the functionality once the Button widget on the screen is pressed.
As we know, we have to delete all the records from the SQLite database. So, we need to create the instance of the SQLite database by using the class name (space) object name SQLiteDatabase db.
The SQLiteDatabase has different methods, but to delete the records in the database, we use the execSQL() method and pass the SQL query inside it. We need to pass the "delete from "+ "TABLE_NAME" query to delete all the records.
The TABLE_NAME is the name of your table name stored inside the SQLite database. Once there is no need for further querying, we need to close the database using the db.close() method.
If the code and query are written correctly, the application shows the Toast widget with the message All records are deleted in SQLite database successfully. Otherwise, shows an error on the console.

Hi, I'm Junaid. I am a freelance software developer and a content writer. For the last 3 years, I have been working and coding with Python. Additionally, I have a huge interest in developing native and hybrid mobile applications.
LinkedIn