How to Take Screenshots Using Python
- Use the Pyautogui Module to Take Screenshots Using Python
- Use the Pillow Module to Take Screenshots Using Python
- Use the Pyscreenshot Module to Take Screenshots Using Python
- Conclusion
Python programming language allows us to perform various tasks, all with the help of simple modules and short, to-the-point code. Taking screenshots with the help of Python is one such task.
Python provides us with many modules enabling us to perform different tasks. There are multiple ways to take a screenshot using Python and its libraries.
This article will walk you through all the steps you must follow to take a screenshot using Python. Let’s begin!
Use the Pyautogui Module to Take Screenshots Using Python
The first approach uses the pyauotgui module that Python provides. You can install this module using the following command in the terminal window.
pip install pyautogui
The pyautogui module uses the screenshot() function that helps in capturing the entire screen. Later, you can either use the save() function to save the image or the imwrite() function along with the NumPy and OpenCV modules to write the image to the disk.
Look at both these methods in detail.
Use the save() Function in Pyautogui Module to Take Screenshots Using Python
Once you have installed the pyautogui module, the simplest way to take a screenshot is to use the screenshot() function and the save() function. Here is an example code using these functions.
Example code:
import pyautogui

demo_image = pyautogui.screenshot()
demo_image.save("demo_one.jpg")
First, we import the pyautogui module. Then, we call the screenshot() function, which captures an image of the screen.
Further, in the last line of code, we use the save() function along with the name we want to save the image. In this case, the image captured can be found by the file name demo_one.jpg.
Below is the image we get as an output. Note that you will find this image in the same directory as the Jupyter Notebook or Python.
-output.webp)
If you want some delay in capturing the image, you can use the sleep() function of the time module.
Use the Numpy and Opencv Modules With Pyautogui to Take Screenshots Using Python
The second method involves the use of two more modules along with pyautogui; these are NumPy and OpenCV. We used the save() function to save the image in the first method.
But here, we will use these two modules to take a screenshot and save it.
Install Numpy and OpenCV by writing the following commands in the terminal.
pip install numpy
pip install opencv-python
Here is the code that you must use once all modules are installed.
Example code:
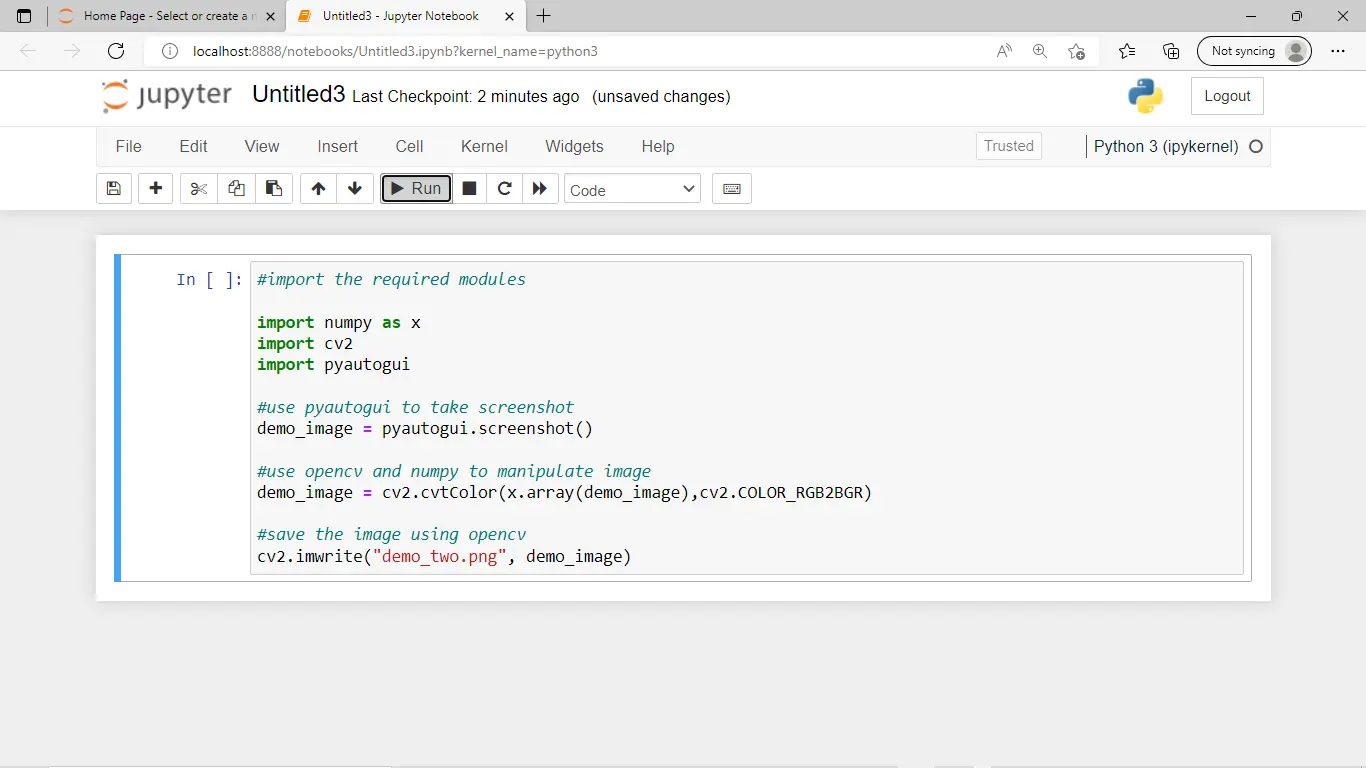
# import the required modules

import numpy as x
import cv2
import pyautogui

# use pyautogui to take screenshot
demo_image = pyautogui.screenshot()

# use opencv and numpy to manipulate image
demo_image = cv2.cvtColor(x.array(demo_image), cv2.COLOR_RGB2BGR)

# save the image using opencv
cv2.imwrite("demo_two.png", demo_image)
We first imported the required modules and then used the screenshot() function to capture the screen. Then, we converted the image to a NumPy array and changed the order of colors from RGB to BGR.
This is done because when OpenCV reads the image, it requires the order of colors to be BGR and not the default RGB. Lastly, we used the imwrite() function to write the image to the disk.
This is what the output image looks like.
Output:
This was all about how you can take screenshots in Python using the pyautogui module. Now, we’re moving on to the next method for doing the same.
To learn more about the pyautogui module, refer to this documentation.
Use the Pillow Module to Take Screenshots Using Python
The use of the pyautogui module by default captures the entire screen. However, if we have to capture a part of the screen, we can use the Pillow module.
This module uses another submodule called ImageGrab that lets us set the coordinates of the desired region of the screen that we want to capture. We use the grab() function to specify these coordinates.
Here is the code for this approach.
Example code:
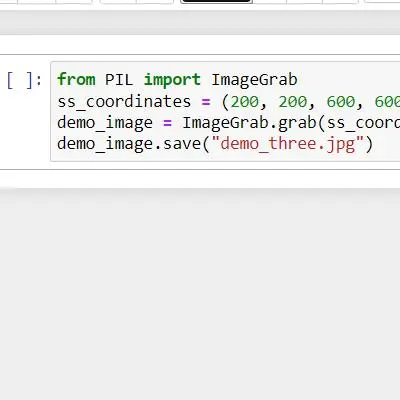
from PIL import ImageGrab

ss_coordinates = (200, 200, 600, 600)
demo_image = ImageGrab.grab(ss_coordinates)
demo_image.save("demo_three.jpg")
We first imported the Pillow module and the ImageGrab submodule. Then, we set some coordinates for the screen that we want to capture.
Further, we used the grab() function and passed these coordinates to this function. Then, the image captured is saved using the save() method.
This is the screenshot that we get.
Output:
Essentially, this is how you can take a screenshot in Python, i.e., by setting your coordinates. Refer to this documentation to know more about the Pillow module.
Use the Pyscreenshot Module to Take Screenshots Using Python
Python provides this module called pyscreenshot for the sole task of taking screenshots. To install this module, use the following command in the terminal.
pip install pyscreenshot
Once the module is installed, use this code to take a screenshot of the entire screen.
Example code:
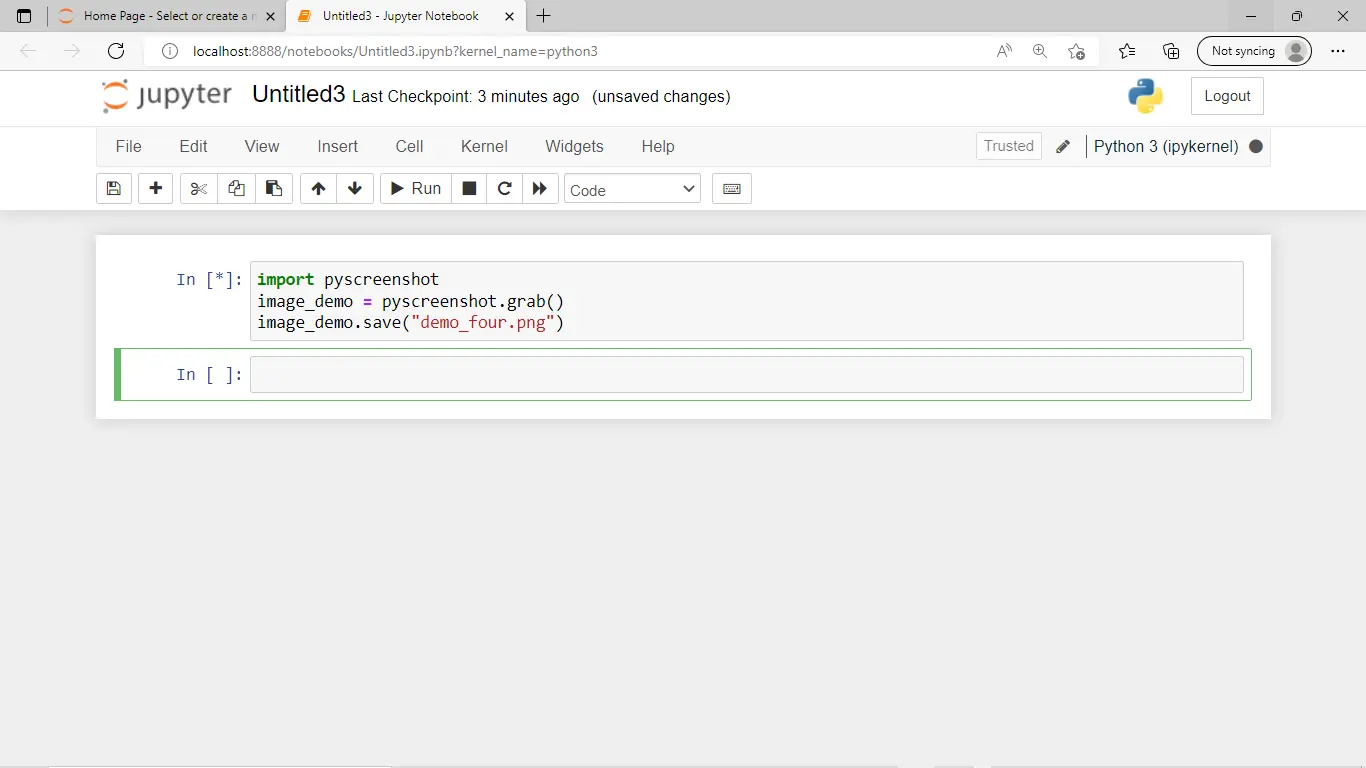
import pyscreenshot

image_demo = pyscreenshot.grab()
image_demo.save("demo_four.png")
We first imported the pyscreenshot module and then used the grab() function to capture the screen. Finally, we used the save() function to save the image.
Here is the image that we get as an output.
Output:
We can also use this module to capture a part of the screen. We only have to pass the required coordinates to the grab() function as a tuple.
Here is the code for taking a screenshot of a specific screen part.
Example code:
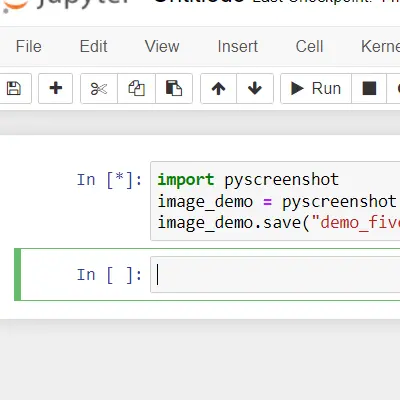
import pyscreenshot

image_demo = pyscreenshot.grab(bbox=(100, 100, 500, 500))
image_demo.save("demo_five.png")
Note that we passed the coordinates of a part of the screen we want to capture in the second line of the code. The rest of the code works the same as the previous one.
Here is the image that is captured.
Output:
Note that this module, pyscreenshot, is no longer used much, and you should preferably go for the first two ways that we discussed to take a screenshot in Python. This is all about how you can take a screenshot in Python.
Conclusion
This article discussed how we could take screenshots using the Python programming language. We saw how we could use the pyautogui module with the save() function and other modules like NumPy and OpenCV.
We also learned how we could use the Pillow module of Python to capture a part of the screen. Moreover, we saw how we could use the pyscreenshot module to capture the entire screen and its part.