How to Update the Python Version in Anaconda
-
Use the
conda installCommand on the Anaconda Command Prompt to Change the Python Version - Use the Anaconda Navigator to Change the Python Version
-
Use the
conda updateCommand on the Anaconda Command Prompt to Update Python - Use Anaconda Navigator’s YAML File to Update Python
- Conclusion

Anaconda, a powerful distribution of Python often used in data science and scientific computing, provides several methods to update the Python interpreter it uses. Keeping Python up-to-date is essential to leverage the latest features, bug fixes, and security patches.
This article explores different approaches to update Python within Anaconda, catering to diverse user preferences and requirements.
Use the conda install Command on the Anaconda Command Prompt to Change the Python Version
The conda install command in Anaconda is used to install packages, including different versions of Python itself. To change the Python version using conda install on Anaconda Command Prompt, you’ll use it to install a specific version of Python into a new or existing environment.
Here’s a step-by-step guide to changing the Python version using conda install:
-
Check Available Python Versions
Firstly, it’s helpful to check the available Python versions that
condacan install. You can do this by running the following command:conda search pythonThis command will display the list of available Python versions and their associated packages.
-
Create a New Environment (Optional)
If you want to change the Python version in a new environment, use the following command:
conda create -n myenv python=3.9Replace
myenvwith the name of your environment and3.9with the desired Python version. -
Activate the Environment
If you are changing the Python version within an existing environment, activate it using:
conda activate myenvReplace
myenvwith the name of your environment. -
Install a Specific Python Version
Once activated, use
conda installto install the desired Python version; use the following command:conda install python=3.9This command will install Python version 3.9 within the activated environment. Replace
3.9with the desired Python version you want to install or change to. -
Verify the Python Version
After installation, verify the Python version using:
python --version
# or
python -V
This will display the currently active Python version within the environment.
-
Deactivate the Environment (Optional)
When you’re done working within the environment, you can deactivate it using the following command:
conda deactivateThis command will return you to the base Anaconda environment.
By following these steps, you can use the conda install command on the Anaconda Prompt to change the Python version within an environment or create a new environment with a specific Python version.
Use the Anaconda Navigator to Change the Python Version
Anaconda Navigator is a graphical user interface (GUI) included with the Anaconda distribution. It provides an intuitive way to manage packages, environments, and applications related to data science, machine learning, and scientific computing.
Here’s a step-by-step guide on how to change the Python version using Anaconda Navigator:
-
Open Anaconda Navigator
Launch Anaconda Navigator from your applications or by searching for
"Anaconda Navigator"in your system. -
Access Environments
Navigate to the
"Environments"tab on the left sidebar.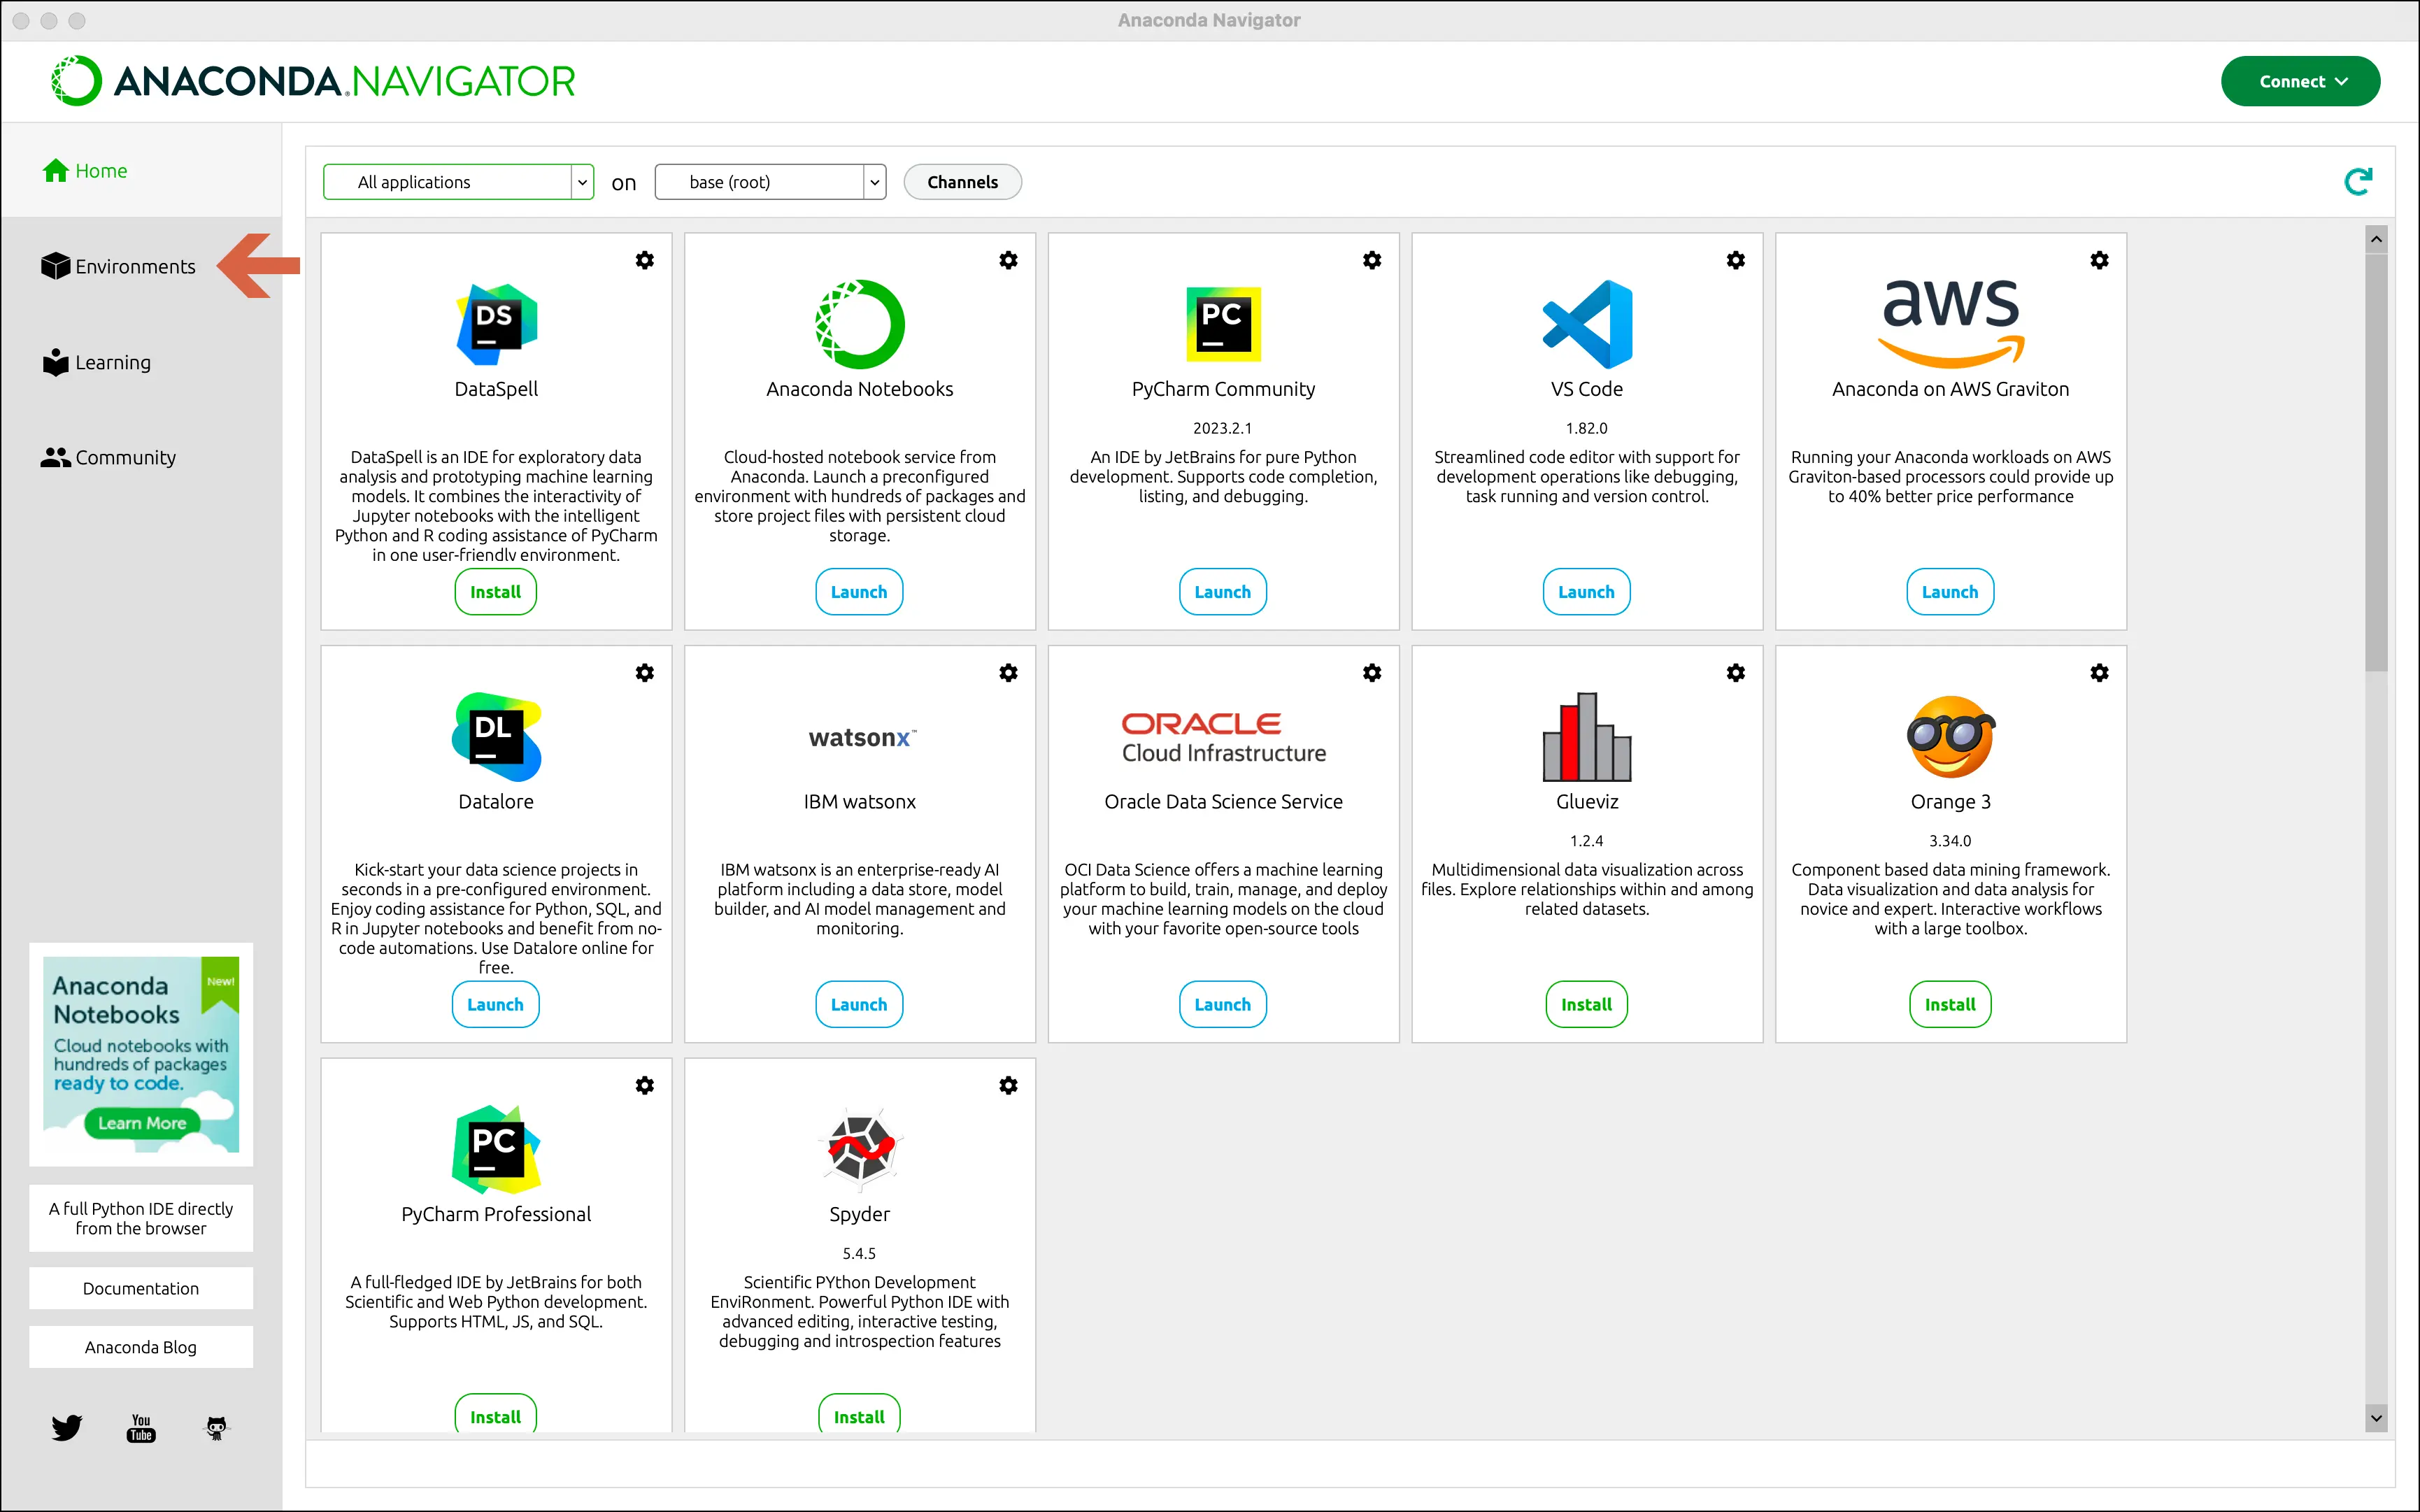
-
Select Environment
Choose the virtual environment for which you want to change the Python version. You can select the
"base"environment or any other custom environment listed. -
Change Python Version
Once you’ve selected the environment, you’ll see a list of installed packages. Look for the Python package in the list.
It should be listed among the packages installed in the environment. Check the checkbox next to the Python package to select it.
-
Update Python Version
After selecting the Python package, you’ll see an
"Update"option. Click on"Update"to see the available versions of Python.A dropdown menu will appear, showing the available Python versions that you can install or switch to. Select the desired version of Python that you want to change from the dropdown menu.
-
Apply Changes
Once you’ve selected the desired Python version, click on
"Apply"or"Update"to initiate the change. -
Verify Python Version
After the update process completes, verify the Python version by opening a terminal or command line and typing:
python --version
# or
python -V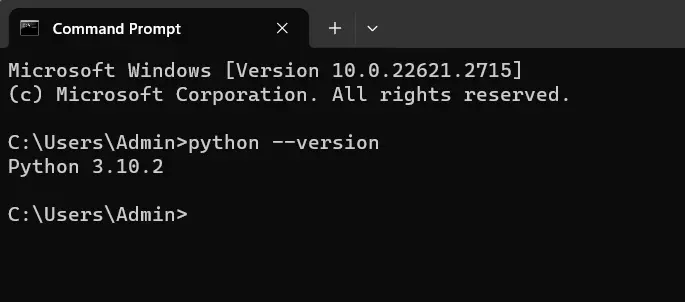
Important Notes
- Changing the Python version in Anaconda Navigator modifies the selected environment’s Python version.
- It’s recommended to back up important data or environments before performing major updates or changes.
- Some Python packages may have compatibility issues with different Python versions, so ensure compatibility before updating.
Anaconda Navigator provides an easy-to-use interface to manage environments and packages, making it convenient to switch or update Python versions within specific environments for different project needs.
You can install Anaconda (new version) using links here and the older versions here.
Use the conda update Command on the Anaconda Command Prompt to Update Python
The conda update command in Anaconda is used to update packages and dependencies within your Anaconda environment, including Python itself. To update the Python version using conda update in the Anaconda Command Prompt, you’ll need to execute specific commands to manage the Python installation within an environment.
Here are the steps:
-
Activate the Environment
Open Anaconda Command Prompt and activate the
condaenvironment where you want to update Python:conda activate myenvReplace
myenvwith the name of your desired environment. -
Check Current Python Version (Optional)
To verify the current version of Python before the update, use:
python --versionThis command displays the current Python version installed in the activated environment.
-
Update Python
Run the
conda updatecommand specifying Python:conda update pythonThis command tells
condato update the Python interpreter to the latest version available within the activated environment. -
Verify Updated Python Version
After the update completes, verify the Python version again:
python --versionThis command confirms the updated Python version.
Use Anaconda Navigator’s YAML File to Update Python
Anaconda Navigator’s YAML file, often referred to as the environment.yml file, is a configuration file that defines the structure and dependencies of an Anaconda environment. This file contains a list of packages and their respective versions required for a specific environment, including Python itself.
Here’s how you can use the environment.yml file to update the Python version in an Anaconda environment:
-
Locate the
environment.ymlFileOpen Anaconda Navigator, go to the
"Environments"tab and select the environment you want to update. Click on"YAML"to access the environment’s YAML file. -
Edit the
environment.ymlFileInside the
environment.ymlfile, find the line specifying the Python version. It usually looks like this:name: myenv channels: - defaults dependencies: - python=3.8 # This specifies the Python version - other_packagesUpdate the version number to the desired Python version. For example, if you want to update to Python 3.9:
dependencies: - python=3.9 # Update to the desired Python version - other_packages -
Save Changes and Update the Environment
Save the changes made to the
environment.ymlfile and return to Anaconda Navigator. You should see a prompt to apply changes detected in the YAML file.Click on
"Apply"or"Update"to apply the changes and update the environment’s packages, including the Python version. -
Wait for the Environment Update
Anaconda Navigator will initiate the update process, including fetching and installing the specified Python version and other package updates based on the updated
environment.ymlfile. Wait for the process to complete.
Important Notes
- Ensure that the specified Python version is available in the Anaconda repositories.
- Updating the Python version may affect package compatibility. Check for package compatibility with the updated Python version before proceeding.
- Always back up important environments before making significant changes to avoid potential issues.
Using the environment.yml file provides a convenient way to manage Anaconda environments and update the Python version along with other package dependencies, ensuring compatibility and consistency within your development environments.
Conclusion
Updating Python within Anaconda is pivotal for leveraging the latest features and security patches. We outlined several approaches to accomplish this, from utilizing commands like conda install or conda update in the Anaconda Command Prompt to leveraging Anaconda Navigator’s user-friendly interface.
Additionally, we delved into modifying Anaconda Navigator’s YAML file for updating Python versions. These methods cater to diverse preferences, ensuring flexibility in managing Anaconda environments efficiently.
Keep in mind the importance of checking compatibility and backing up environments before significant updates to ensure a smooth transition. These methods empower users to stay current with Python’s advancements within Anaconda, enhancing development capabilities in data science and scientific computing.
Here’s another article to update Python in Windows and macOS.