How to Keep PowerShell Console Open After Script Execution
If a script is executed by double-clicking it or right-clicking it and selecting Run With PowerShell or Open With Windows PowerShell, the user will see the PowerShell console appear briefly before disappearing. This scenario occurs because the script naturally terminates itself, especially if it throws an error.
We will look at a few options for keeping the PowerShell console open after the script has run, and we’ll go over them in this article.
Stop PowerShell From Exiting
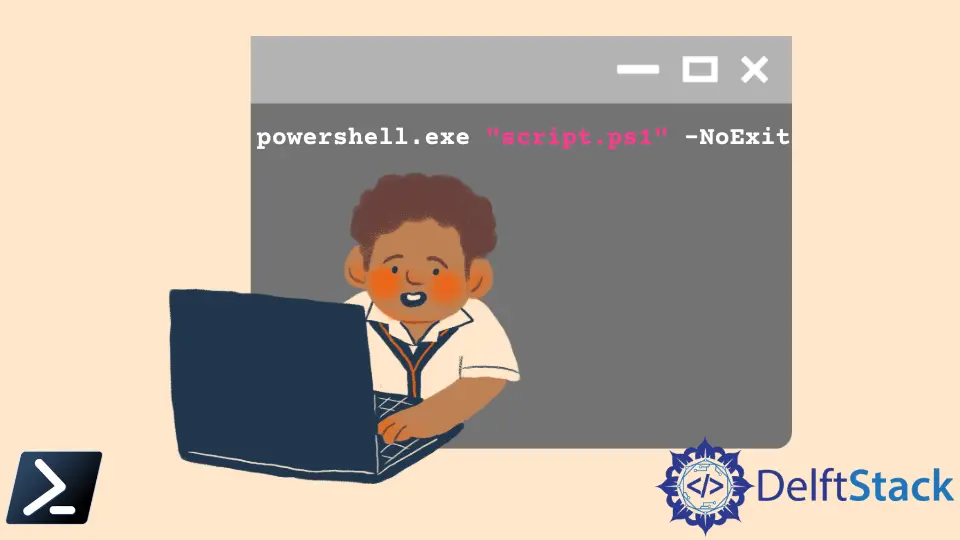
Conveniently, Windows PowerShell has a switch argument that we can pass when running our scripts. This argument is called the -NoExit parameter.
Appending this when running a script will prevent the PowerShell console from terminating when there is an error, or the script execution has successfully finished.
powershell.exe "C:\PS\sample_script.ps1" -NoExit
However, this is only possible if you are running or calling your script externally. What if there is a way to hold the screen and prevent it from terminating while running and editing your script in a code editor like PowerShell ISE?
There may not be a PowerShell command to do this natively; however, we can get creative and create methods to achieve our goal. Before we proceed, it is worth noting that you can use the legacy command pause to hold the screen when running a PowerShell script.
Output:
Press any key to continue...
There may not be a counterpart for the pause legacy command, but we can recreate this by using the Read-Host PowerShell command.
Example Code:
Read-Host -Prompt "Press Enter to continue..."
The only caveat to this method is unlike the pause command, it doesn’t accept any keyboard strokes but will only accept the Enter key to terminate the script. It may not be similar to the pause command, but the snippet above will still hold the screen before terminating the script.
There is a way to permanently and persistently prevent the script from exiting through editing the registry. Since the registry has an operating system scope, any changes that we will do will affect not only one particular script but all of the scripts you will run in the future.
So keep this in mind before proceeding.
Now, to proceed, we should back up the registry first. We will be manipulating the HKEY_CLASSES_ROOT registry files for this article, so let us back that up by opening the Command Prompt and running the following command.
reg export HKCR C:\Temp\HKCR.Reg /y
Now that we have successfully backed up our registry, we can proceed further. Copy the commands below and save the file with a .reg extension.
Windows Registry Editor Version 5.00

[HKEY_CLASSES_ROOT\Applications\powershell.exe\shell\open\command]
@="\"C:\\Windows\\System32\\WindowsPowerShell\\v1.0\\powershell.exe\" -NoExit \"& \\\"%1\\\"\""

[HKEY_CLASSES_ROOT\Microsoft.PowerShellScript.1\Shell\0\Command]
@="\"C:\\Windows\\System32\\WindowsPowerShell\\v1.0\\powershell.exe\" -NoExit \"-Command\" \"if((Get-ExecutionPolicy ) -ne 'AllSigned') { Set-ExecutionPolicy -Scope Process Bypass }; & \\\"%1\\\"\""
Once saved, double click the newly created reg file for the changes to effect. The commands above will change PowerShell’s execution policy and include the -NoExit switch parameter by default when executing a PowerShell script.
When running our created scripts, we do not need to add a -NoExit argument.

Marion specializes in anything Microsoft-related and always tries to work and apply code in an IT infrastructure.
LinkedIn