How to Install the MySQL Client in Linux
MySQL is an abbreviation for a structured query language that acts as a relational database management system. It is an open-source database that is freely available and used in large and small applications.
The use case is in school-college applications, enterprise applications, and e-commerce platforms. Relational databases are easily interpreted, understandable, and used for maintaining data by various folks.
The MySQL team holds the ownership to create, manage, and manipulate the databases. Their responsibility includes bringing out new features and carrying out releases for the system.
There are various operations like create, read, update and delete, also known as CRUD operations in MySQL. Developers need these operations to perform manipulations over the database.
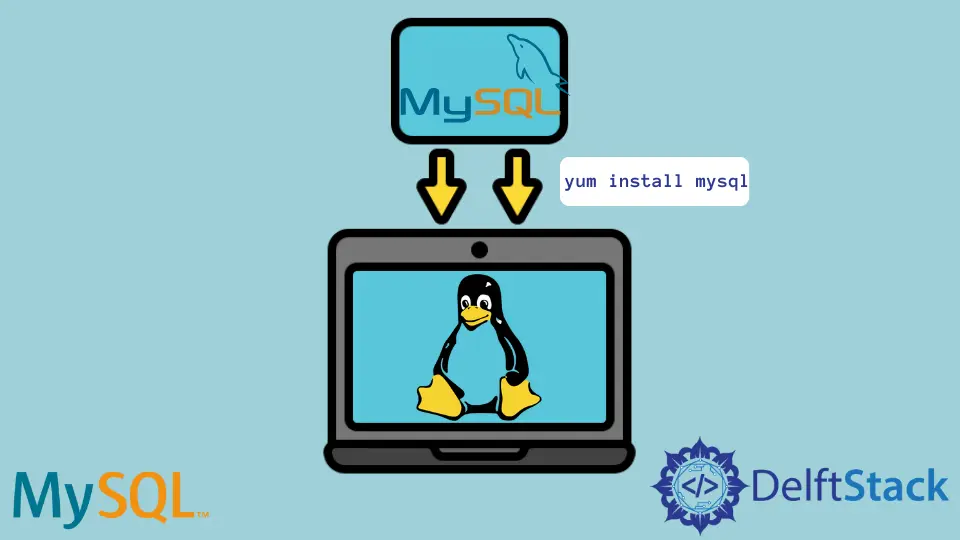
Command to Install the MySQL Client in Linux
Environments like Linux and Unix work as a Command Line Interface that operates only with the help of commands. The simple statement to execute in the Linux environment is shown below.
yum install mysql
Or, more generally, we have the following statement.
yum[options]<command>[package]
-
Here,
optionsare an optional part of the command where others act as a parameter to a keyword. -
To allow the command to work, yum should be settled up in the Linux system. The
yumkeyword is a package management tool and the acronym for YellowDog Updater Modified.It has properties like installing, upgrading, deleting, and adding a package to a user’s system. It can automatically perform analysis over metadata in repositories and can perform updates.
There are some graphical representations like PackageKit and gnome package management applications.
-
The
installkeyword installs the latest version of the packages group. It ensures that all dependencies are satisfied with the package name. -
The
mysqlis the package name that can be downloaded and installed from the repositories. Download the MySQL Yum Repository here.You can get the correct repository version from the link as per the system compatibility and requirements. The yum package manager makes any upgrades and version management of the repository.
The MySQL repositories can be checked based on the required system configuration from the above URL. The above command will download, maintain, and install the complete package in the Linux environment.
Steps to Install and Verify the MySQL Client in Linux
-
The command can get run in the terminal of the system. Press Ctrl+Alt+T and a terminal window will open and pop up on the screen.
-
Use the command to start the MySQL installation.
sudo yum install mysql-server -
Enter the password when prompted on the screen.
-
Press key Y to complete the installation process. It will take a while to download and install the package.
-
Once the process is complete, check the MySQL version using the command.
mysql –version -
To start the MySQL server, use the following command.
mysql -u root -p -
Then, use this command to show the database.
```text
show databases;
```
Rashmi is a professional Software Developer with hands on over varied tech stack. She has been working on Java, Springboot, Microservices, Typescript, MySQL, Graphql and more. She loves to spread knowledge via her writings. She is keen taking up new things and adopt in her career.
LinkedIn