How to Create, Read and Delete Cookies Using JavaScript and jQuery
- What is a Cookie
- Create, Read and Delete Cookies Using JavaScript
- Create, Read and Delete Cookies Using jQuery
This article is concerned with the browser’s cookies. We will learn everything there is to know about cookies and their various properties.
Later, we’ll use JavaScript and jQuery to create, read, and delete cookies.
What is a Cookie
Cookies are text files on your computer that contain data. A web server terminates the connection after sending a web page to a browser and completely forgets about the user.
How to remember user information was a challenge that cookies were created to address.
The cookie remembers the user’s name or user ID for the subsequent visit to the website. Cookies are created and retrieved in key-value pairs.
When speaking about online stores, the database will not store the data if a user adds some items to the cart after spending a lot of time making their selections and is not signed in.
If the user quits their browser and opens the same page again, the cart will be empty, which may annoy them. Cookies then step in to save the day by storing user information and maintaining their current state.
To see the available cookies of a website, go into Inspect or press Ctrl+Shift+I. Then go to the Applications tab.
You will see the Cookies section under Storage. It looks like this:
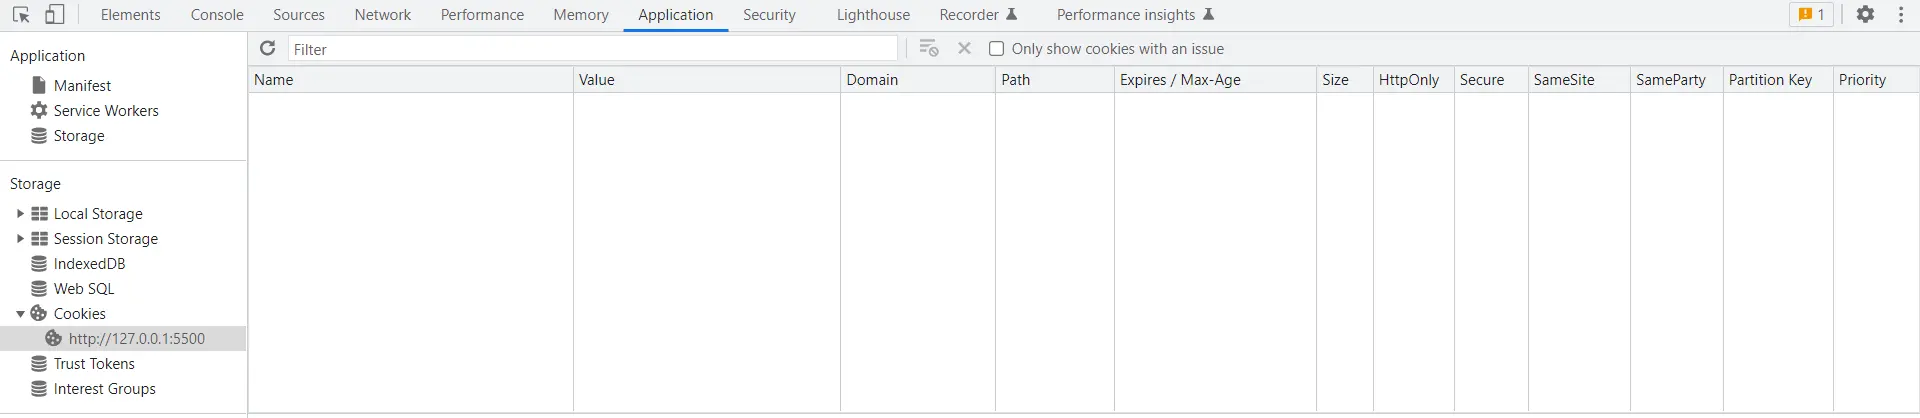
There are multiple fields visible here. These are the attributes of a cookie.
Let’s see each of these attributes in detail.
Name- It is the name of the cookie.Value- It is the value of the cookie.Domain- This is the domain of your website.Path- This is the URL of the web page or directory where the cookie was set. Leave this blank if you wish to retrieve the cookie from any directory or page.Expires/Max-Age- This is the cookie’s expiry date, after which the cookie will be deleted.Size- This is the size of the cookie.HttpOnly- A cookie with theHttpOnlyattribute is unavailable to the JavaScriptDocument.cookie. It is only delivered to the server.Secure- The cookie can only be accessed with a secure server if this field contains the word"secure". There is no such restriction if this field is left empty.SameSite- This feature allows servers to declare whether or not to send cookies with cross-site requests. This mitigates the risk of cross-site request forgery attacks (CSRF). This parameter has three options:Strict,Lax, andNone.Partition Key- The browser’s top-level URL was on when it first sent a request to the endpoint that set the cookie to serve as the partition key for a cookie.Priority- The cookie priority enables servers to delete older cookies with lower priorities and retain older ones with higher priorities for longer.
Create, Read and Delete Cookies Using JavaScript
JavaScript makes it incredibly simple to set up, read, and erase cookies on our website. You can read and write cookies related to the document using the Document property cookie.
It acts as a getter and setter for the cookie values.
Create a Cookie
We can create a cookie in JavaScript using the document.cookie and assign a key-value pair to it.
document.cookie = 'title=developer; expires=Mon, 21 Nov 2022 12:00:00 UTC;';
If you run the above statement, it will create a cookie in the browser. Note that we specified each value in a key-value pair.
Also, we set the expiry date because if you don’t mention it, the cookie will be deleted when the browser closes. The primary purpose of the cookie is to store information, so the expiry date should be mentioned.
Let’s see the cookie in the browser.
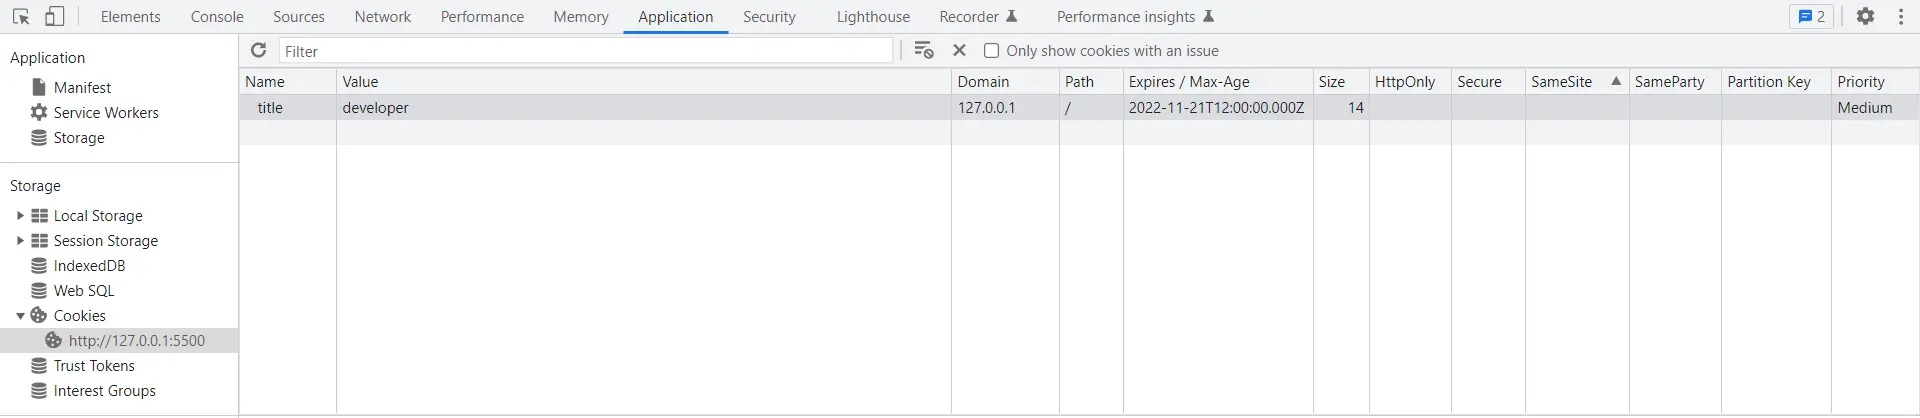
The cookie with the specified key and value is created, as seen in the output. You can create multiple cookies with different key-value pairs in a single website.
Each cookie can be used to store different information.
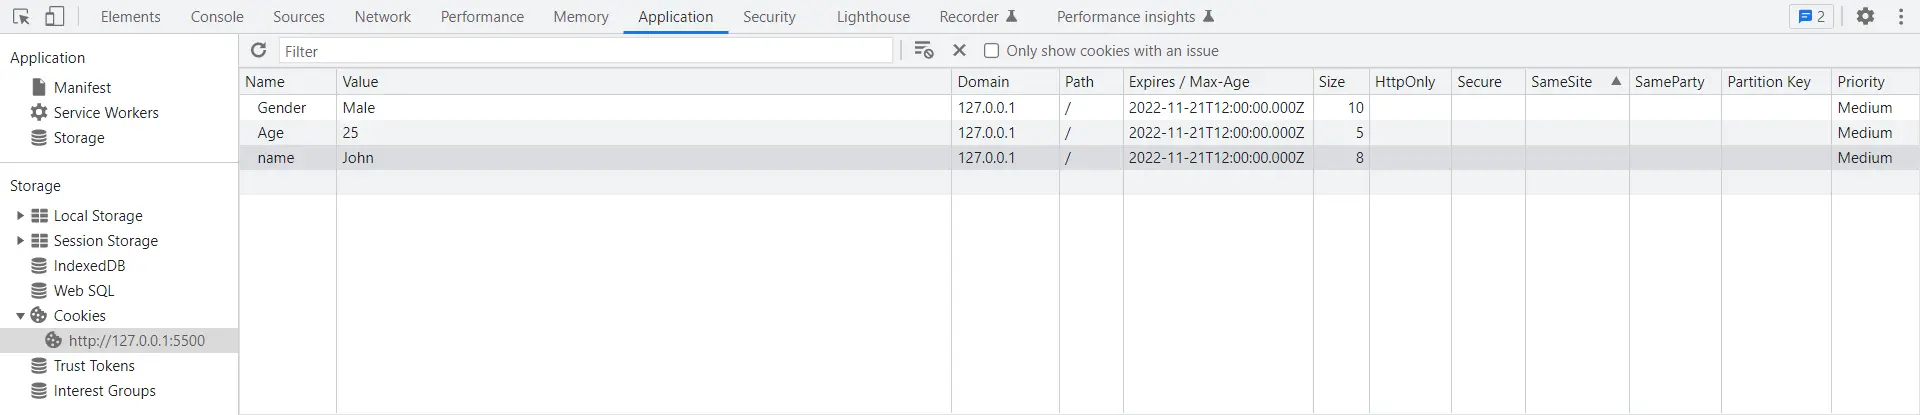
Let’s say we want to create three cookies; one with the name, the second with age, and the third to hold information about the gender of a person. Check the code below.
document.cookie = 'name=John; expires=Mon, 21 Nov 2022 12:00:00 UTC';
document.cookie = 'Age=25; expires=Mon, 21 Nov 2022 12:00:00 UTC';
document.cookie = 'Gender=Male; expires=Mon, 21 Nov 2022 12:00:00 UTC';
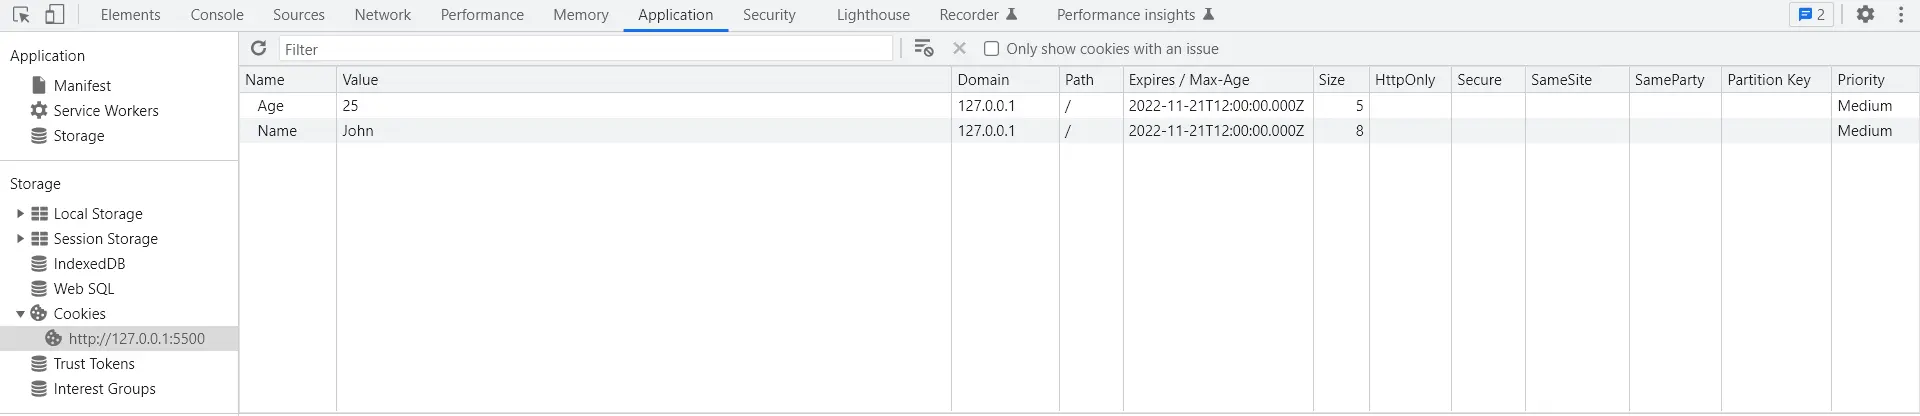
These statements will create three cookies in the browser. Have a look at the output below.
You can use the document.cookie statement to create as many cookies as you wish. However, repeatedly writing this phrase sounds like a monotonous process, so let’s make a generic method.
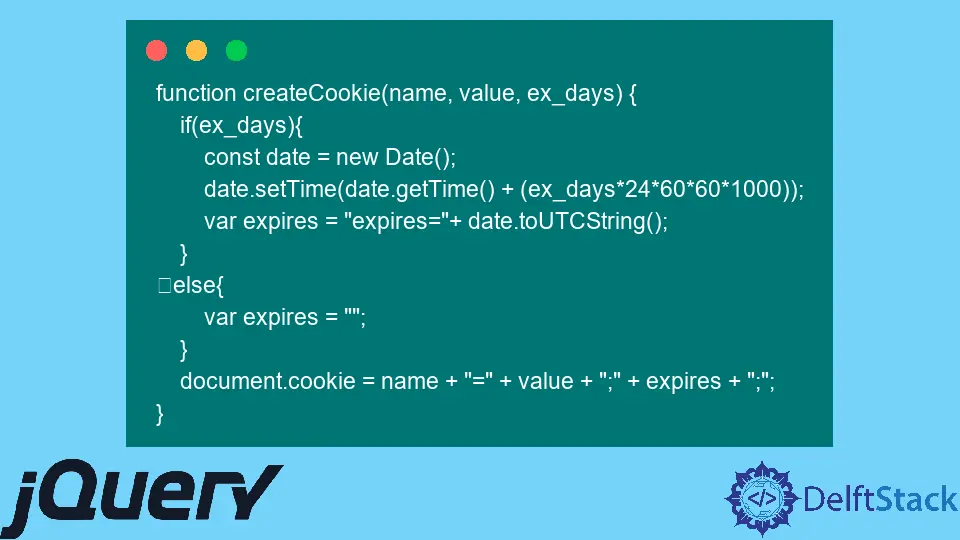
Observe the code below to create the function to generate the cookies.
function createCookie(name, value, ex_days) {
  if (ex_days) {
    const date = new Date();
    date.setTime(date.getTime() + (ex_days * 24 * 60 * 60 * 1000));
    var expires = 'expires=' + date.toUTCString();
  } else {
    var expires = '';
  }
  document.cookie = name + '=' + value + ';' + expires + ';';
}
The function createCookie receives three arguments. The first is the name.
You can assume it is the key. The second is the value, and the third is the expiry duration.
You can call the function like this createCookie("CookieKey", "CookieValue", 50). It will create the cookie with the name CookieKey and set CookieValue as its value.
The expiration date will be set to the next 50 days from the current date.
Read a Cookie
Using JavaScript, we can quickly read the cookies we set up on our website. We will obtain the key-value pairs when accessing the cookies because we save them in key-value pairs.
Observe the code below to learn the method for reading the cookies.
document.write(document.cookie);
As you see in the above code, we use the command document.cookie to retrieve all the cookies available on our website.
Let’s retrieve all the cookies we created. Look at the output below.

Every cookie is obtained as a key-value pair, as we previously mentioned. It’s easy to read the cookies.
Now, let’s dive deep into some amazing stuff. The document.cookie statement provides a list of our website’s cookies, but what if we want to read one particular cookie?
Let’s learn the way of reading one cookie; it’s straightforward. We are going to create the function for retrieving the specified cookie.
Check the code below.
function getCookie(cookie_name) {
  let name = cookie_name + '=';
  let cookie_array = document.cookie.split(';');
  for (let i = 0; i < cookie_array.length; i++) {
    let cookie = cookie_array[i];
    while (cookie.charAt(0) == ' ') {
      cookie = cookie.substring(1);
    }
    if (cookie.indexOf(name) == 0) {
      return cookie.substring(name.length, cookie.length);
    }
  }
  return '';
}
We will test this code on the three cookies we created in the Create a Cookie section. You might be confused about the getCookie function.
Don’t worry. Let us explain each line of code in detail, and you’ll clearly understand this method.
-
We pass the cookie name into the function to get the details of a specified cookie by its name.
-
We save the information in cookies in key-value pairs. If we want to store the name with a value, we will write
Name="CookieName". When we retrieve the cookie, we will get the same value. -
First, we need to append
=to our specified cookie name to search for it. We did the same in the first line of code. -
Next, we need the cookies array to traverse it and find the cookie we need. Suppose we obtain all of the cookies via
document.cookie; we would receive a string rather than an array.Therefore, we use
document.cookie.split(';')to get an array. We will get the following array.
-
In the next step, we created a
forloop traversing each cookie in the array. We are storing every cookie in thecookievariable to perform operations on it. -
The
whileloop inside theforloop is important. We are removing any extra space from the current cookie if it exists.If you observe the above array, there is a white space in both the
AgeandGendercookies. Thewhileloop will remove these extra white spaces. -
In the last, we used the
indexOf()method of JavaScript, which gives us the index of the first occurrence of the given parameter. We passed the cookie’s name as the parameter and checked if the index was equal to zero then we found our required cookie.
Delete a Cookie
JavaScript makes it simple to delete a cookie. The cookie will be automatically destroyed if we just set the cookie’s expiration date to a prior one.
Even if you didn’t specify an expiration date when you created the cookie, you could still delete it by altering the value of its end date to an earlier time.
We have three cookies in our browser right now: Age, gender, and name. Let’s remove the Gender cookie.
The following command created the Gender cookie.
document.cookie = 'Gender=Male; expires=Mon, 21 Nov 2022 12:00:00 UTC';
It is set to expire on November 21, 2022. Changing the date to a date earlier than the current date will result in the cookie being deleted.
Say we set the expiration date to January 1st, 2000. Let’s see what cookies will be available in the browser now.
Create, Read and Delete Cookies Using jQuery
So far, we’ve talked about using JavaScript to create, read, and delete cookies. In this section, we will go over the same three functionalities using jQuery.
The JavaScript library jQuery makes it very simple for us to use JavaScript.
We will talk about how jQuery works and how it’s easier to use than JavaScript for creating, reading, and deleting cookies. We will use the jquery-cookie library to create and perform operations on the cookies.
Create a Cookie
The cookie library of jQuery gives us a cookie() method to create cookies by providing the name and value.
Syntax:
$.cookie('name', 'value', {settings});
There are three parameters for this method.
Name- This is the cookie’s key.Value- This is the cookie’s value.Settings- This is an object that can be used to specify additional Cookie parameters.
Check out the code below to see how jQuery can create the cookie.
<html>
    <head>
        <script src="https://code.jquery.com/jquery-3.5.1.min.js"></script>
        <script src="https://cdnjs.cloudflare.com/ajax/libs/jquery-cookie/1.4.1/jquery.cookie.js"></script>
        <script>
            $.cookie("Title","Developer");
        </script>
    </head>
    <body></body>
</html>
Output:
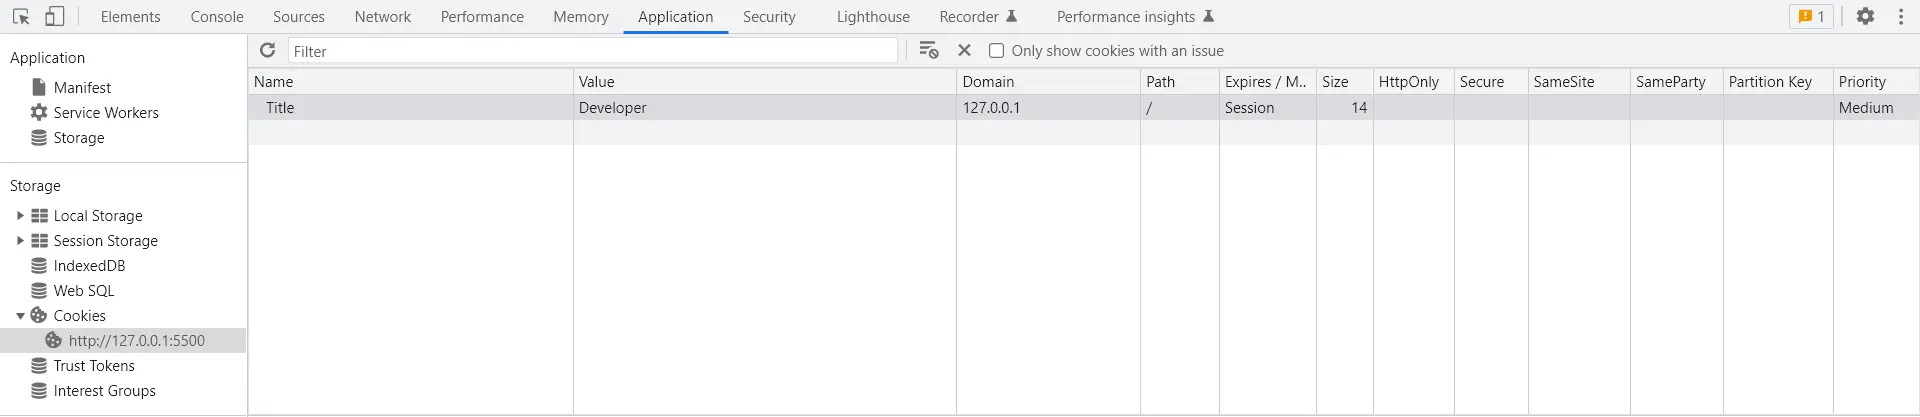
A cookie with the name Title and the value Developer was created. We did not specify an expiry date for this cookie, and as you can see in the output, there is no mention of an expiry date in the Expires column.
Now we will set the expiry date of the cookie we just created. Here’s how:
<html>
    <head>
        <script src="https://code.jquery.com/jquery-3.5.1.min.js"></script>
        <script src="https://cdnjs.cloudflare.com/ajax/libs/jquery-cookie/1.4.1/jquery.cookie.js"></script>
        <script>
            $.cookie("Title", "Developer", { expires: 20 });
        </script>
    </head>
    <body></body>
</html>
Output:
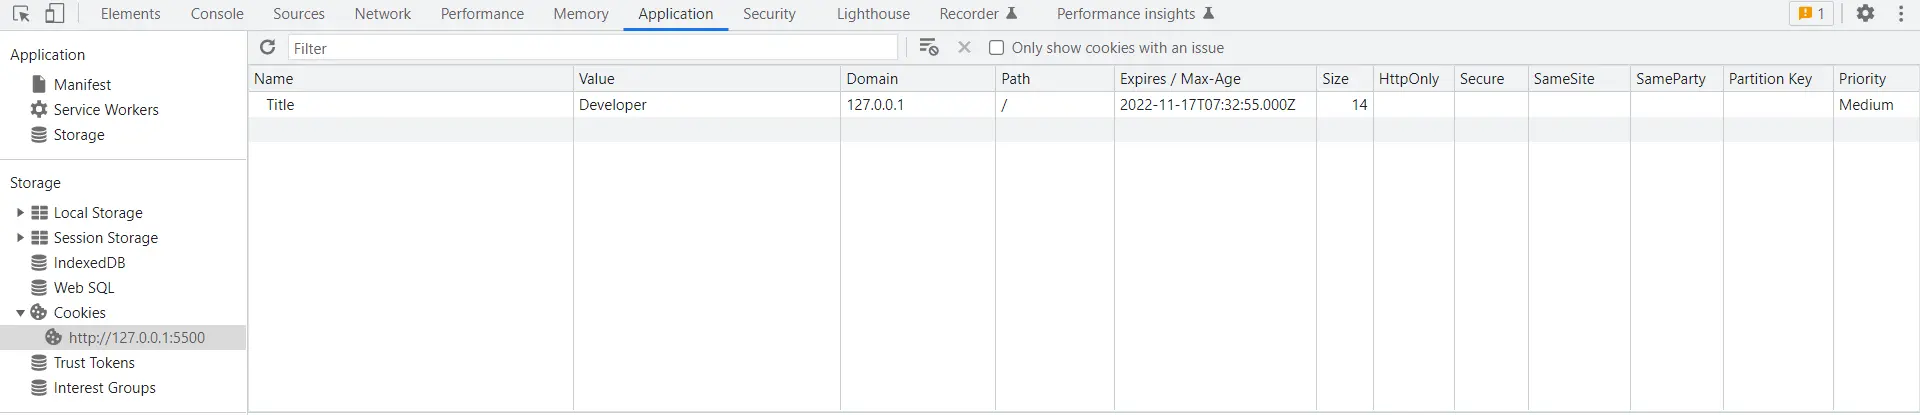
You can now see the expiration date listed in the Expires column since we set the expiration date to 20, which means this cookie will expire 20 days from the present day.
Read a Cookie
In contrast to JavaScript, reading cookies is easier using jQuery. If you recall, in JavaScript, we had to construct a function to read a specific cookie.
However, jQuery has a built-in function that allows us to read required cookies by just passing their names as arguments.
The method $.cookie("CookieName") is used to read the specific cookie. Have a look at the code below.
<html>
    <head>
        <script src="https://code.jquery.com/jquery-3.5.1.min.js"></script>
        <script src="https://cdnjs.cloudflare.com/ajax/libs/jquery-cookie/1.4.1/jquery.cookie.js"></script>
        <script>
            var cookie = $.cookie("Title");
            document.write(cookie);
        </script>
    </head>
    <body></body>
</html>
We passed the Title as the parameter to the function, which is the name of our created cookie. It should return us its value which is Developer.
Have a look at the output.

Delete a Cookie
In terms of jQuery’s simplicity of use, it has a method called removeCookie() that removes cookies by name. JavaScript lacks a built-in function for erasing cookies.
We must set the expiration date to an earlier date to delete them. Have a look at the code below for deleting the cookie.
<html>
    <head>
        <script src="https://code.jquery.com/jquery-3.5.1.min.js"></script>
        <script src="https://cdnjs.cloudflare.com/ajax/libs/jquery-cookie/1.4.1/jquery.cookie.js"></script>
        <script>
            $.removeCookie("Title");
        </script>
    </head>
    <body></body>
</html>