How to Create Text Boxes in JavaScript
- Create a Text Box Using HTML
- Create a Text Box Using JavaScript
- Create Multiple Text Boxes Using JavaScript
- Conclusion
We can choose and use many scripting languages in web development, but JavaScript is one of the best scripting languages we can use.
JavaScript makes web pages interactive and dynamic, and usually, programmers and developers use it along with the markup languages like HTML (HyperText Markup Language), XHTML (Extensible HyperText Markup Language), and style sheet languages like CSS (Cascading Style Sheets).
A text box is a crucial feature that we can see in many programs, such as web browsers, email clients, etc. In simple terms, a text box is a graphical area where users can enter text, mainly used to get input from the user.
Typically, we can create text boxes with HTML, but we also can use JavaScript to create them. Through this article, we discuss how to create text boxes using JavaScript with the help of HTML.
Before we create text boxes using JavaScript, let’s see how we can create a simple text box using HTML.
Create a Text Box Using HTML
We can build text boxes in HTML using the <input> tag. As the attribute, we give type, and as the value of it, we provide text.
The syntax to create a text box is below.
<input type = "text">
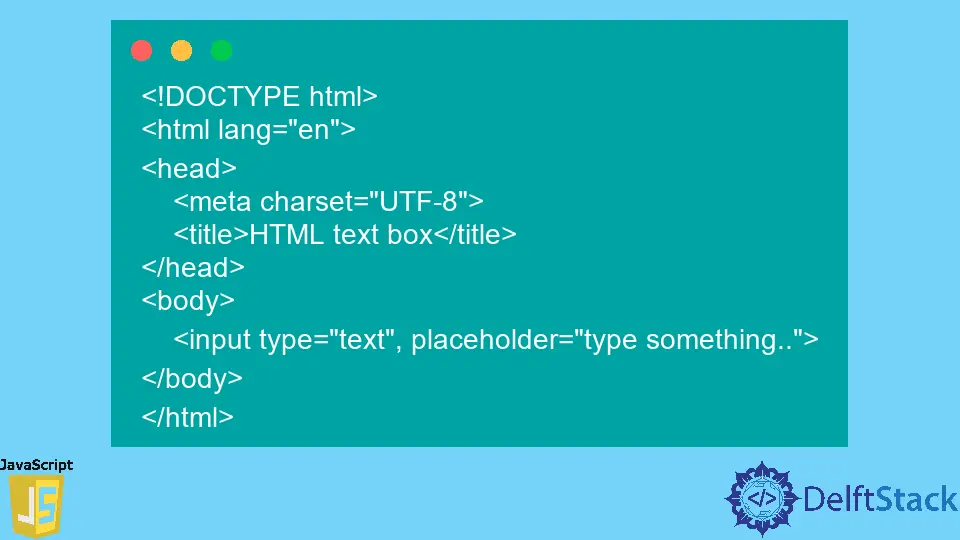
Let’s see how we can create a text box using the above code snippet. Refer to the below code.
<!DOCTYPE html>
<html lang="en">
<head>
    <meta charset="UTF-8">
    <title>HTML text box</title>
</head>
<body>
    <input type="text", placeholder="type something..">
</body>
</html>
The above code snippet is a simple code chunk that creates a simple text box using the <input> tag. To see it more precisely, we added the placeholder attribute with some words as its value.
It will give us the below output.

As shown above, we get a simple textbox, as expected.
Create a Text Box Using JavaScript
Instead of using HTML, we can use JavaScript to create a textbox. Below are the three steps that we will follow to accomplish this.
-
Create the input element using the
createElement()function and assign it to a variable. -
Set the
typeas the attribute andtextas the value of the input element. -
Add the
inputelement inside the<body>tag.
Let’s build the code for the above steps.
Code:
<!DOCTYPE html>
<html lang="en">
<head>
    <meta charset="UTF-8">
    <link rel="stylesheet" href="styles.css">
    <title>JavaScript text box</title>
</head>
<body>
    <script>
        const textBox = document.createElement("input");
        textBox.setAttribute("type", "text");
        document.body.appendChild(textBox);
    </script>
</body>
</html>
In the above code, we have converted the earlier mentioned three steps into a code chunk. Inside the <body> tag, we have used the createElement() function to create an input element and assign that function to a variable called textbox.
Then we set the type as the attribute and text as the value of the newly declared variable. Afterward, we appended the textbox variable (input element) to the <body> tag.
Now, if we run the implemented code, we will get a simple textbox as we got earlier. See the below output.

Create Multiple Text Boxes Using JavaScript
There are some occasions when we need to create more than one text box. Sometimes we add a section in a form to get the date of birth of a particular user.
In such situations, developers desire to get the date, month, and year separately. For that, they use multiple text boxes.
There are multiple ways to create more than one text box; the simplest way is to use a for loop. Let’s see how we can create multiple text boxes using a for loop.
Firstly, we will create a <div> tag, and inside it, we will make the text boxes. Also, we will give an ID to the <div> tag as follows.
<!DOCTYPE html>
<html lang="en">
<head>
    <meta charset="UTF-8">
    <link rel="stylesheet" href="styles.css">
    <title>JavaScript multiple text boxes</title>
</head>
<body>
    <div id="textBoxes"> </div>
    <script src="main.js"></script>
</body>
</html>
Next, we can implement the JavaScript code. We can write it in a separate file or as inline JavaScript code.
For this example, we will implement a separate JavaScript file. Refer to the below code.
function createTextBoxes(number) {
  var string = '';
  var i;
  for (i = 0; i < number; i++) {
    string += '<input type = "text" placeholder = "type something..">';
  }
  document.getElementById('textBoxes').innerHTML = string;
}
createTextBoxes(4);
In the above code chunk, we have built a function called createTextBoxes and given the number as the parameter. The number is the number of text boxes we need.
Then we have given an empty string as a string and i as the iterator. Below that statement, we have used a for loop, which iterates until it reaches the value of the number parameter.
Then inside the for loop, we have created a text box using the <input> tag. We have given the type attribute along with the text value to identify it as a text box and a placeholder attribute along with some text.
After that, we assign it to the relevant component in the HTML <body> tag using its ID.
Finally, we have called the function by passing 4 to the createTextBoxes() function as the parameter.
After we execute the code, the below result will be outputted.

As you can see, we got four text boxes with the placeholders we gave.
Conclusion
In this write-up, we discussed what a text box is and why we need it. Also, we learned to create a text box using JavaScript and HTML.
Firstly, we created a simple text box using JavaScript and then demonstrated how to create multiple text boxes with a for loop through an example.
There are more methods to create text boxes using JavaScript, but the above-discussed methods are the simplest and easiest ways to achieve the goal.

Nimesha is a Full-stack Software Engineer for more than five years, he loves technology, as technology has the power to solve our many problems within just a minute. He have been contributing to various projects over the last 5+ years and working with almost all the so-called 03 tiers(DB, M-Tier, and Client). Recently, he has started working with DevOps technologies such as Azure administration, Kubernetes, Terraform automation, and Bash scripting as well.