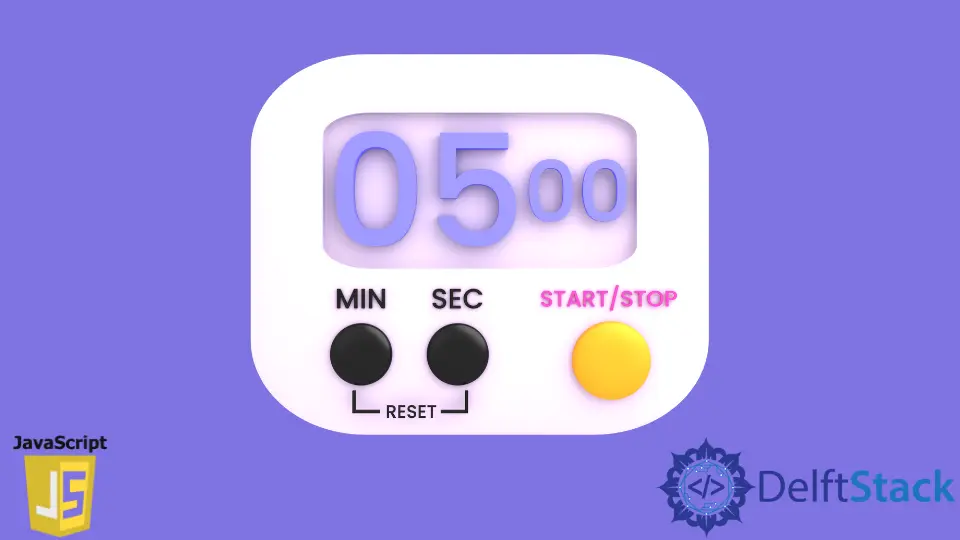
How to Build A Stopwatch in JavaScript
- Setting Up the HTML Structure
- Implementing the Stopwatch Functionality
- Adding Styles for Better Visual Appeal
- Conclusion
- FAQ
Creating a stopwatch in JavaScript is a fantastic way to understand the core concepts of programming while also building something practical. Whether you’re a beginner looking to sharpen your skills or an experienced developer wanting to explore new functionalities, this tutorial will guide you through the process step-by-step. By the end, you’ll have a fully functional stopwatch that you can customize and expand upon.
In this tutorial, we will cover the essential components needed to build a stopwatch using JavaScript. You’ll learn how to handle time intervals, update the display dynamically, and control the stopwatch with start, stop, and reset functionalities. So, let’s dive in and get started on your journey to creating an effective stopwatch!
Setting Up the HTML Structure
Before we get into the JavaScript code, we need to set up a simple HTML structure to display our stopwatch. Here’s a minimal example:
<!DOCTYPE html>
<html lang="en">
<head>
    <meta charset="UTF-8">
    <meta name="viewport" content="width=device-width, initial-scale=1.0">
    <title>JavaScript Stopwatch</title>
    <link rel="stylesheet" href="styles.css">
</head>
<body>
    <div id="stopwatch">
        <h1>Stopwatch</h1>
        <div id="display">00:00:00</div>
        <button id="start">Start</button>
        <button id="stop">Stop</button>
        <button id="reset">Reset</button>
    </div>
    <script src="script.js"></script>
</body>
</html>
In this code, we create a simple structure with a heading, a display area for the time, and three buttons to control the stopwatch. The div with the ID of display will show the elapsed time, while the buttons will allow users to start, stop, and reset the timer.
Implementing the Stopwatch Functionality
Now that we have the HTML structure, let’s implement the stopwatch functionality using JavaScript. Below is the code that will handle the timing logic:
let startTime;
let updatedTime;
let difference;
let t;
let running = false;

function startTimer() {
    if (!running) {
        startTime = new Date().getTime();
        running = true;
        t = setInterval(getShowTime, 1);
    }
}

function stopTimer() {
    clearInterval(t);
    running = false;
}

function resetTimer() {
    clearInterval(t);
    running = false;
    difference = 0;
    document.getElementById("display").innerHTML = "00:00:00";
}

function getShowTime() {
    updatedTime = new Date().getTime();
    difference = updatedTime - startTime;

    let hours = Math.floor((difference % (1000 * 60 * 60 * 24)) / (1000 * 60 * 60));
    let minutes = Math.floor((difference % (1000 * 60 * 60)) / (1000 * 60));
    let seconds = Math.floor((difference % (1000 * 60)) / 1000);

    hours = (hours < 10) ? "0" + hours : hours;
    minutes = (minutes < 10) ? "0" + minutes : minutes;
    seconds = (seconds < 10) ? "0" + seconds : seconds;

    document.getElementById("display").innerHTML = hours + ":" + minutes + ":" + seconds;
}

document.getElementById("start").onclick = startTimer;
document.getElementById("stop").onclick = stopTimer;
document.getElementById("reset").onclick = resetTimer;
This JavaScript code defines several functions to control the stopwatch. The startTimer function initializes the start time and begins the interval that updates the display every millisecond. The stopTimer function stops the interval, while the resetTimer function clears the interval and resets the display to zero.
The getShowTime function calculates the elapsed time and formats it into hours, minutes, and seconds. It updates the display accordingly. The event listeners at the end of the script link the buttons to their respective functions, allowing for user interaction.
Adding Styles for Better Visual Appeal
To make our stopwatch more visually appealing, we can add some CSS styles. Below is a simple example of how you can style the stopwatch:
body {
    font-family: Arial, sans-serif;
    display: flex;
    justify-content: center;
    align-items: center;
    height: 100vh;
    background-color: #f4f4f4;
}

#stopwatch {
    text-align: center;
    background: #fff;
    padding: 20px;
    border-radius: 10px;
    box-shadow: 0 0 10px rgba(0, 0, 0, 0.1);
}

#display {
    font-size: 48px;
    margin: 20px 0;
}
In this CSS code, we center the stopwatch on the screen and give it a clean, modern look. The #display element is styled to make the time stand out, while the overall layout is designed to be user-friendly.
Conclusion
Building a stopwatch in JavaScript is a rewarding project that helps reinforce your understanding of programming concepts. By setting up a simple HTML structure, implementing the core functionality with JavaScript, and enhancing the design with CSS, you can create a fully functional stopwatch. This project not only serves as a great learning experience but also as a foundation for more complex applications. With this knowledge, you can further customize your stopwatch or even integrate it into larger projects.
FAQ
-
How can I improve the stopwatch’s accuracy?
You can improve accuracy by usingrequestAnimationFramefor smoother updates instead ofsetInterval. -
Can I add lap functionality to the stopwatch?
Yes, you can add a lap button that records the current time without resetting the stopwatch. -
Is it possible to save the elapsed time?
You can save the elapsed time using local storage or by exporting the data to a file. -
How do I make the stopwatch mobile-friendly?
You can use responsive CSS styles and ensure that buttons are large enough for touch interaction. -
Can I customize the appearance of the stopwatch?
Absolutely! You can modify the CSS styles to match your desired aesthetic.

Harshit Jindal has done his Bachelors in Computer Science Engineering(2021) from DTU. He has always been a problem solver and now turned that into his profession. Currently working at M365 Cloud Security team(Torus) on Cloud Security Services and Datacenter Buildout Automation.
LinkedIn