How to Serialize Form in JavaScript
-
Using the
JSON.stringify()Method to Serialize JavaScript Object -
Using
FormData()to Serialize Form in JavaScript -
Using
XMLSerializer()to Serialize Form in JavaScript - Using jQuery to Serialize Form in JavaScript
Wondering about a solution that lets you serialize the form in JavaScript with and without using jQuery?
This tutorial guides you about JavaScript serialize form with/without jQuery.
But before that, it is good to understand JavaScript Serialize. The serialize is a procedure where a data structure or an object is converted into a suitable format to transfer over the network.
We can serialize the object to JSON string by calling a method JSON.stringify() while we call CSSStyleDeclaration.getPropertyValue() method to serialize our CSS values.
For this tutorial, we’ll be serializing Forms and Objects. We’ll use JSON.stringify(), XMLSerializer(), and FormData interface to serialize in JavaScript.
The JSON.stringify() converts the JavaScript value or an object to JSON string. It can have at least one and a maximum of three parameters.
Here, the value parameter is mandatory while replacer and space are optional. You can find more about these parameters here.
We’ll be using serializeToString() method of XMLSerializer() to convert our Document Object Model (DOM) tree into XML String. The FormData interface assists in making a key-value pair’s set, which depicts form fields with respective values.
Then, these are easily sent using XMLHttpRequest.send() method.
Let’s start with serializing objects using the JSON.stringify() method because we’ll connect to this concept while serializing form.
Using the JSON.stringify() Method to Serialize JavaScript Object
HTML Code:
<!DOCTYPE html>
<html>
 	<head>
 		<title> Serialize Object using JSON</title>
 	</head>
 	<body>
        Type of Resulting String: <span id="resultType"></span><br />
        JSON String: <span id="serialized"></span><br >
        From JSON to JS Object: <span id="object"></span>
 	</body>
</html>
JavaScript Code:
let student = {
  firstname: 'John',
  lastname: 'Christopher',
  semester: 4,
  courses: ['Python', 'JavaScript', 'Java']
};

let jsonString = JSON.stringify(student);
resultType.innerHTML = typeof jsonString;
serialized.innerHTML = jsonString;

let jsonToObject = JSON.parse(jsonString.replace(/"/g, ' '));
object.innerHTML = '{firstname:' + jsonToObject.firstname + ',' +
    'lastname:' + jsonToObject.lastname + ',' +
    'semester: ' + jsonToObject.semester + ',' +
    'courses: [' + jsonToObject.courses + ']}';
Output:
Type of Resulting String:
string

JSON String:
{"firstname":"John","lastname":"Christopher","semester":4,"courses":["Python","JavaScript","Java"]}

From JSON to JS Object:
{firstname:John,lastname:Christopher,semester: 4,courses: [Python,JavaScript,Java]}
In the code above, JSON.stringify() takes an object named student and converts it into a serialized or stringified string.
We can check the data type of the resulting string using typeof.
The replace() method looks for a "e; (these are visible when double quotes are encoded, you can see while printing jsonString on the console) in a string (here the string is jsonString) and replaces it with white space.
The JSON.parse() method converts the string back to the object.
Further, the JSON.stringify() is also used with primitives. See the following code.
alert(JSON.stringify(3))  // Output: 3
// a string in JSON is still a string, but double-quoted
alert(JSON.stringify('Mehvish'))      // Output: "Mehvish"
alert(JSON.stringify(false));         // Output: false
alert(JSON.stringify([5, 3, 6, 4]));  // Output: [5,3,6,4]
Using FormData() to Serialize Form in JavaScript
Let’s start with the simplest approach of serializing the data using FormData() and XMLHttpRequest.send() method.
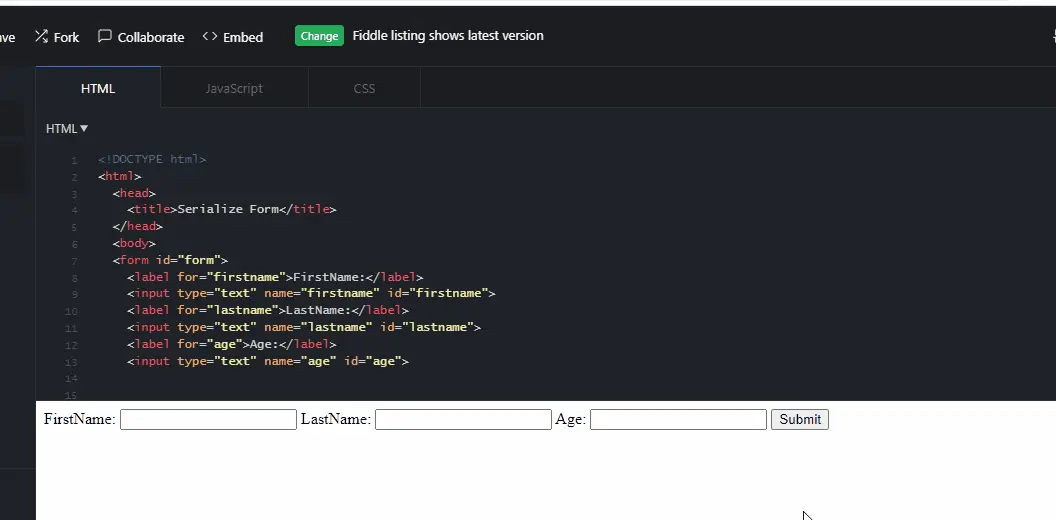
HTML Code:
<!DOCTYPE html>
<html>
	 <head>
 		<title>Serialize Form</title>
 	 </head>
 	<body>
 		<form id="form">
 			<label for="firstname">FirstName:</label>
 			<input type="text" name="firstname" id="firstname">
 			<label for="lastname">LastName:</label>
 			<input type="text" name="lastname" id="lastname">
 			<label for="age">Age:</label>
 			<input type="text" name="age" id="age">

          	<button>Submit</button>
 		</form>
 	</body>
</html>
JavaScript Code:
var form = document.querySelector('form');
var data = new FormData(form);

document.addEventListener('submit', function(event) {
  event.preventDefault();
  let url = 'https://jsonplaceholder.typicode.com/posts';
  var xmlhr = new XMLHttpRequest();
  xmlhr.open('POST', url);
  xmlhr.send(data);

  xmlhr.onreadystatechange = function() {
    if (xmlhr.readyState === 4) {
      var response = JSON.parse(xmlhr.responseText);
      if (xmlhr.status === 201) {
        console.log('successful');
      } else {
        console.log('failed');
      }
    }
  }
});
Output:
successful
The example above shows successful if the data is sent successfully over the network; otherwise failed. The event.preventDefault() stops the form from being submitted to the server.
The XMLHttpRequest() is used to exchange data with the web-server. The open() method specifies the request while send() sends the POST request to the server.
The onreadystatechange is used to define when the readyState (holds XMLHttpRequest status) property changes.
We have the HTML form and want to get the values every time the form is submitted. In the following example, we look at a native method named FormData() with JSONPlaceholder API’s fetch() method.
HTML Code: (This HTML code remains the same for all the examples given below)
<!DOCTYPE html>
<html>
 	<head>
 		<title>Serialize Form</title>
 	</head>
 	<body>
 		<form id="form">
 			<label for="firstname">FirstName:</label>
 			<input type="text" name="firstname" id="firstname">
 			<label for="lastname">LastName:</label>
 			<input type="text" name="lastname" id="lastname">
 			<label for="age">Age:</label>
 			<input type="text" name="age" id="age">

			<button>Submit</button>
 		</form>
 	</body>
</html>
JavaScript Code:
var form = document.querySelector('form');
var formData = new FormData(form);

document.addEventListener('submit', function(event) {
  event.preventDefault();
  let url = 'https://jsonplaceholder.typicode.com/posts';

  fetch(url, {
    method: 'POST',
    body: new FormData(event.target),
  })
      .then(function(response) {
        if (response.ok) {
          return response.json();
        }
        return Promise.reject(response);
      })
      .then(function(formData) {
        console.log(formData);
      })
      .catch(function(error) {
        console.warn(error);
      });
});
Output:
//you get the following Output each time you submit the form
{
  id: 101
}
We use the fetch() method to send data to the JSONPlaceholder API in the example above.
To accomplish this, we pass the event.target (the submitted form) into a FormData() constructor and utilize it as a body property.
The fetch() method fetches a resource from the network and returns a promise that is satisfied once the response is ready/available. You can find more about this method here.
You may have noticed in the above Output that we are not getting the actual data but the number. JSONPlaceholder accepts JSON objects but not FormData.
We need to convert it into an object using the for loop. So, the new JavaScript code would look as follows.
var form = document.querySelector('form');
var data = new FormData(form);

// convert FormData to Object
var serializeFormToObject = function(form) {
  var objForm = {};
  var formData = new FormData(form);
  for (var key of formData.keys()) {
    objForm[key] = formData.get(key);
  }
  return objForm;
};

document.addEventListener('submit', function(event) {
  event.preventDefault();
  let url = 'https://jsonplaceholder.typicode.com/posts';

  fetch(url, {
    method: 'POST',
    body: JSON.stringify(serializeFormToObject(event.target)),
    headers: {'Content-type': 'application/json; charset=UTF-8'}
  })
      .then(function(response) {
        if (response.ok) {
          return response.json();
        }
        return Promise.reject(response);
      })
      .then(function(data) {
        console.log(data);
      })
      .catch(function(error) {
        console.warn(error);
      });
});
Output:
{
  age: "30",
  firstname: "mehvish",
  id: 101,
  lastname: "ashiq"
}
We can also use formEntries() to convert the FormData into Object without any loop.
See the following chunk of JavaScript Code.
var form = document.querySelector('form');
var formData = new FormData(form);

document.addEventListener('submit', function(event) {
  event.preventDefault();
  let url = 'https://jsonplaceholder.typicode.com/posts';

  fetch(url, {
    method: 'POST',
    body: JSON.stringify(Object.fromEntries(new FormData(event.target))),
    headers: {'Content-type': 'application/json; charset=UTF-8'}
  })
      .then(function(response) {
        if (response.ok) {
          return response.json();
        }
        return Promise.reject(response);
      })
      .then(function(formData) {
        console.log(formData);
      })
      .catch(function(error) {
        console.warn(error);
      });
});
Output:
{
  age: "30",
  firstname: "mehvish",
  id: 101,
  lastname: "ashiq"
}
The FormData constructor works perfectly in all modern browsers, including IE 10 or newer. But, Object.formEntries() does not work in IE.
Let’s practice with URLSearchParams now using FormData() in the example given below. The URLSearchParams is used to define the utility functions for working with URL’s query string.
Array.from() is a static method used to create a new instance from an iterable object.
JavaScript Code:
var form = document.querySelector('form');

document.addEventListener('submit', function(event) {
  event.preventDefault();
  let url = 'https://jsonplaceholder.typicode.com/posts';

  fetch(url, {
    method: 'POST',
    body: new URLSearchParams(Array.from(new FormData(form))),
  })
      .then(function(response) {
        if (response.ok) {
          return response.json();
        }
        return Promise.reject(response);
      })
      .then(function(formData) {
        console.log(formData);
      })
      .catch(function(error) {
        console.warn(error);
      });
});
Output:
{
  age: "30",
  firstname: "mehvish",
  id: 101,
  lastname: "ashiq"
}
Using XMLSerializer() to Serialize Form in JavaScript
We have learned how to serialize the form using objects yet. But what if we want to serialize the form as a tree data structure.
For that, we can use serializeToString() method of XMLSerializer().
JavaScript Code:
var form = document.querySelector('form');
document.addEventListener('submit', function() {
  if (window.XMLSerializer) {
    var serializer = new XMLSerializer();
    var str = serializer.serializeToString(form);
    alert(str);
  } else {
    alert(document.body.outerHTML);
  }
});
Output:
Using jQuery to Serialize Form in JavaScript
If you are ok with using jQuery, the following code is good. But don’t forget to include jQuery in your <head> tag.
JavaScript Code:
var form = document.querySelector('form');

document.addEventListener('submit', function() {
  event.preventDefault();
  let url = 'https://jsonplaceholder.typicode.com/posts';

  fetch(url, {
    method: 'POST',
    body: $('form').text($('#form').serialize()),
  })
      .then(function(response) {
        if (response.ok) {
          return response.json();
        }
        return Promise.reject(response);
      })
      .then(function(formData) {
        console.log(formData);
      })
      .catch(function(error) {
        console.warn(error);
      });
});
Output:
firstname=mehvish&lastname=ashiq&age=30
