How to Implement Collision Detection in JavaScript
In JavaScript, a collision occurs when two or more HTML elements collide. By default, when using a move event listener on an HTML element, it will not hit any other element on the screen.
It will pass through the other elements in the DOM. So, to detect collision in JavaScript, we manually have to do it using the x and y coordinates of the elements.
In this article, we will take two div elements (two squares) inside our webpage, and we will see how to implement collision detection when one of the squares collides with the other.
Implement Collision Detection in JavaScript
We will implement the collision detection purely in JavaScript, and we will not be using any other third-party library. First, we will write our HTML, then we will move on to the CSS part, and at the end, we will write the JavaScript code.
Inside the HTML, we will add two div elements with classes square_1 and square_2. square_2 will be at a fixed location while square_1 will be moving anywhere on the screen.
<body>
    <div class="square_1"></div>
    <div class="square_2"></div>
</body>
We will add basic styles like width and height to the squares as 160px inside the CSS and change the position of both the squares as absolute. It will allow us to move the squares anywhere on the screen.
We will give a background color of red to square_1 and yellow to square_2.
Since we want square_2 to be fixed at a particular location on the screen, we will add a left and top property and give it a value 400px. We will also add a font-size property to square_1 because we will be showing a text on it after colliding with the other one.
Finally, we will set the z-index of the first square to 1 because we want it to stay on top of the other while moving it. If we don’t set this property, it will go underneath the second square.
.square_2{
    width: 160px;
    height: 160px;
    position: absolute;
    left: 400px;
    top: 400px;
    background-color:rgb(255, 233, 36);
}

.square_1{
    position: absolute;
    width: 160px;
    height: 160px;
    background-color:rgb(255, 80, 80);
    font-size: 1.5em;
    z-index: 1;
}
Output:
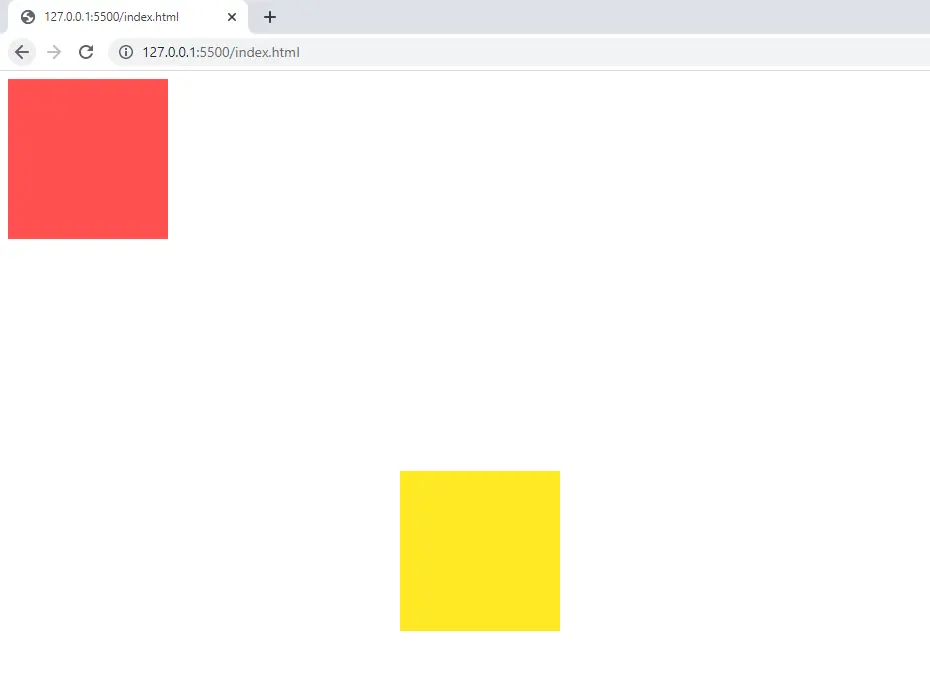
We cannot move the red square as we have not added the move event listener.
We first have to access the two squares we added inside our HTML to our JavaScript code. For this, we will be using the getElementsByClassName() function to get the two div elements and pass the class name as a parameter to this function.
Since this function returns an array, we will be indexing to grab the first element. Then we will store the two square div inside the square_1 and square_2 variables.
Now that we have access to both the square elements, we will first get the width and height of both these elements. We have a JavaScript function called getComputedStyle(), which takes an element as a parameter.
So, we will pass the square_1 and square_2 variables as parameters to this function. And then, using dot notation, we will access the elements’ CSS properties.
Notice that we are also using the split() function. This is because the getComputedStyle() function returns a value with its unit.
For example, we have set the width to both elements as 160px. So the value return by the getComputedStyle() function will be 160px in the form of a string.
We don’t want the px part, so we use split() and pass px inside it. This function will return an array of two elements, the first element will be 160, and the second will be blank.
We need the value itself, so we will use [0] to access it.
var square_1 = document.getElementsByClassName('square_1')[0];
var square_2 = document.getElementsByClassName('square_2')[0];

var square_1_width =
    Number((getComputedStyle(square_1).width).split('px')[0]) / 2;
var square_2_width =
    Number((getComputedStyle(square_2).width).split('px')[0]) / 2;

var square_1_height =
    Number((getComputedStyle(square_1).height).split('px')[0]) / 2;
var square_2_height =
    Number((getComputedStyle(square_2).height).split('px')[0]) / 2;
Since the value returned will be a string, we will convert it into a number and divide it by 2 since we want its half value, i.e., 80. In the end, we are storing the values into the variables, as shown above.
Now, we will add a mousemove event listener on square_1 using the addEventListener() function. As shown below, this function takes an event and a callback function as parameters.
We will pass the event e to the callback function to track the mouse position on the screen.
As soon as we hover the mouse cursor over square_1 and move the mouse, we want the mouse’s left and top positions to be assigned to our square’s left and top position so that it can move wherever we move the mouse cursor.
square_1.addEventListener('mousemove', (e) => {
  square_1.style.left = (e.clientX - square_1_width) + 'px';
  square_1.style.top = (e.clientY - square_1_height) + 'px';

  checkCollision();
});
Output:
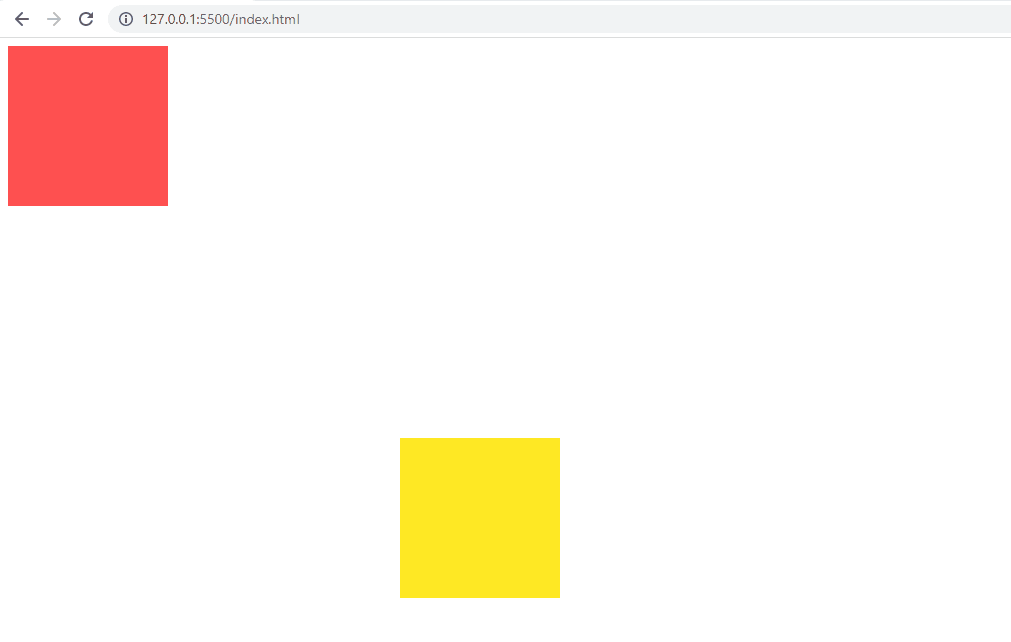
The e.clientX and e.clientY give the mouse movement’s top-right and bottom-right positions.
However, we want the cursor to show at the square’s center, so we subtract the width and height of the square using square_1_width and square_1_height with the half-width and height stored in them.
This will make the mouse cursor point to the center of the square when we drag it, as shown below.
Before running the code, ensure that you comment out the checkCollision() function, as we have not defined it yet inside our code.
Now, let’s create the checkCollision() function to detect collision. Here, we will first get both the squares’ left and top positions using the getComputedStyle() function.
Finally, we will typecast the string value into a number and store it in a variable.
We will store the left and top position of square_1 inside the x_pos_sq_1 and y_pos_sq_1 variables and square_2 inside the x_pos_sq_2 and y_pos_sq_2 variables.
Now, we will check whether our first square (red) is crossing any of the four sides of the second square (yellow) or not. We will add one condition for every side of the second square (yellow) for checking.
Note that both squares’ x and y positions are currently at the center of the squares.
function checkCollision() {
  let x_pos_sq_1 = Number((getComputedStyle(square_1).left).split('px')[0]);
  let y_pos_sq_1 = Number((getComputedStyle(square_1).top).split('px')[0]);

  let x_pos_sq_2 = Number((getComputedStyle(square_2).left).split('px')[0]);
  let y_pos_sq_2 = Number((getComputedStyle(square_2).top).split('px')[0]);

  let leftPos = x_pos_sq_1 + square_1_width > x_pos_sq_2 - square_2_width;
  let rightPos = x_pos_sq_1 - square_1_width < x_pos_sq_2 + square_2_width;

  let topPos = y_pos_sq_1 + square_1_height > y_pos_sq_2 - square_2_height;
  let bottomPos = y_pos_sq_1 - square_1_height < y_pos_sq_2 + square_2_height;

  if (leftPos && rightPos && topPos && bottomPos) {
    square_1.innerHTML = 'Collision occured';
    square_2.style.border = '5px solid rgb(24, 251, 240)';
  } else {
    square_1.innerHTML = '';
    square_2.style.border = 'none';
  }
}
Output:
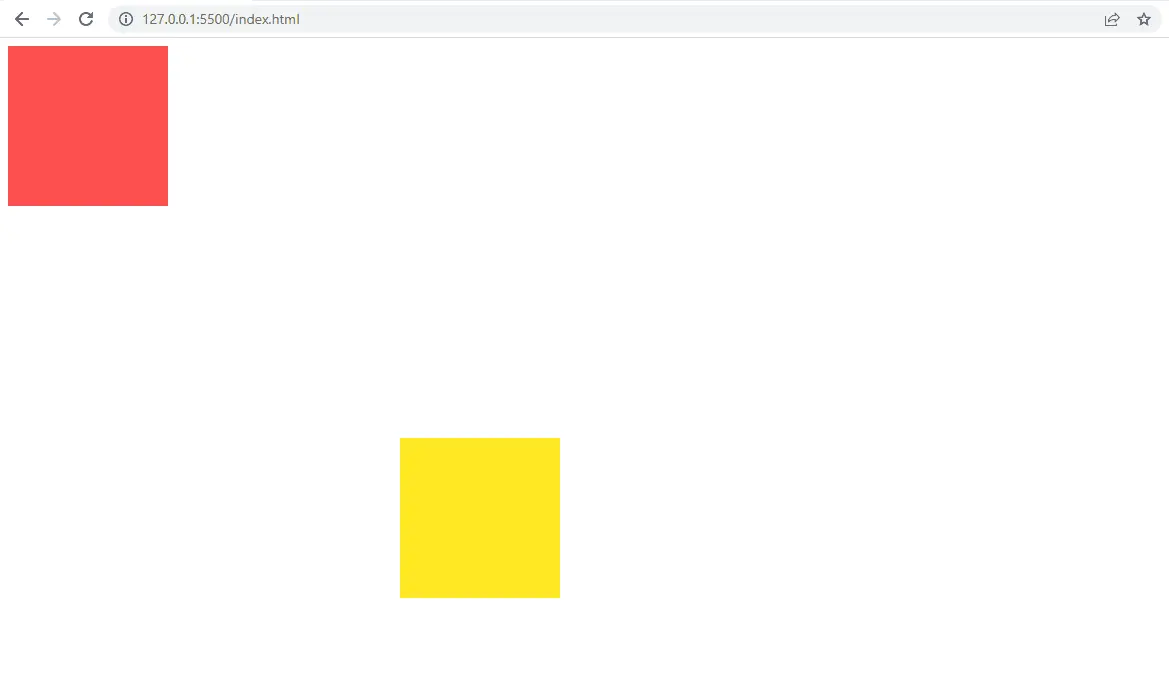
To detect if the red square collides with the yellow square from the left side, we will check if the red square’s x position and width are greater than the yellow square’s x position minus its width. The red square has collided with the yellow square from the left side if it is larger.
It will return a boolean value that we will store inside the leftPos variable.
To detect if the red square collides with the yellow square from the right side, we will check if the red square’s x position minus its width is lesser than the yellow square’s x position and its width. The red square has collided with the yellow square from the right side if it is lesser.
It will return a boolean value that we will store inside the rightPos variable.
The top position is similar to the left position; the only difference is that instead of the x-axis and width, we deal with the y-axis and height. This will return a boolean value which we will store inside the topPos variable.
The bottom position is similar to the right position, but we deal with the y-axis and height. This will also return a boolean value which we will store inside the bottomPos variable.
At the end of the checkCollision() function, we will check if the red square crosses the boundaries of the yellow square or not by adding an if condition with leftPos, rightPos, topPos, and bottomPos inside.
If all the variables generate a true value, the square_1 has collided with the square_2. As soon as this happens, we will give a blue border to our yellow square, and we will also add the text Collision occurred on the red square as shown above.
If we bring the red square outside the boundaries of the yellow square, then we will remove the border from the yellow square and remove the text from the red square.

Sahil is a full-stack developer who loves to build software. He likes to share his knowledge by writing technical articles and helping clients by working with them as freelance software engineer and technical writer on Upwork.
LinkedIn