Sonar Java Binaries
The sonar binaries are comma-separated paths to directories that contain the compiled bytecodes files which correspond to our source files. The sonar java binaries are the comma-separated files with third-party libraries like Jar or Zip files used by our project.
This tutorial demonstrates how to install sonar binaries and integrate them with our project in Eclipse.
Download and Install Sonar
Before using the sonar binaries in our Java, we first have to download and install Sonar. To download and install Sonar, follow the steps below:
-
Download Sonar from here.
-
Once Sonar is downloaded, extract the files where you want to install the Sonar.

-
After extracting Sonar in the installation directory, the next step is to run Sonar; go to the
bindirectory of Sonar, and open the directory of your operating system. There you will find a shell or bat file namedstartSonar.Click the file to start Sonar:
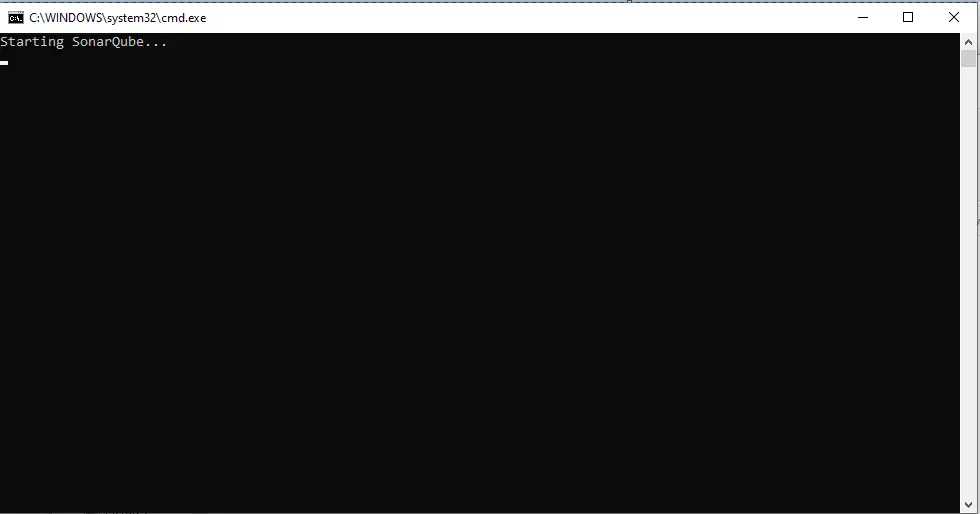
-
Once Sonar is started, we can access our Sonar installation at
http://localhost:9000/.
Sonar Report Generation
Once the Sonar is installed and started successfully, the next step is report generation. Follow the steps below:
-
First, we have to update our POM and Sonar configuration. After installing Sonar, we can generate the Sonar report for any Maven project in Java.
Add these lines to your
pom.xmlto add a Sonar server to your project:<name>DemoProject</name> <url>http://maven.apache.org</url> <properties> <project.build.sourceEncoding>UTF-8</project.build.sourceEncoding> <sonar.host.url> http://localhost:9000/ </sonar.host.url> <sonar.exclusions></sonar.exclusions> </properties> <modules> <module>parent</module> <module>xmlapi</module> <module>common</module> </modules> -
Once the configuration is set in
pom.xml, runmvn Sonar:sonarin the terminal, and it will generate the Sonar report for the project.
Integrate Sonar in Eclipse
To integrate Sonar in Eclipse, we have to install the Sonar plugin in Eclipse. Follow the steps below to configure the Sonar in Eclipse:
-
Open Eclipse and go to the
Helpmenu. -
From the
Helpmenu, openEclipse MarketPlace: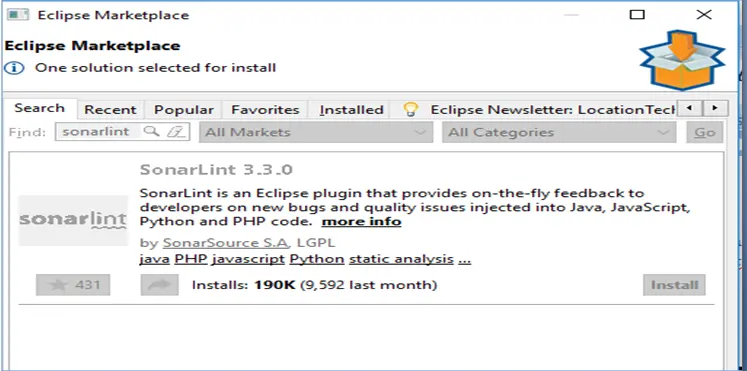
-
Search
SonarQubein the Eclipse marketplace search bar and install theSonarQube. -
If you can’t find the SonarQube in the search, close the marketplace and again go to the
Helpmenu and click install the software. -
Paste the
http://downloads.sonarsource.com/eclipse/eclipse/link in theWork Withtext field and click Enter: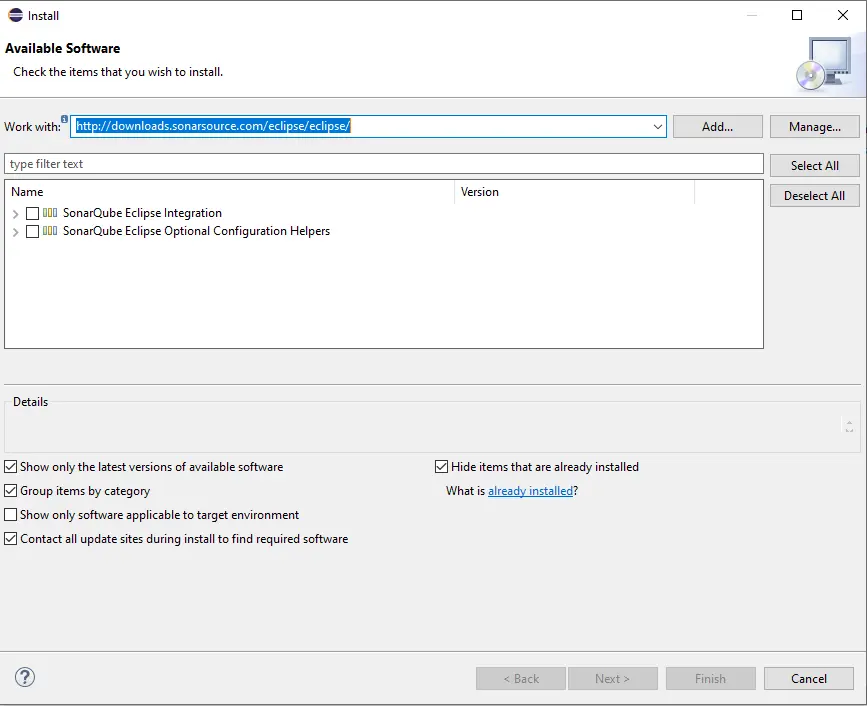
-
Select all options and click
Nextwhich will start installing theSonarQube: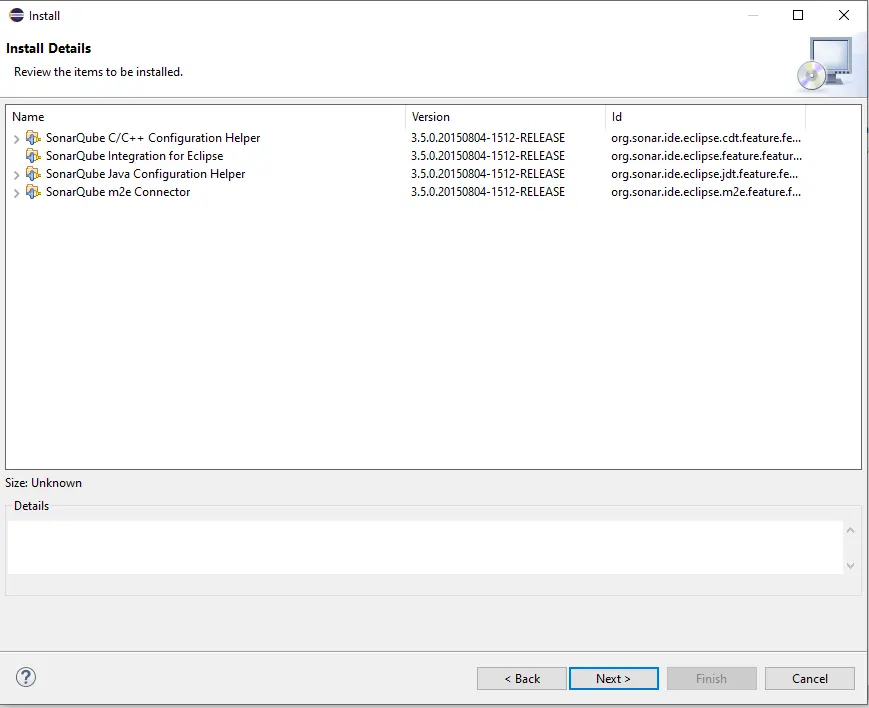
-
Keep clicking the
Nexttill the Sonar Qube is successfully installed. The final button will beFinishto press, which will finalize the installation. -
Once the installation is finished, restart the Eclipse IDE.
-
Once the Sonar is installed in Eclipse, the next step is to configure Sonar.
-
Go to
WindowthenPreferencesin Eclipse: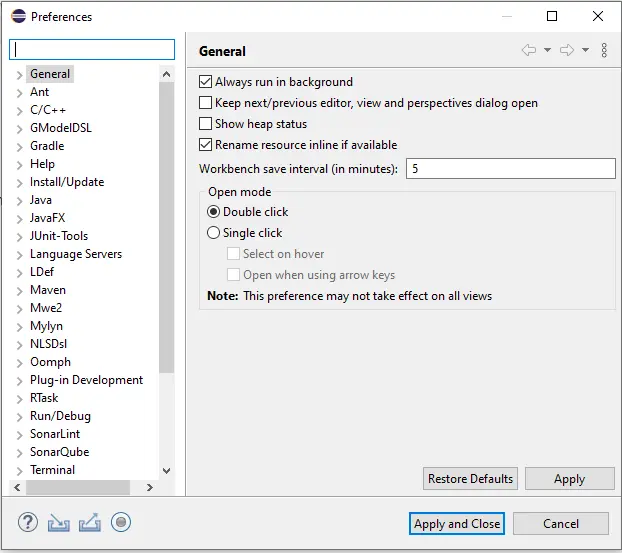
-
Go to
SonarQube > Serverson thePreferencespage: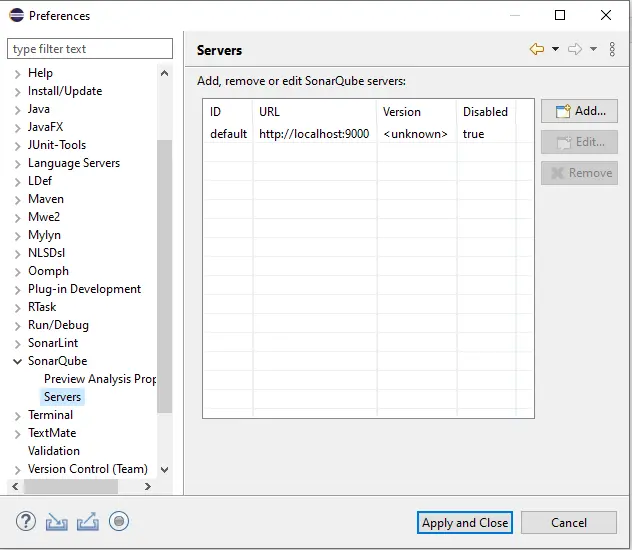
-
Once the Sonar server is located, the next step is to Link the Eclipse projects to the server.
-
Right-click on the project name in Project Explorer and Go to
ConfigurethenAssociate with SonarQube: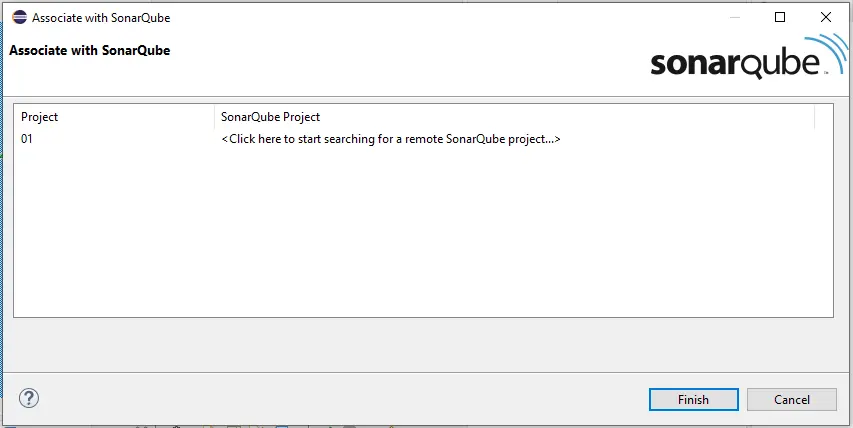
-
You must type the project name in the Sonar Project field, select a project from the list, and then click
Finish. -
Once you click
Finish, the project will be associated with the Sonar server. -
Now we can analyze our project using the Sonar, right click on the Project name, go to the
SonarQubeoption, and selectAnalyze:
-
The
Analyzeoption will show the Sonar report of the project if any change has been made.

Sheeraz is a Doctorate fellow in Computer Science at Northwestern Polytechnical University, Xian, China. He has 7 years of Software Development experience in AI, Web, Database, and Desktop technologies. He writes tutorials in Java, PHP, Python, GoLang, R, etc., to help beginners learn the field of Computer Science.
LinkedIn Facebook